Replace Background Images
Replacement Using 'Snap Tool'
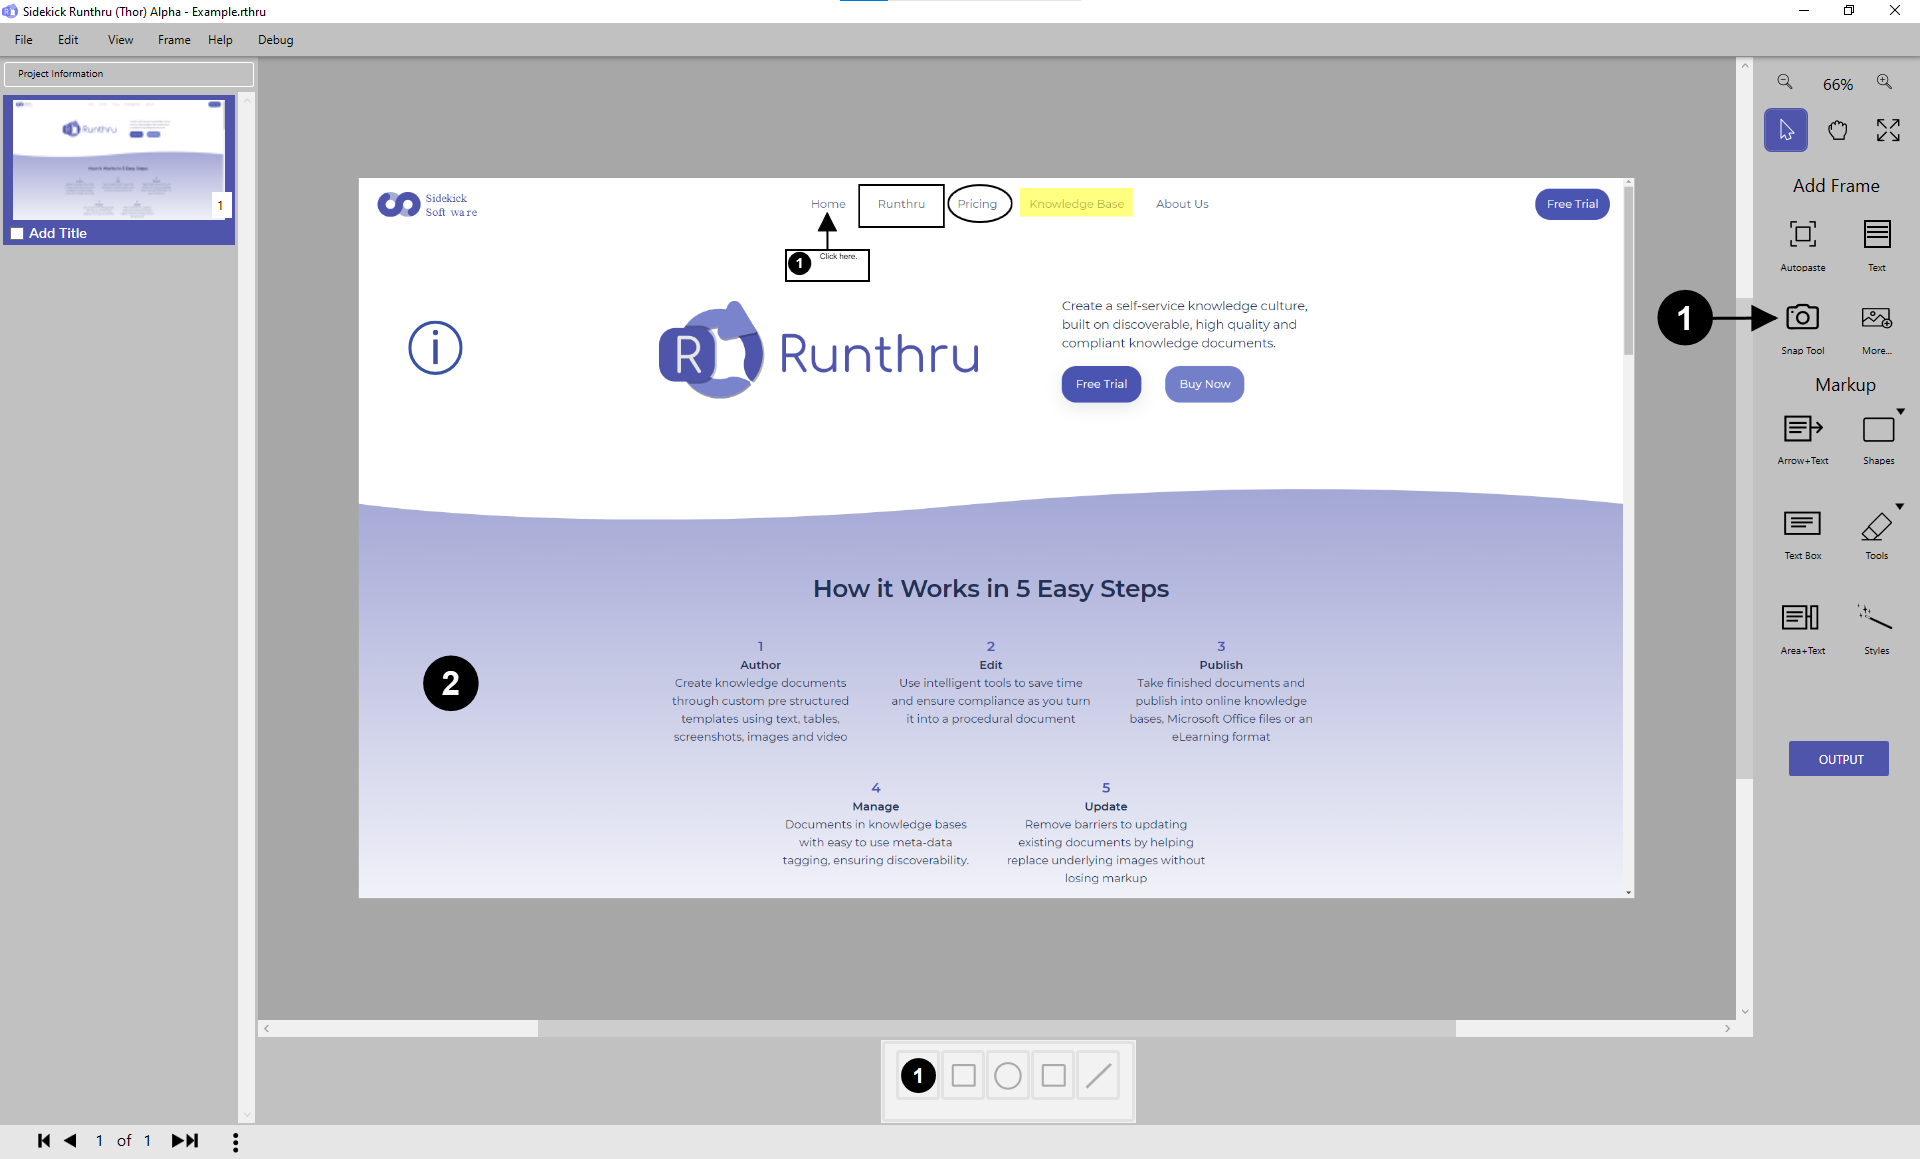

A very useful tool in Runthru is the Snap Tool's 'Replacement Mode'. This allows you to replace the underlying screenshot without have to use the Markup tools again.

To activate the 'Replacement Mode', click 'Snap Tool' button.

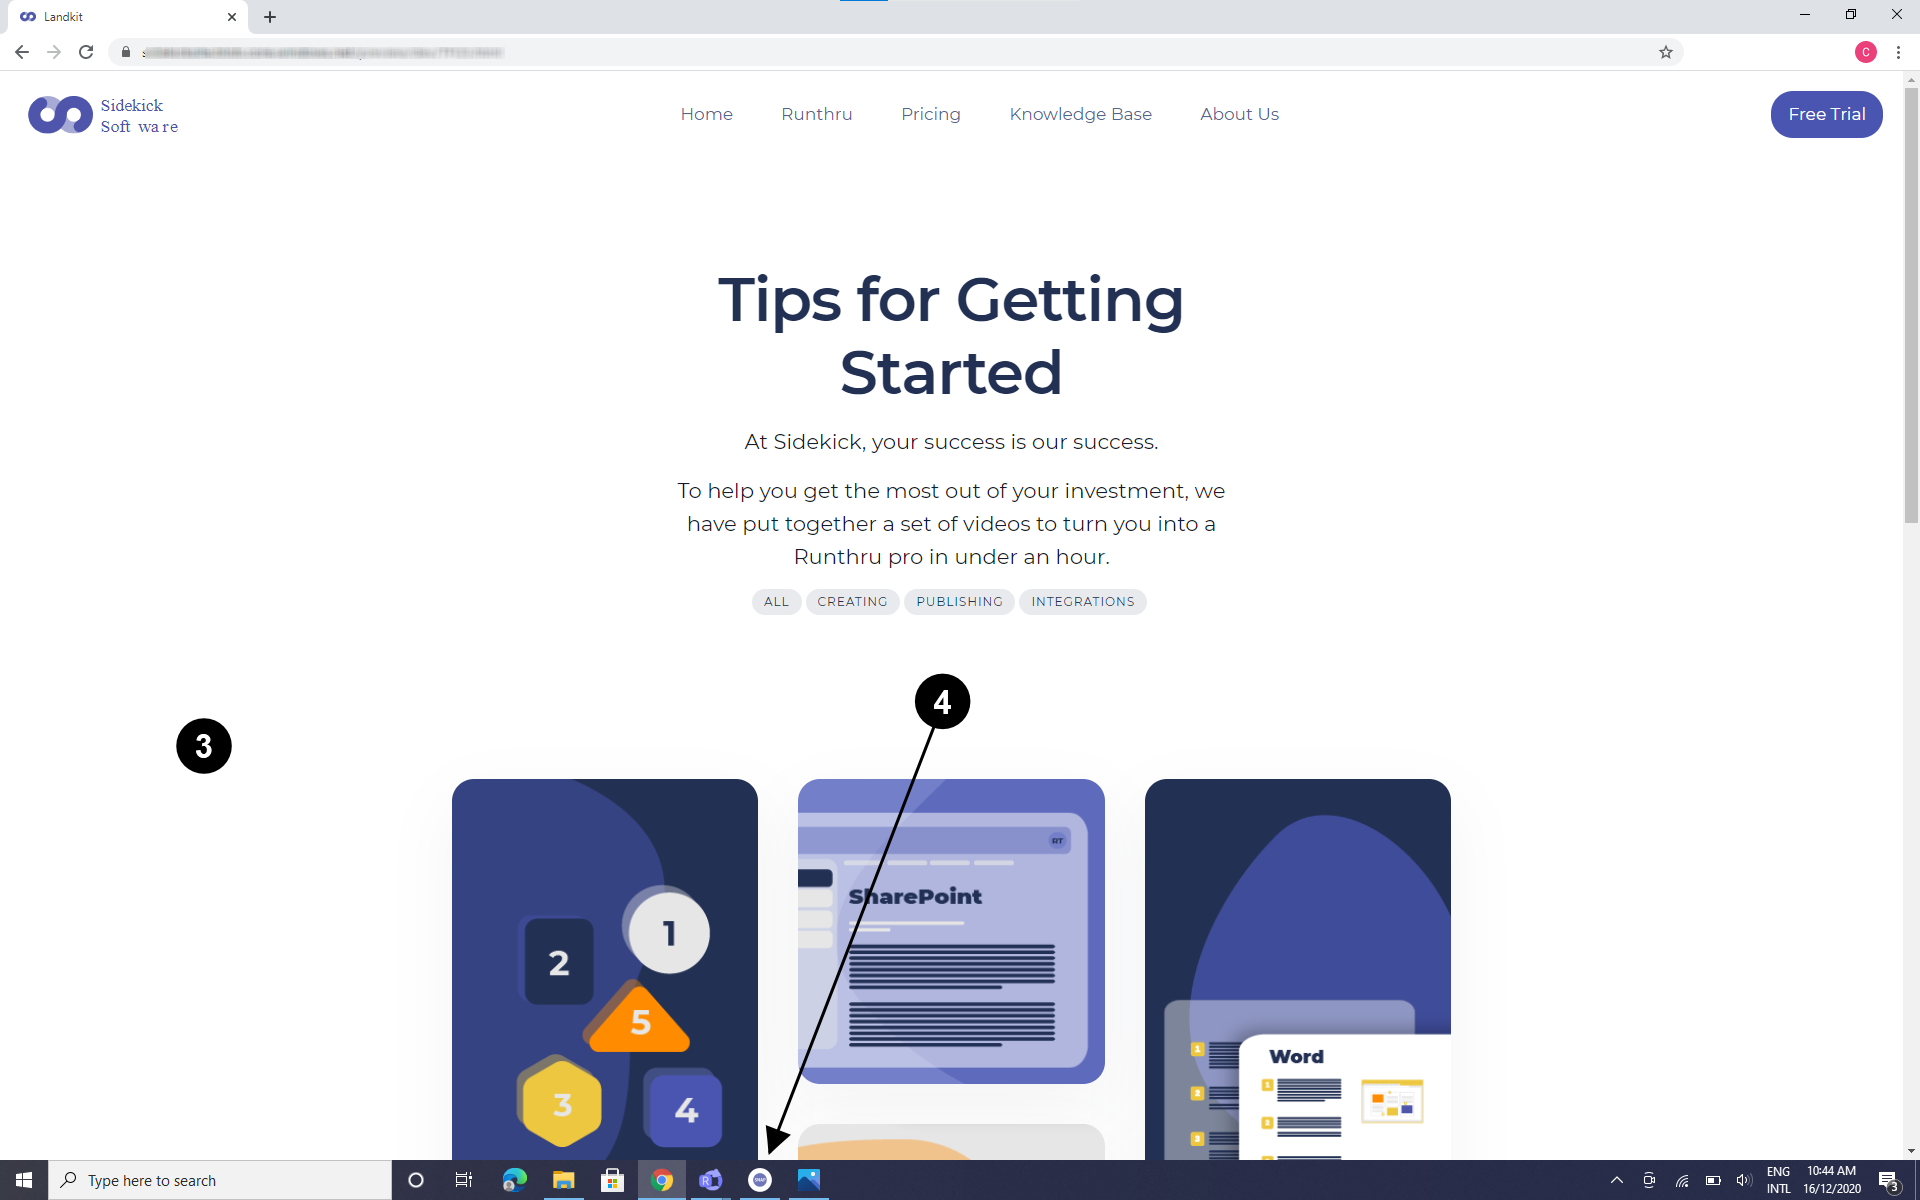
Go to the frame you wish to replace with a new image, and make sure it is active (purple colour shows an active frame).

Go to the replacement window.

To activate the 'Replacement Mode', click 'Snap Tool' button.


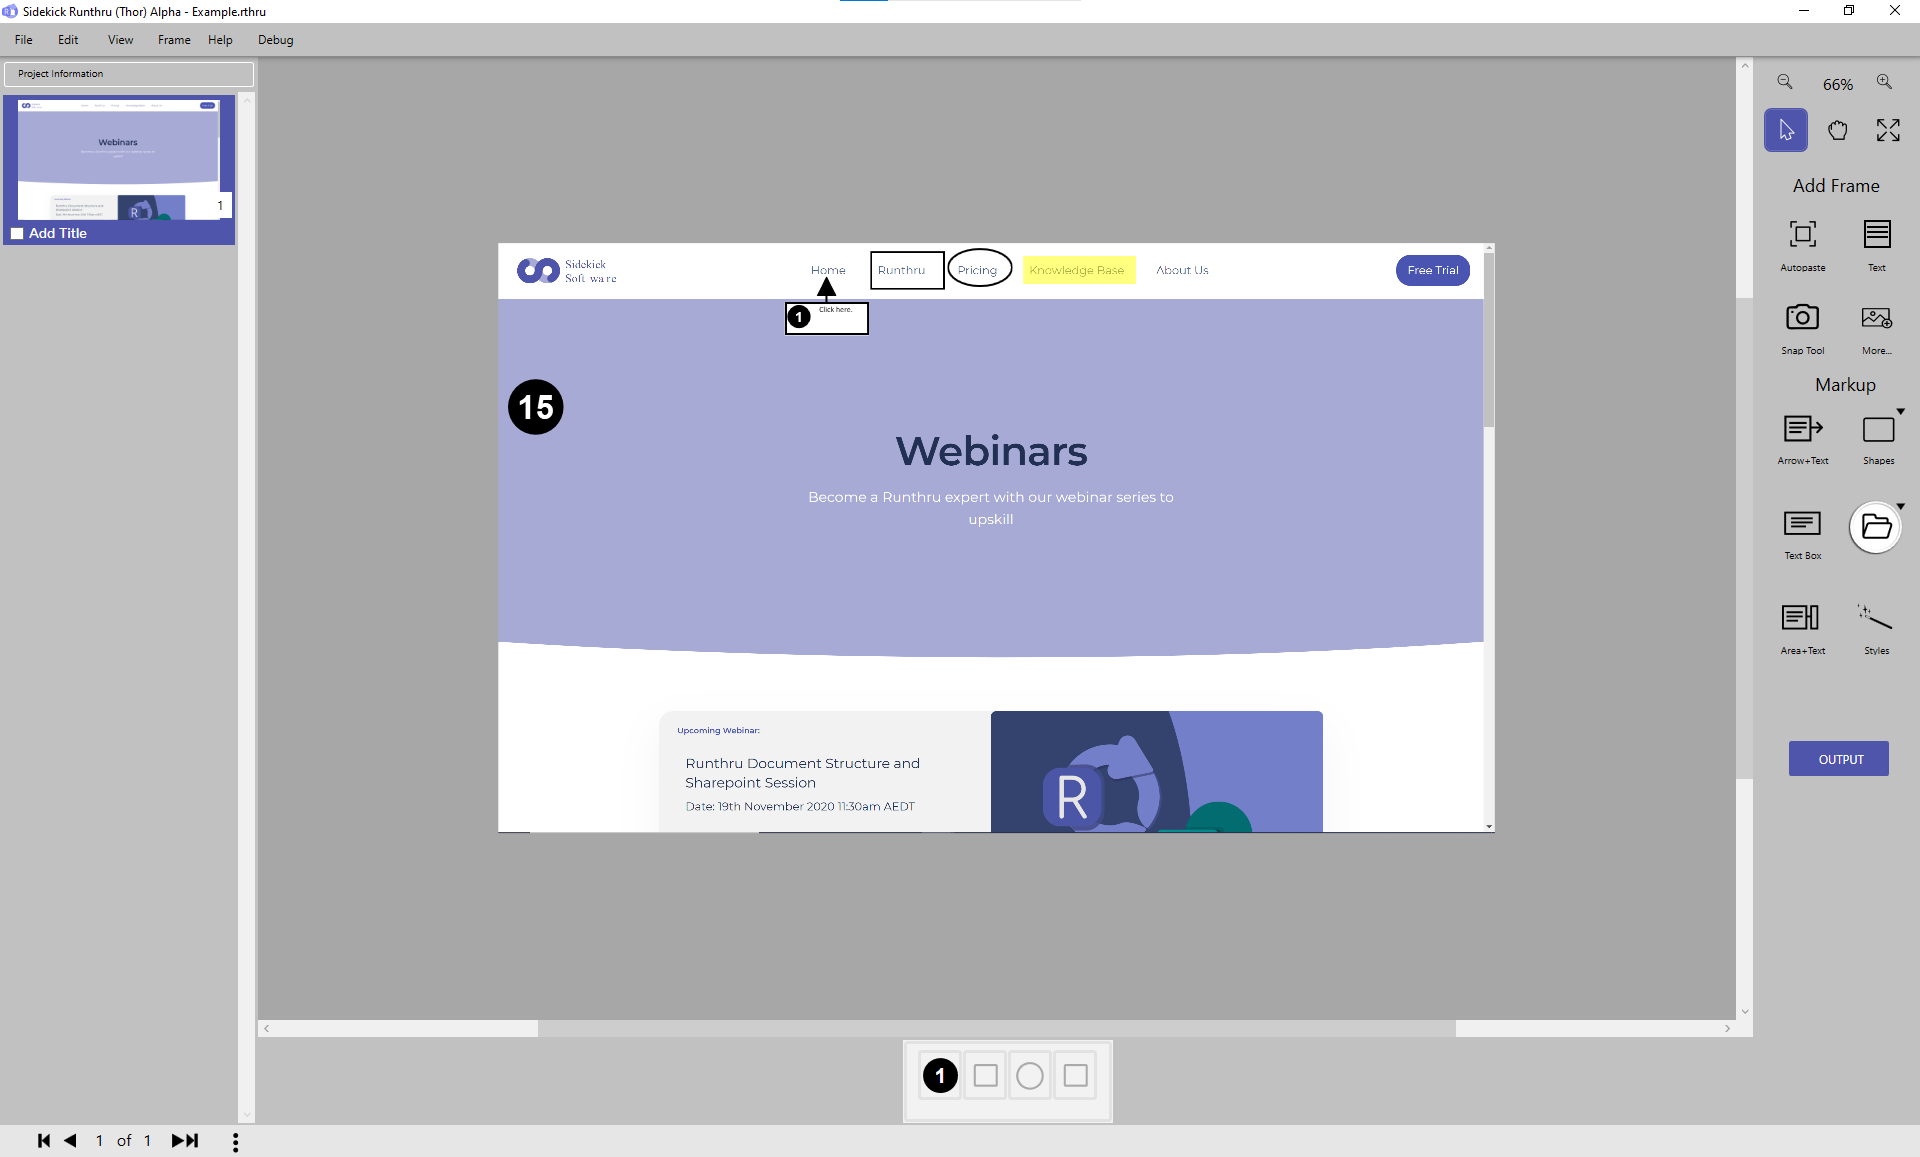
Click here to activate 'Replacement Mode'.

It is possible to make a replacement of the Background Image using all 'Snap Tool' options.


Press the 'Snap Tool' button when you are ready to take a screenshot.
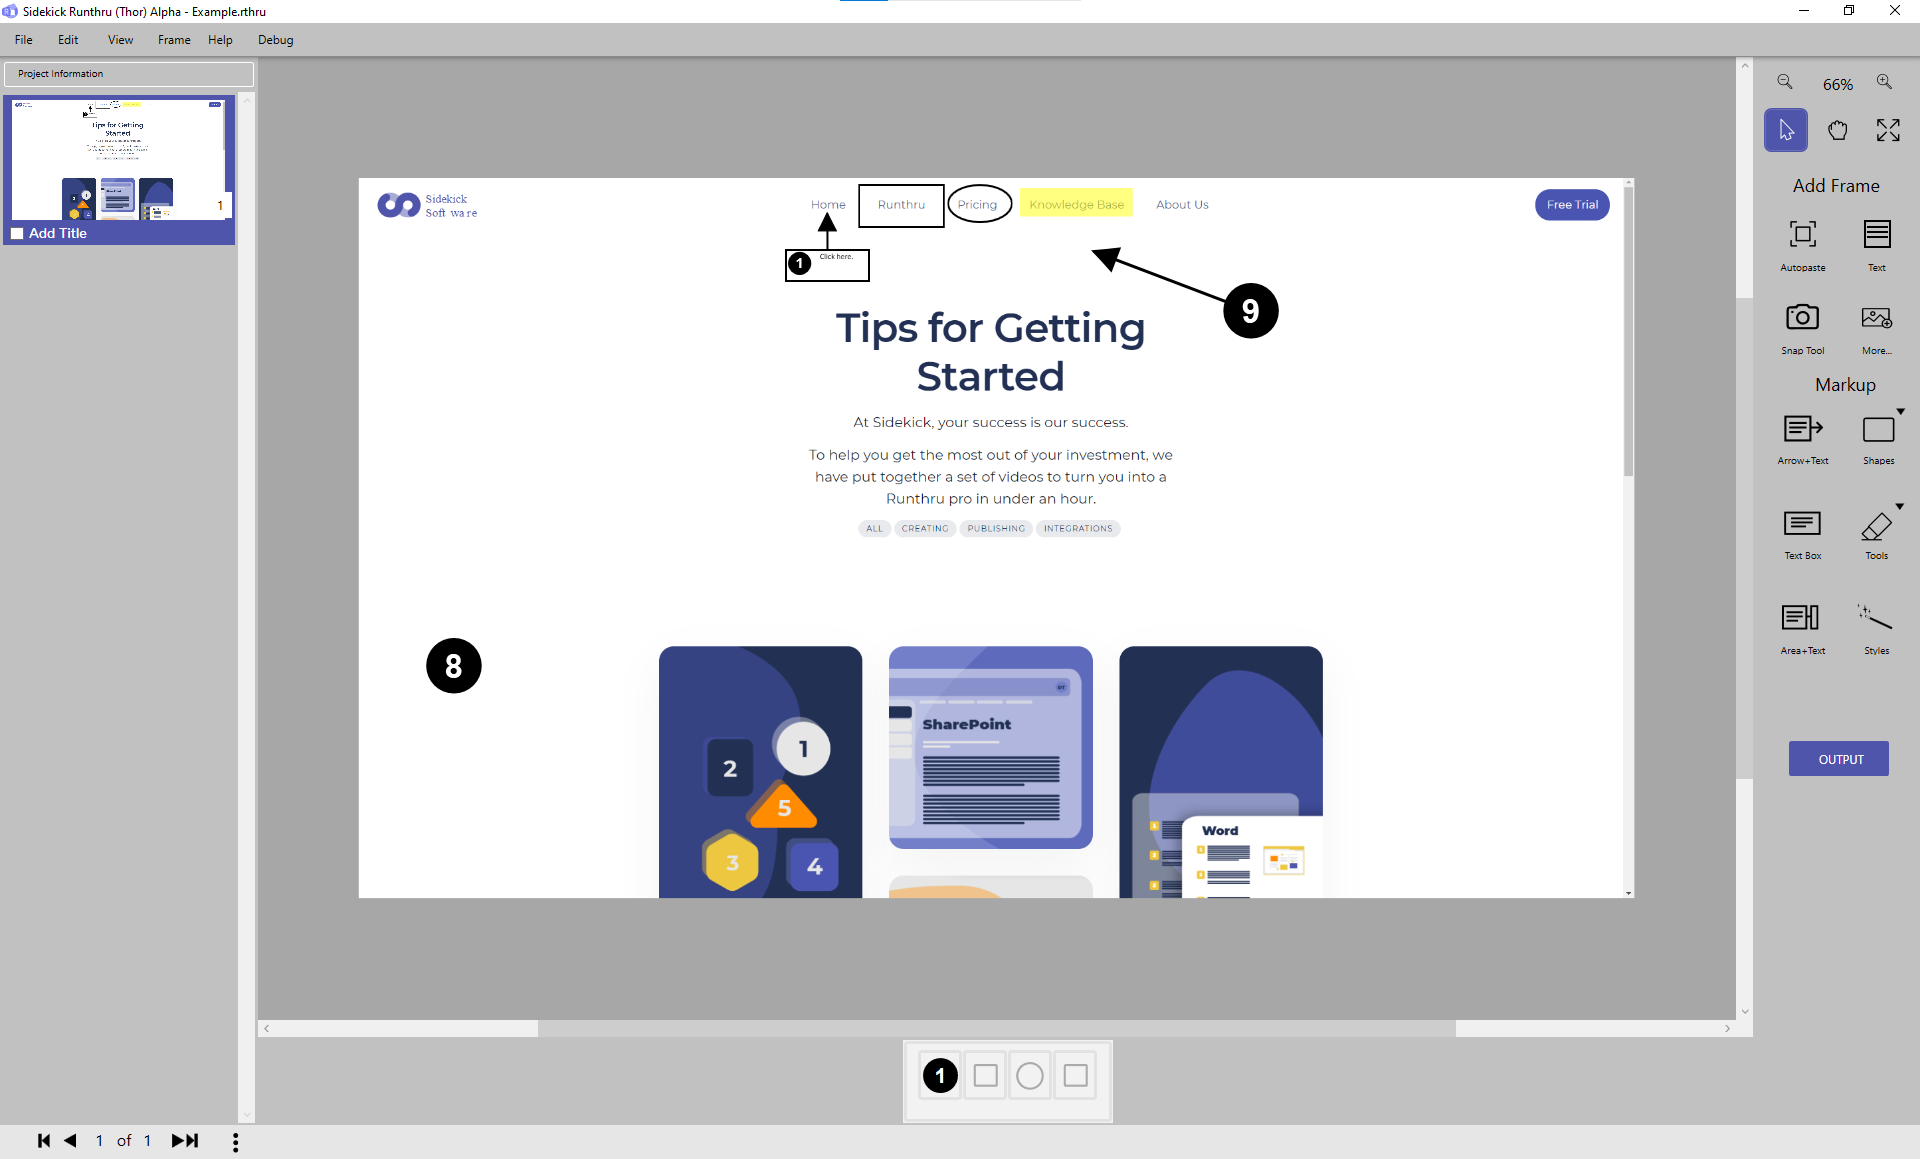

As shown, the image has been easily replaced.

If the size of the Image is the same as the previous one, Markup tools stay in the same spot.
Replacement Using Existing File or Screenshot
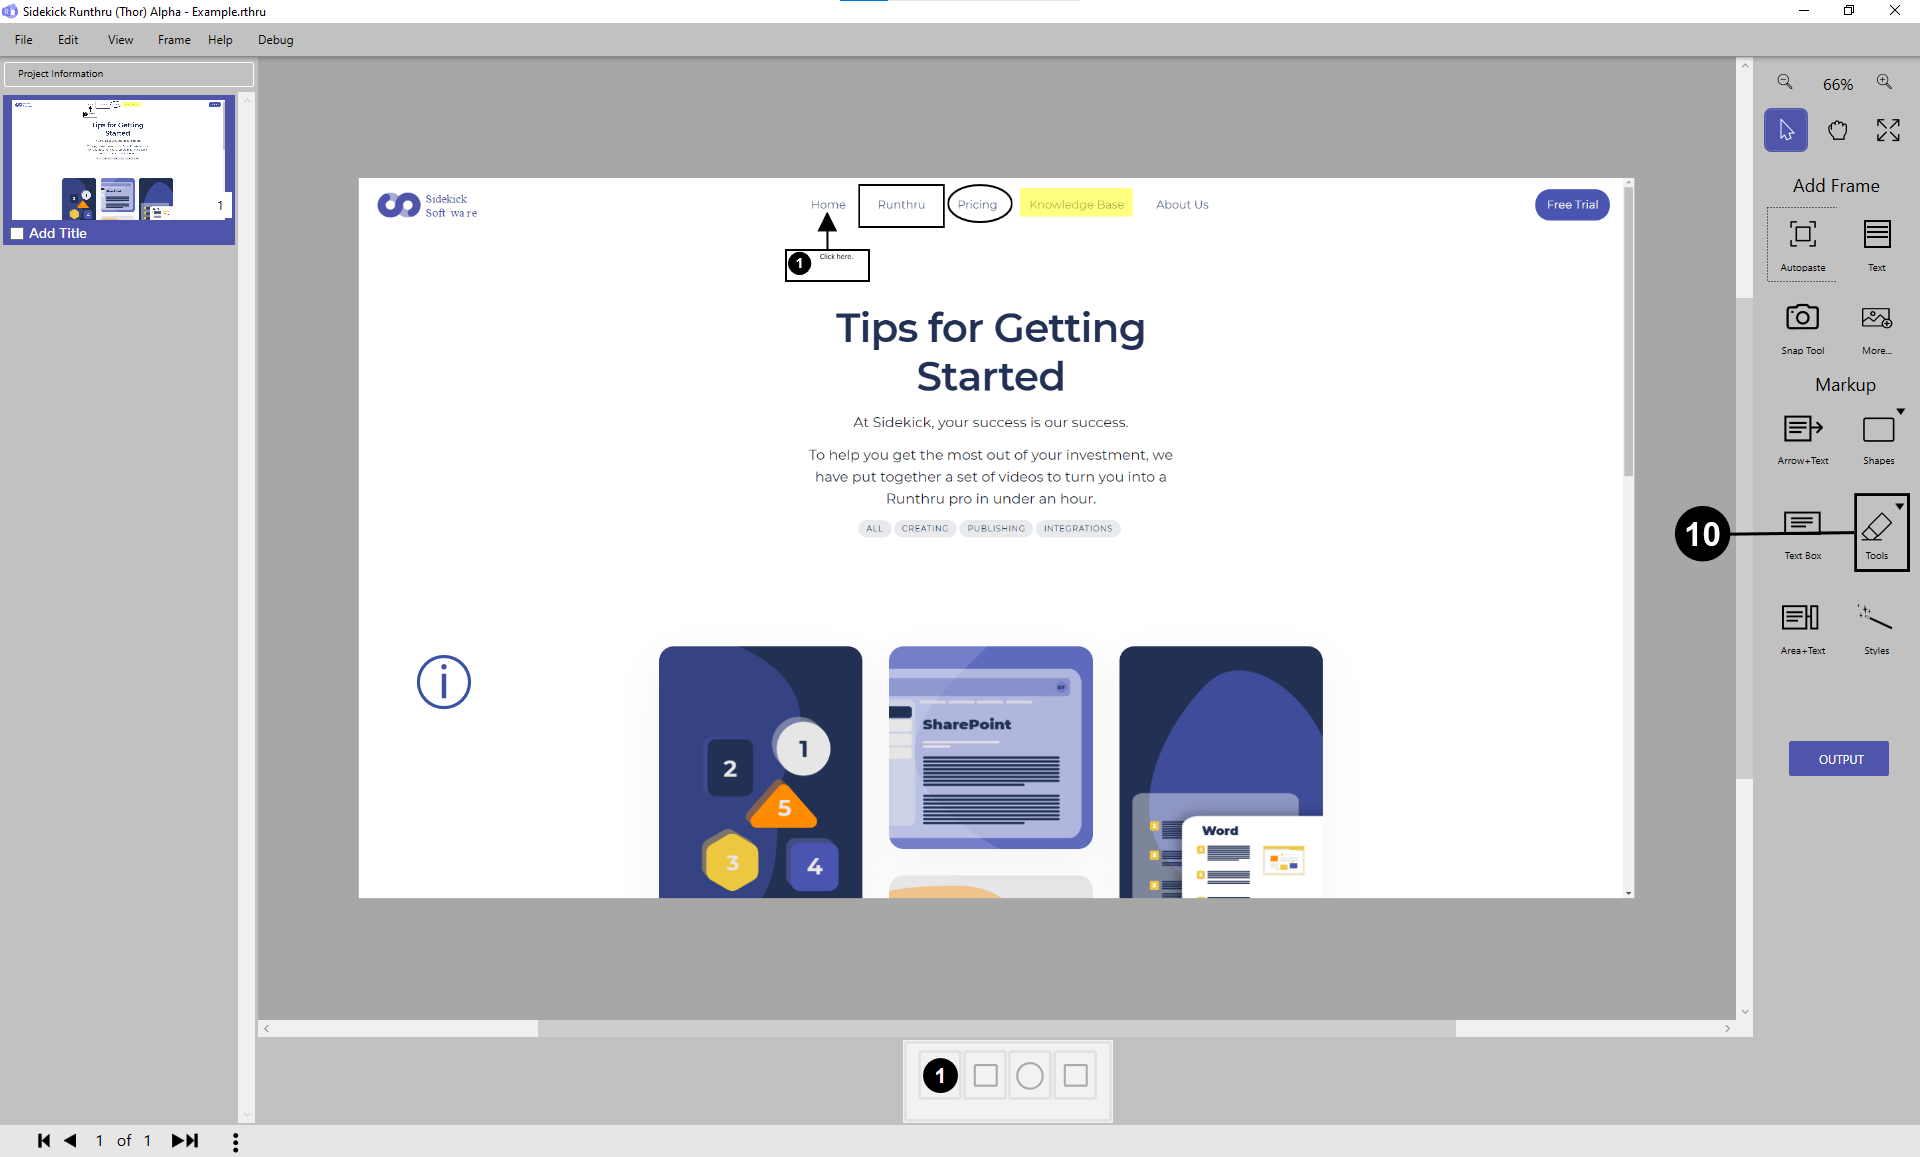

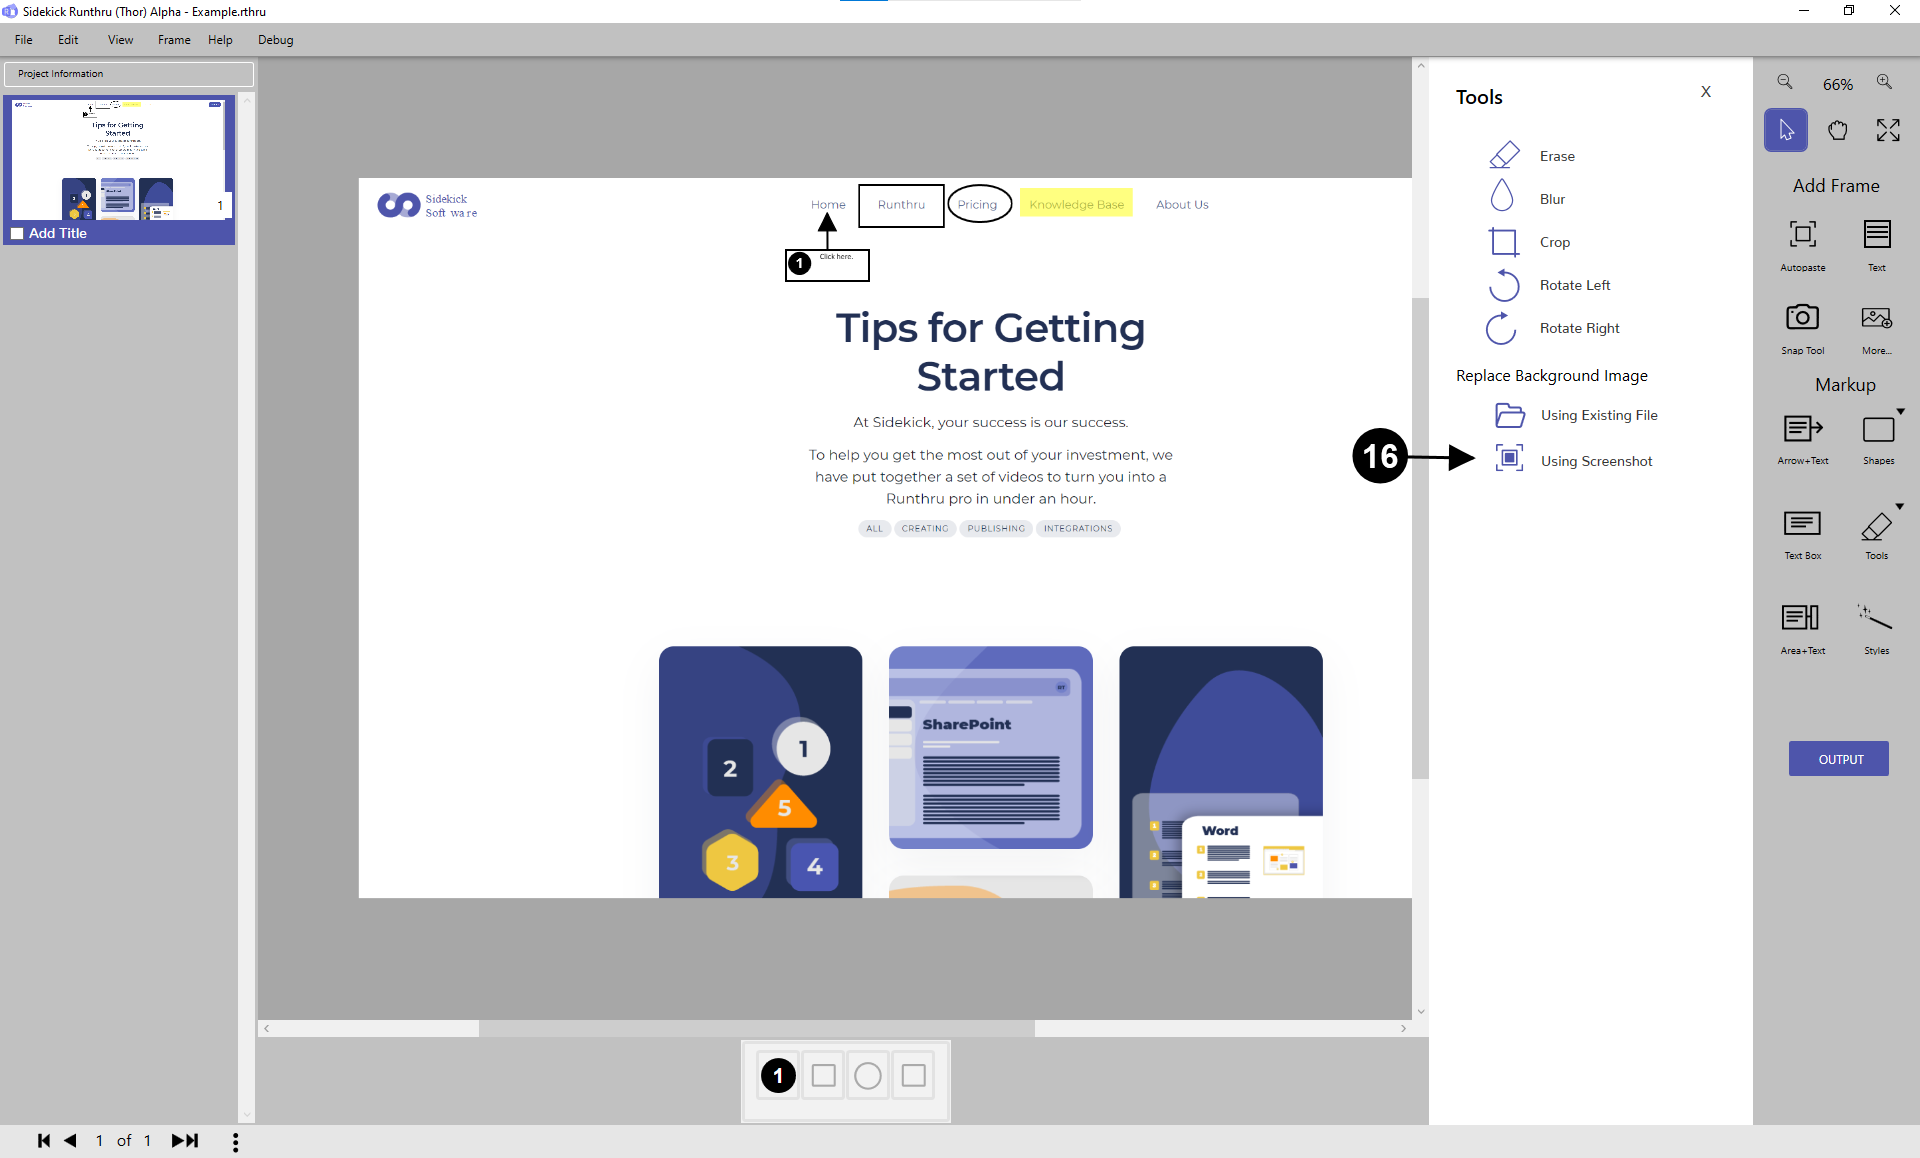
Click the 'Tools' black triangle to open the Tools panel.


We can also replace the image through using an existing file or screenshot.
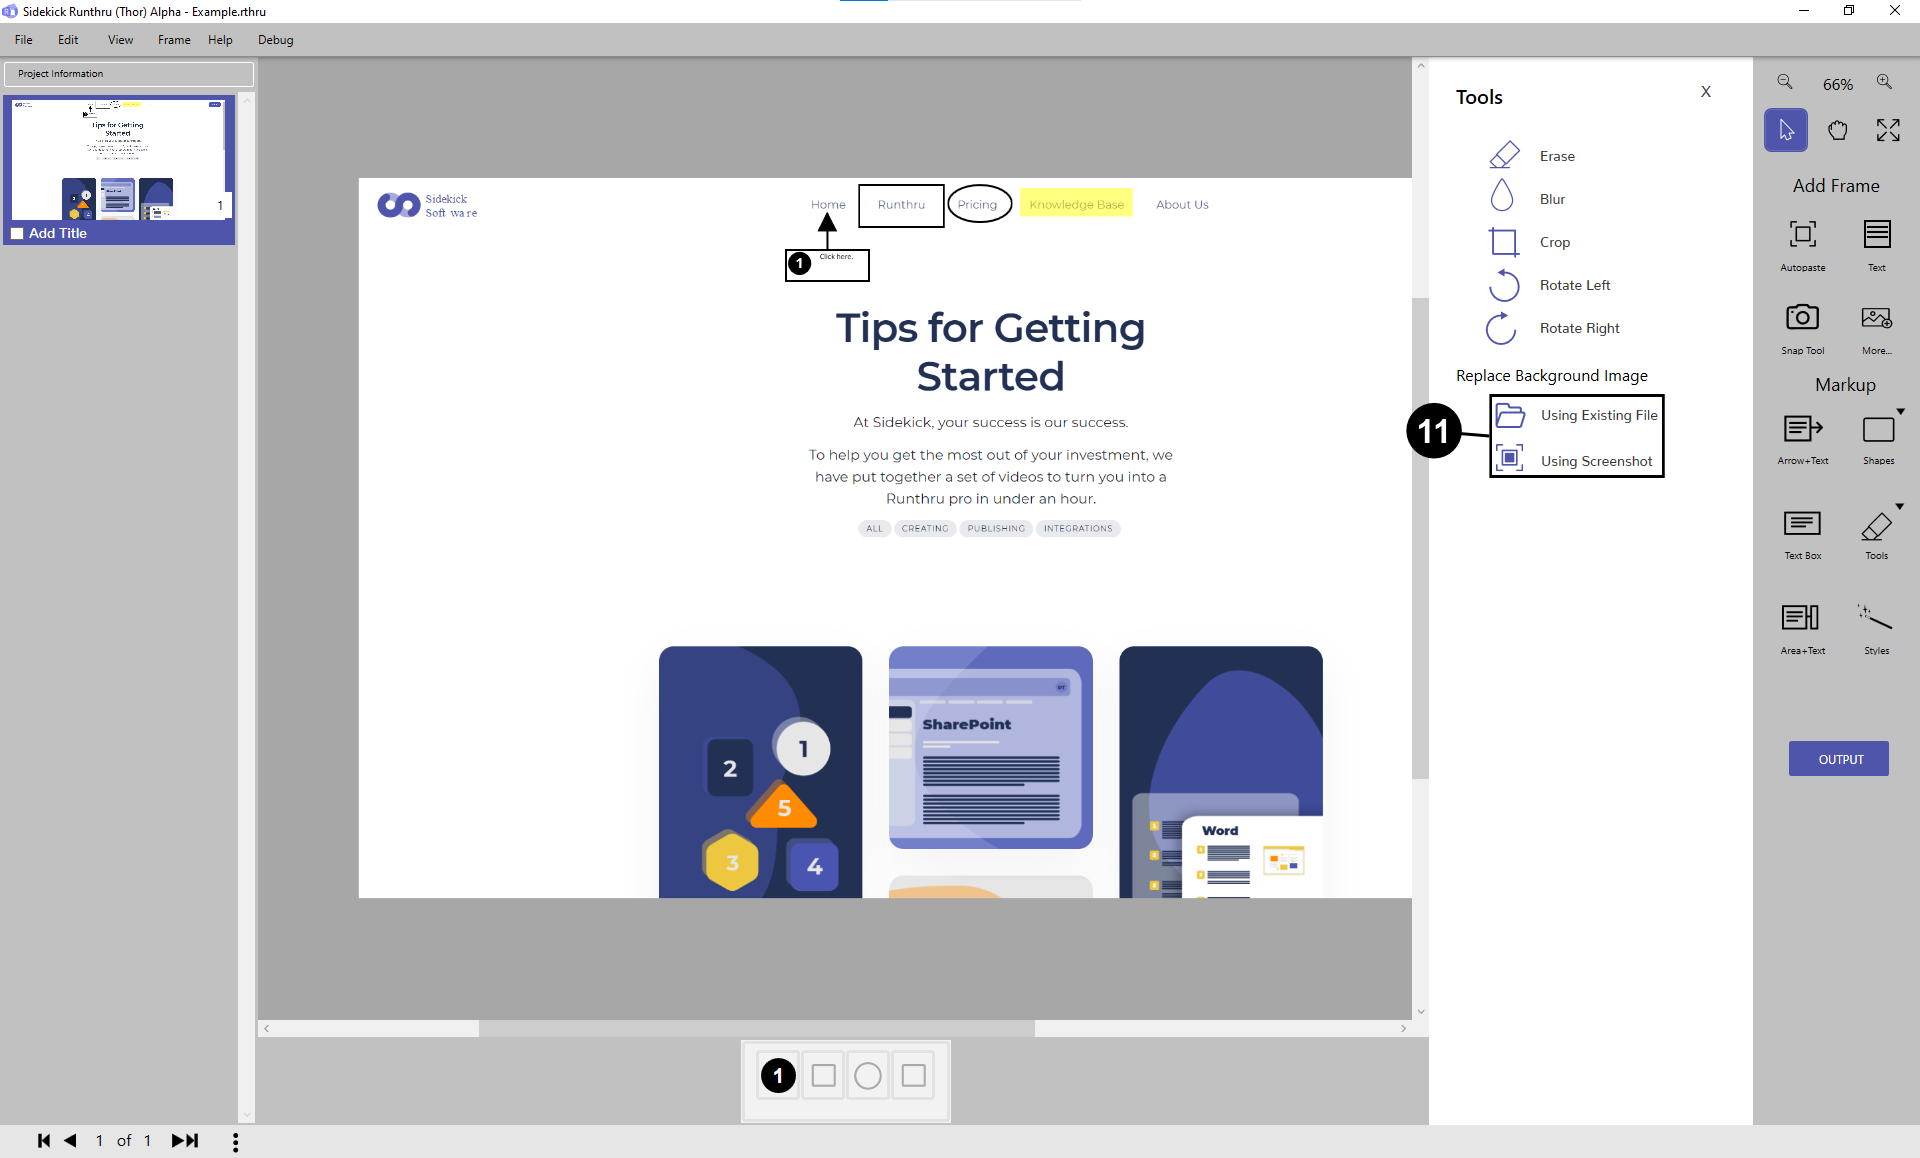

Choose either of these options to change the image without changing the markups.
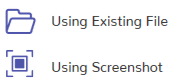
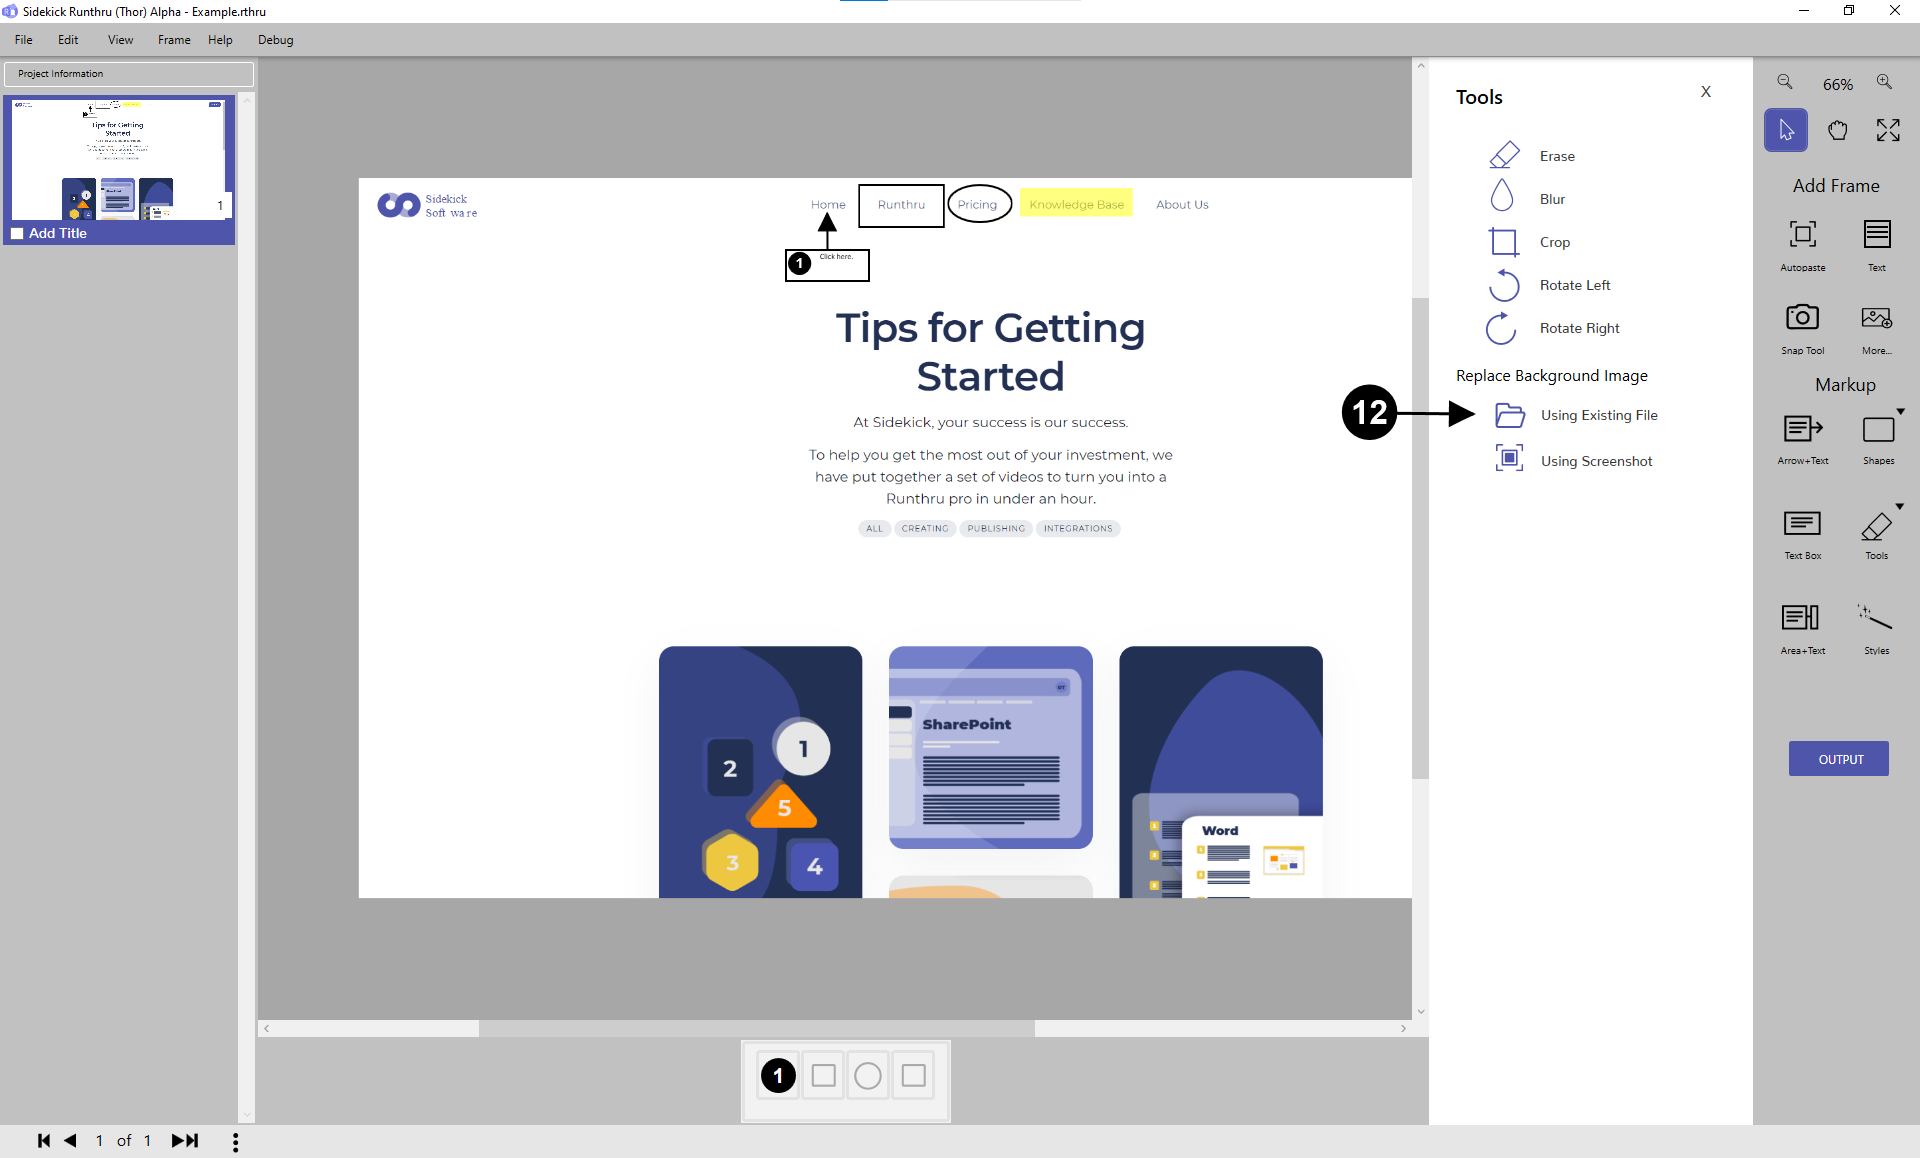

Click the 'Using Existing File' button to use a image from a library folder.
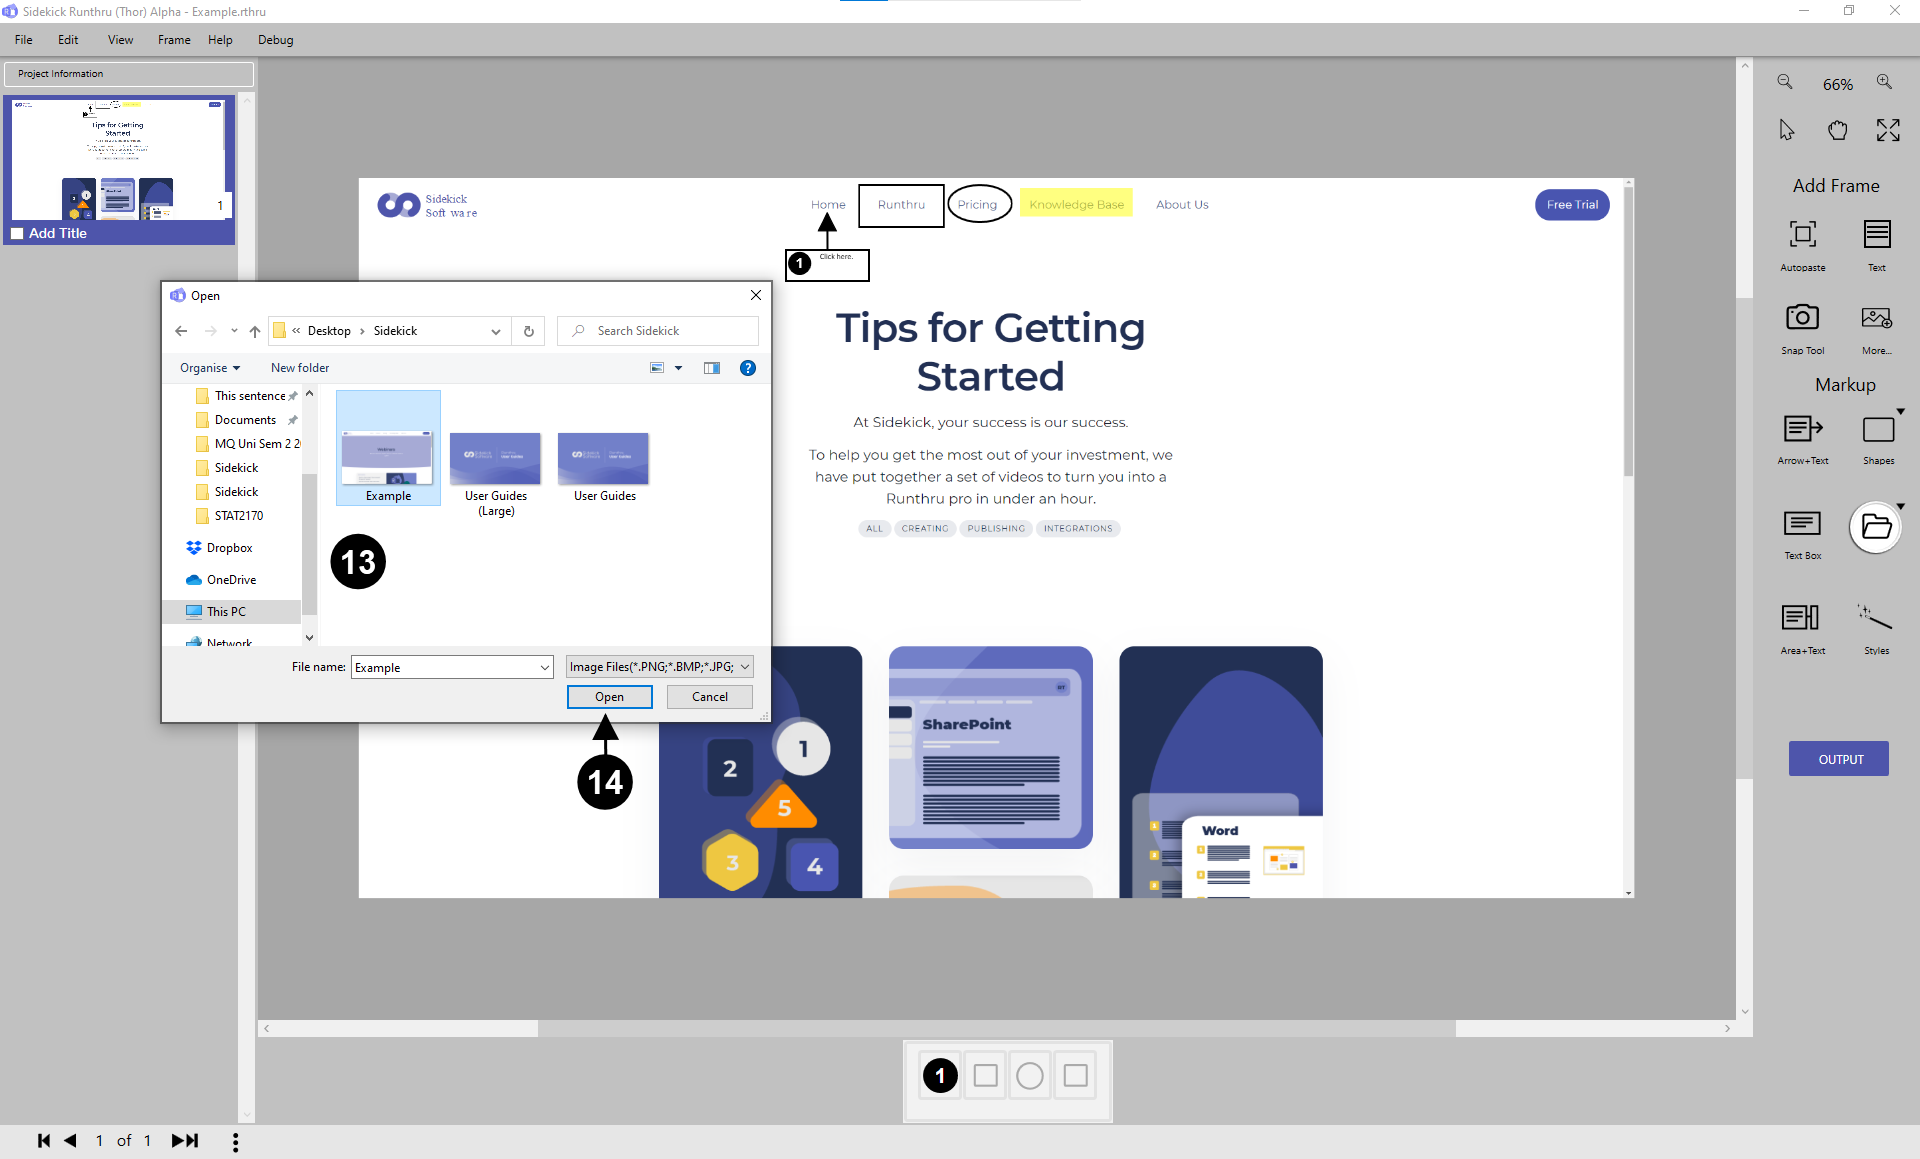

A Windows box will appear. Choose an image from your library.

Click 'Open' to replace the image.

As shown, the Image was easily replaced without having to re-do the markup. If the size is the same as the previous background Image, markup tools stay at the same place.

Come back to the Tools Panel and click 'Using Screenshot'.
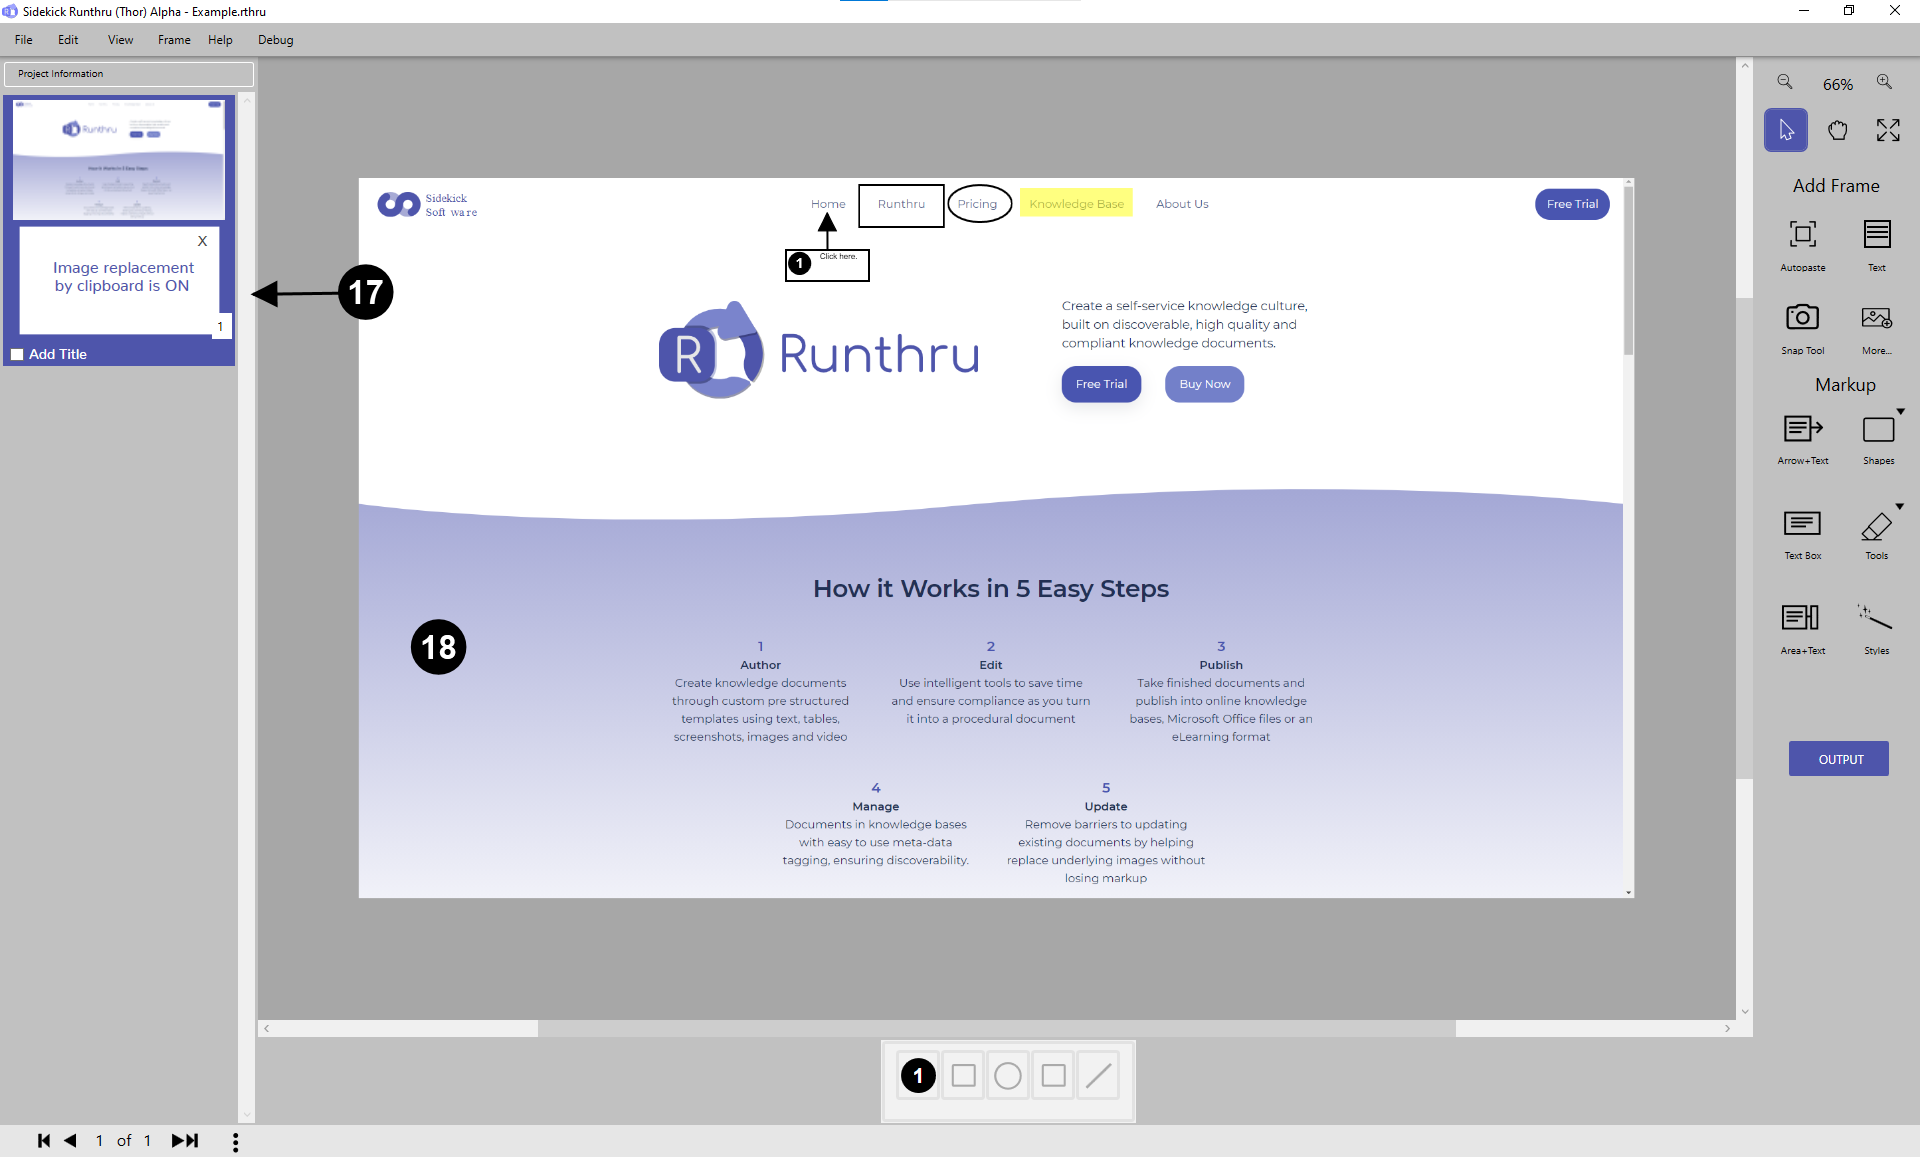

When you click the 'Using Screenshot' button, a notification ('Image replacement by clipboard is ON') appears.

Go to the application you wish to replace with a new image.


Press Alt+PrintScreen or PrintScreen to make a screenshot.
Note: You can feed Runthru images using Windows Snipping Tool and Another Snipping Tool as well.
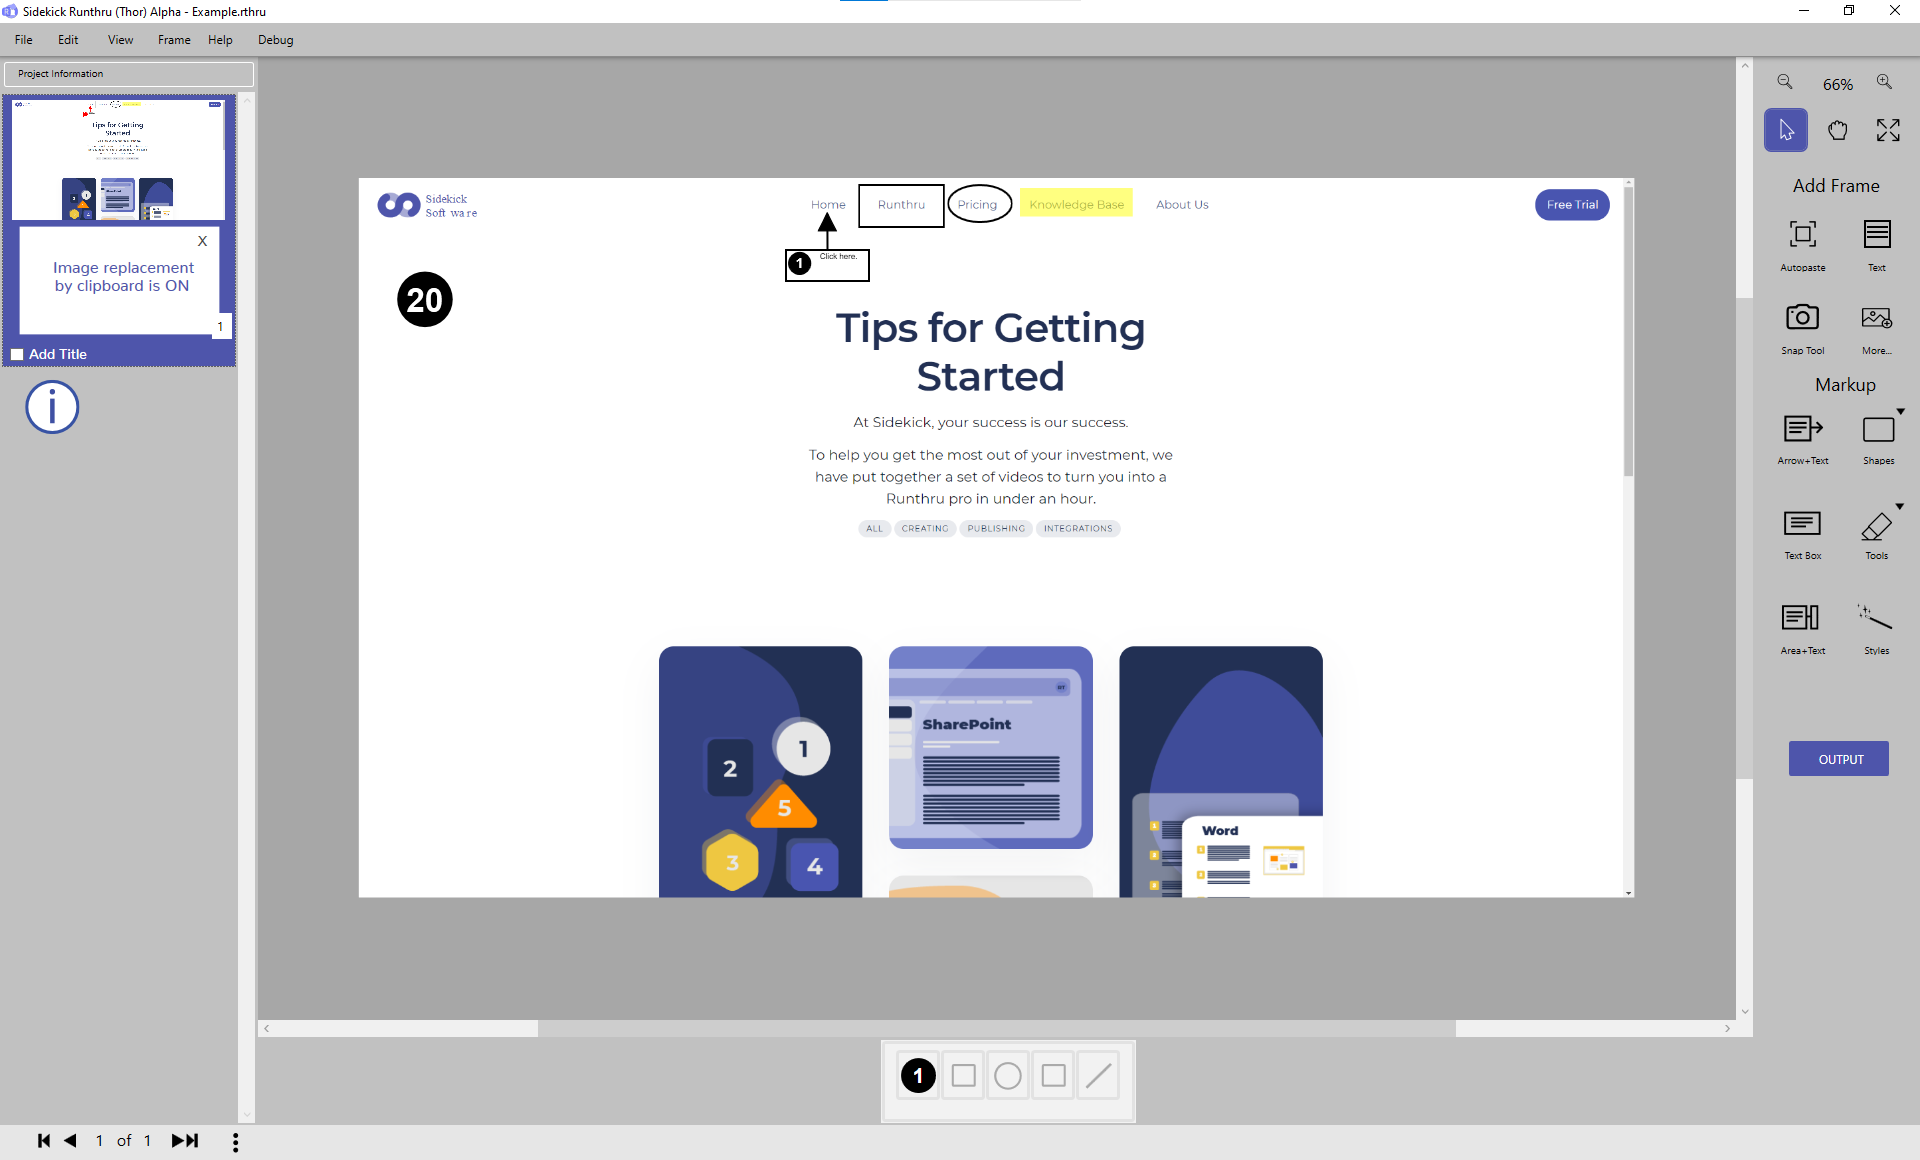

Here is the result.

Remember to turn off the 'Image replacement' after finished by clicking the cross.