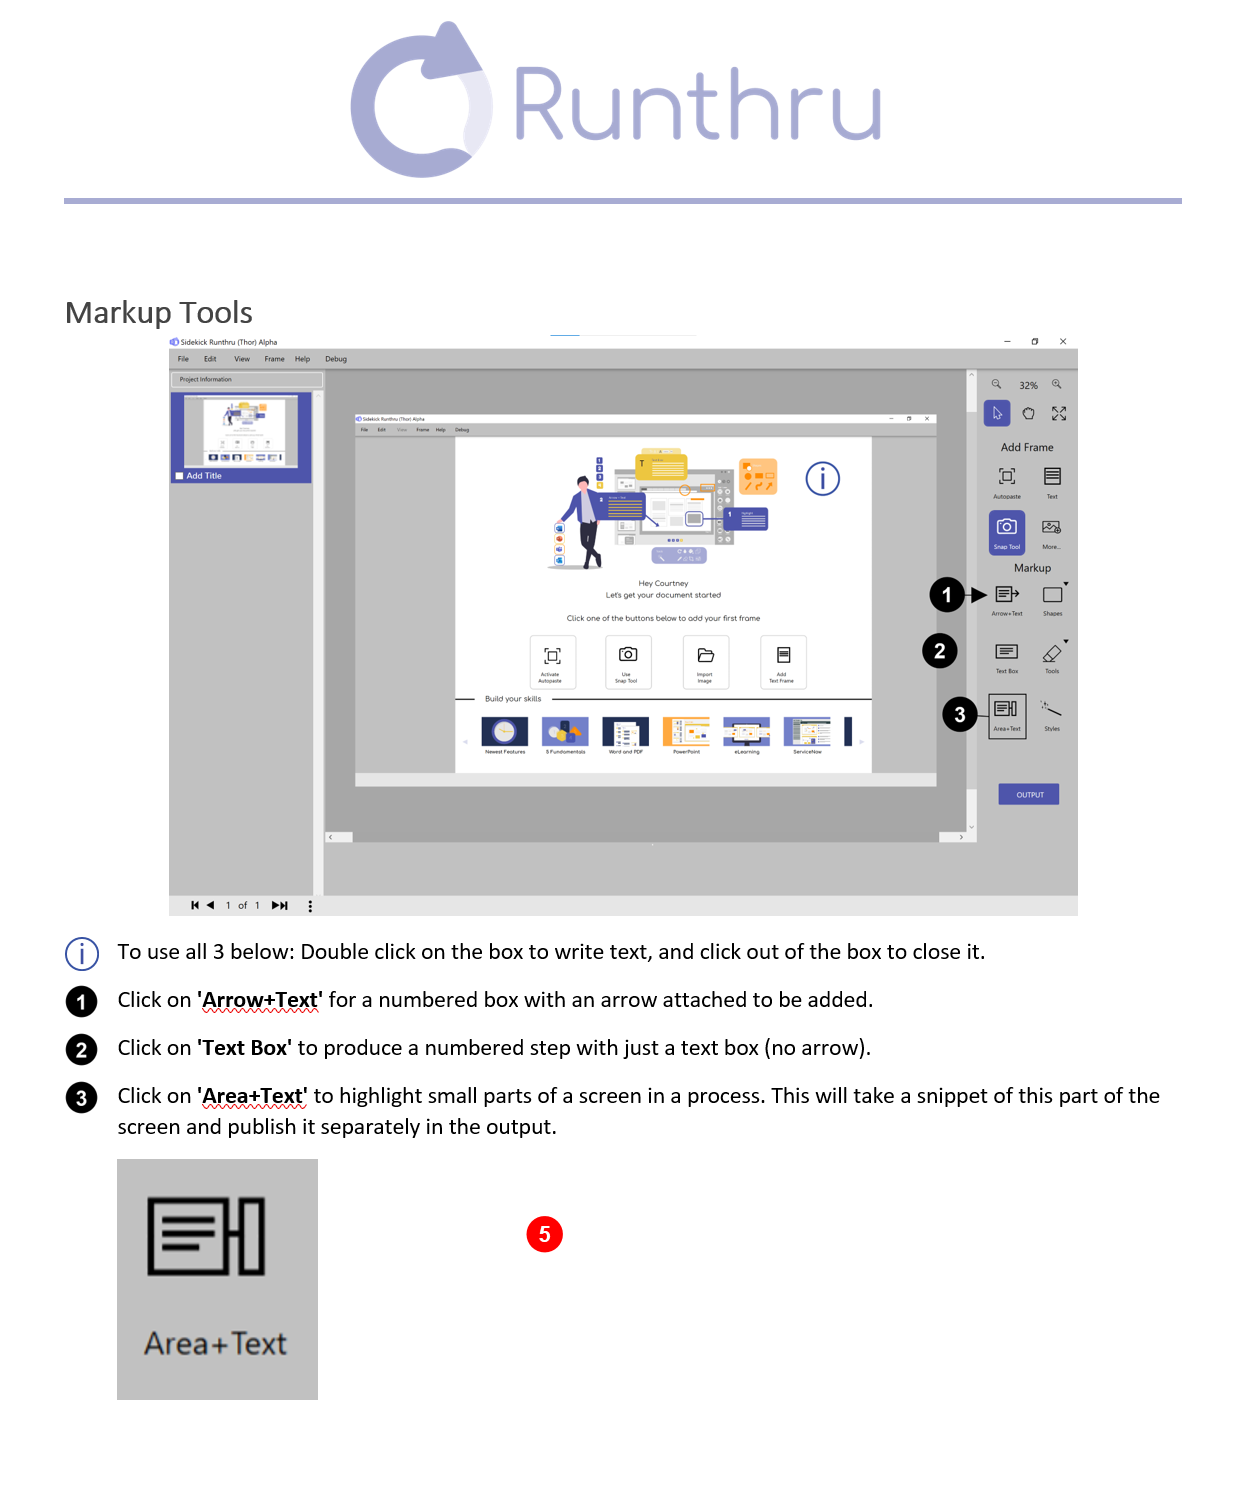
Markup Tools
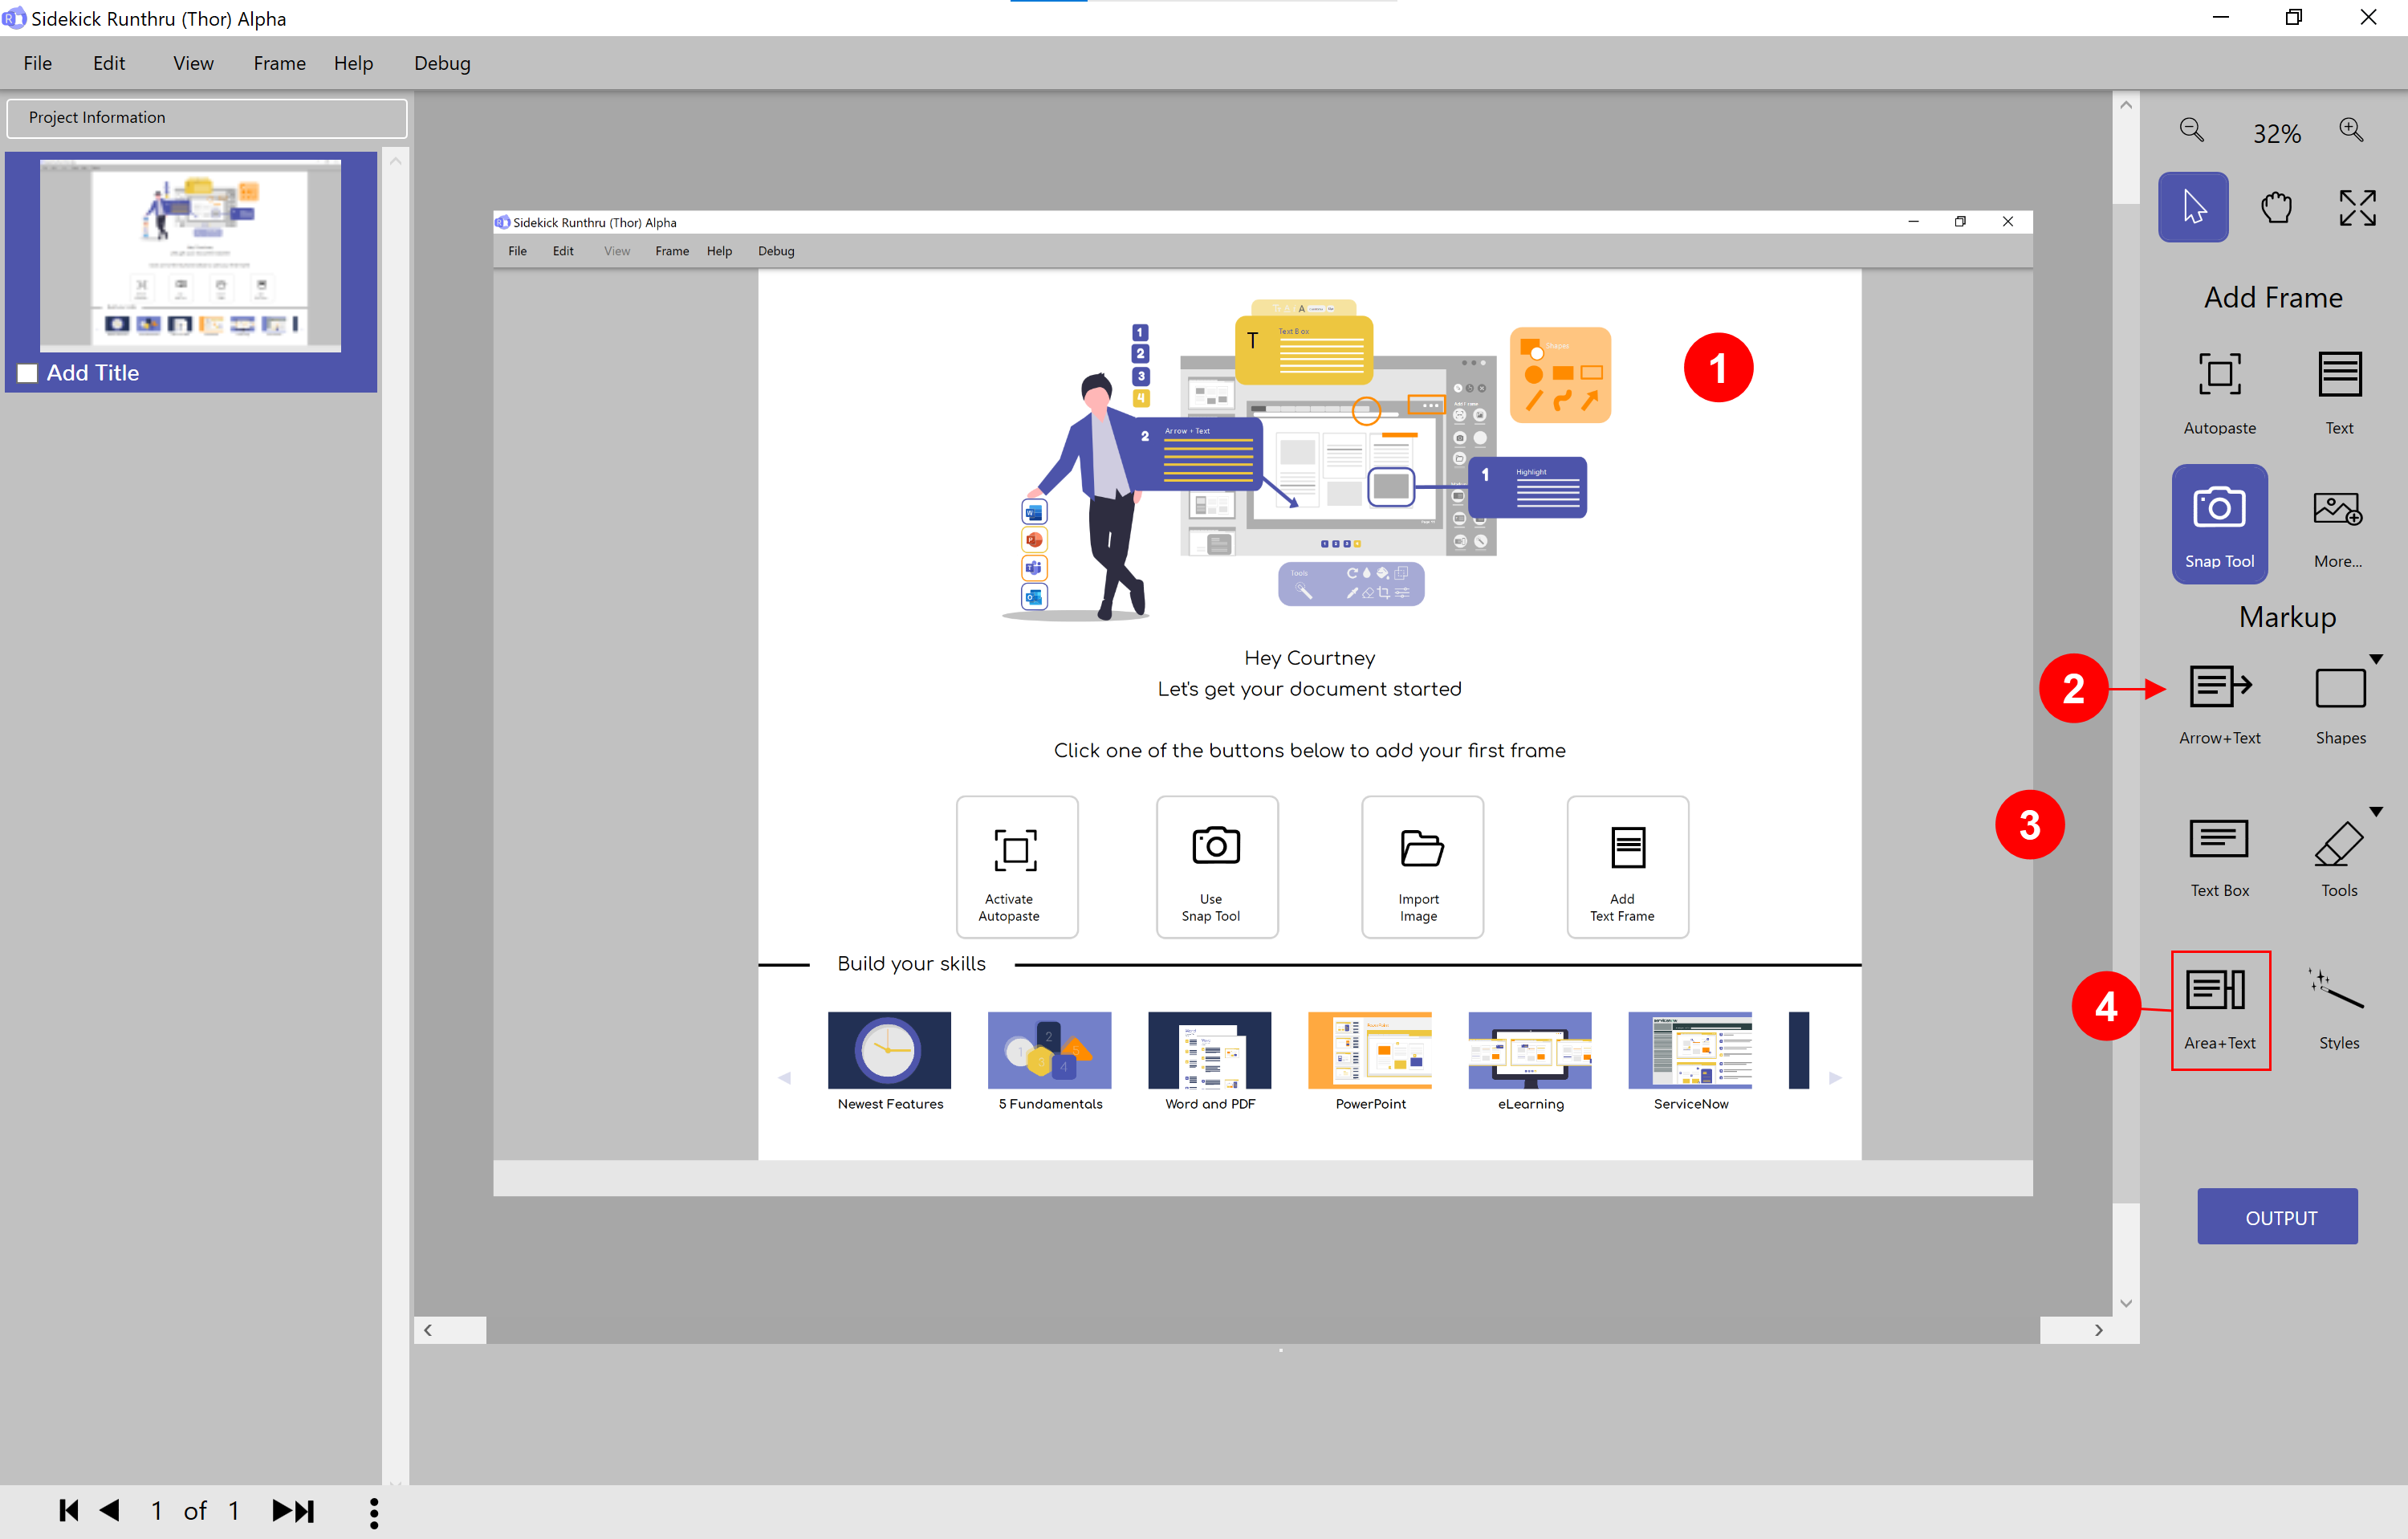

To use all 3 below: double click on the box to write text, and click out of the box to close it.

Click on 'Arrow+Text' for a numbered box with an arrow attached to be added.

Click on 'Text Box' to produce a numbered step with just a text box (no arrow).

Click on 'Area+Text' to highlight small parts of a screen in a process. This will take a snippet of this part of the screen and publish it separately in the output.

Here is an example of the 'Arrow+Text', 'Text Box', and 'Area+Text' Markup Tools in Word.
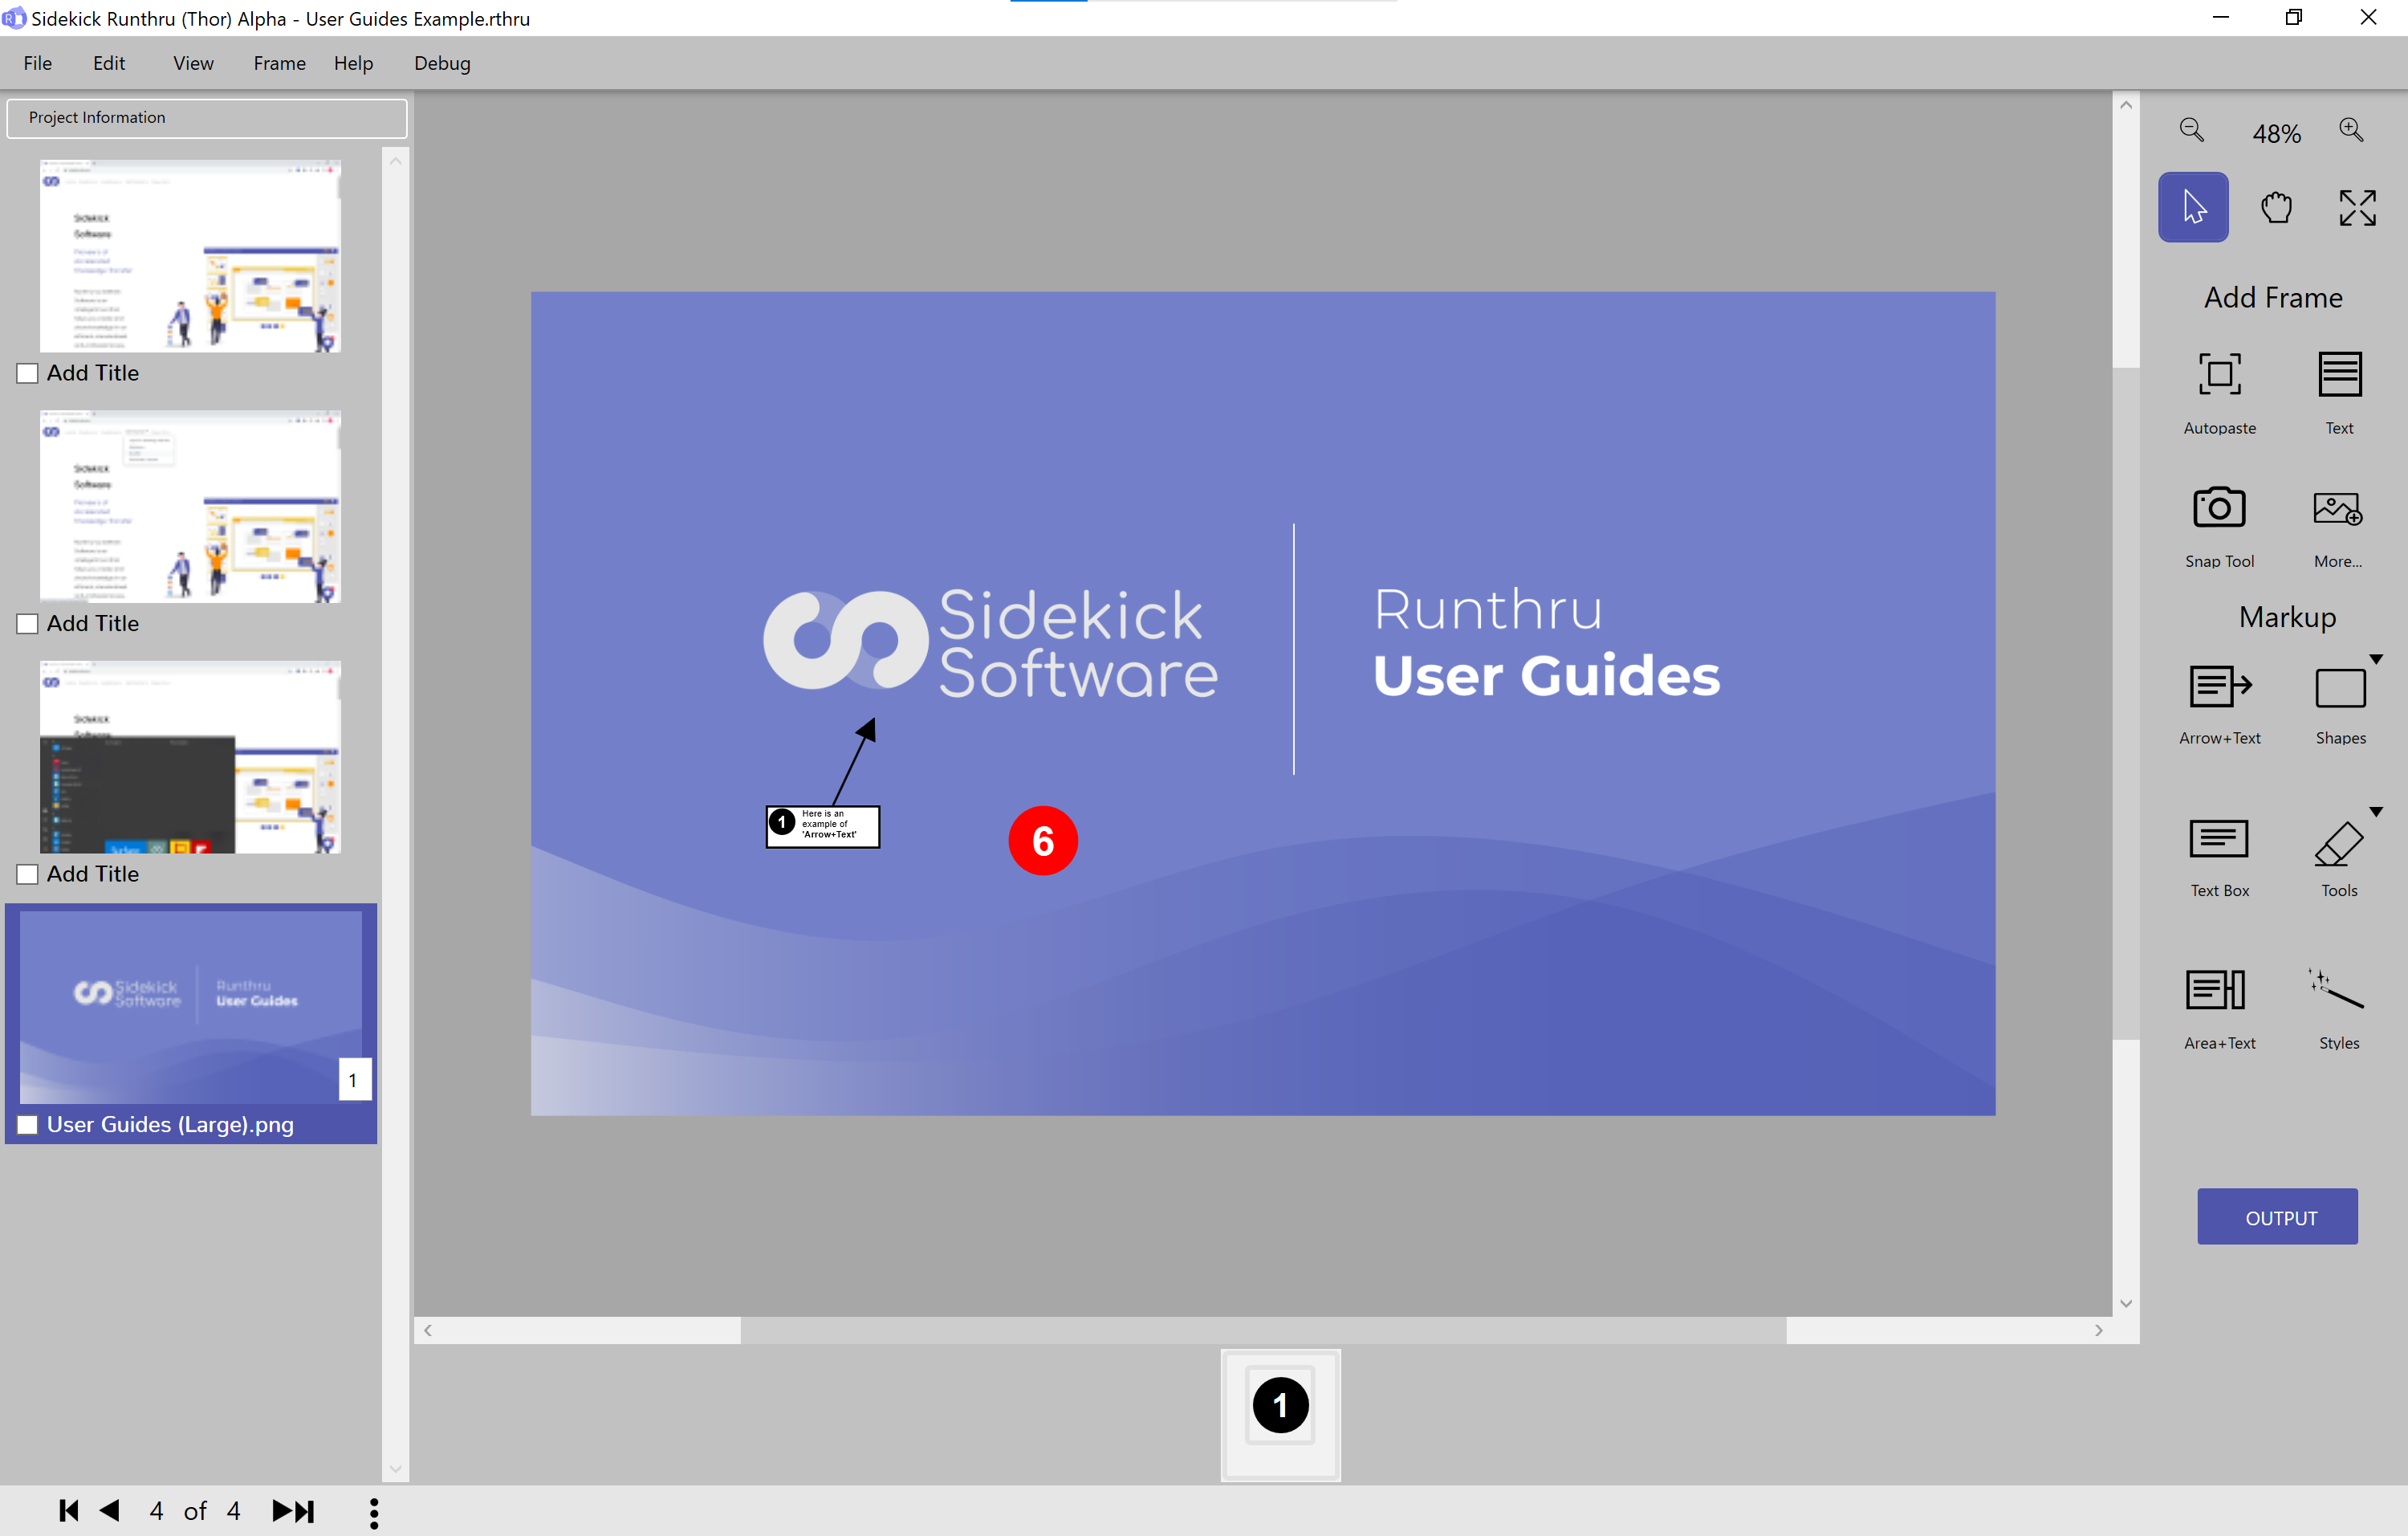

You can move the box and the arrow independently or together.
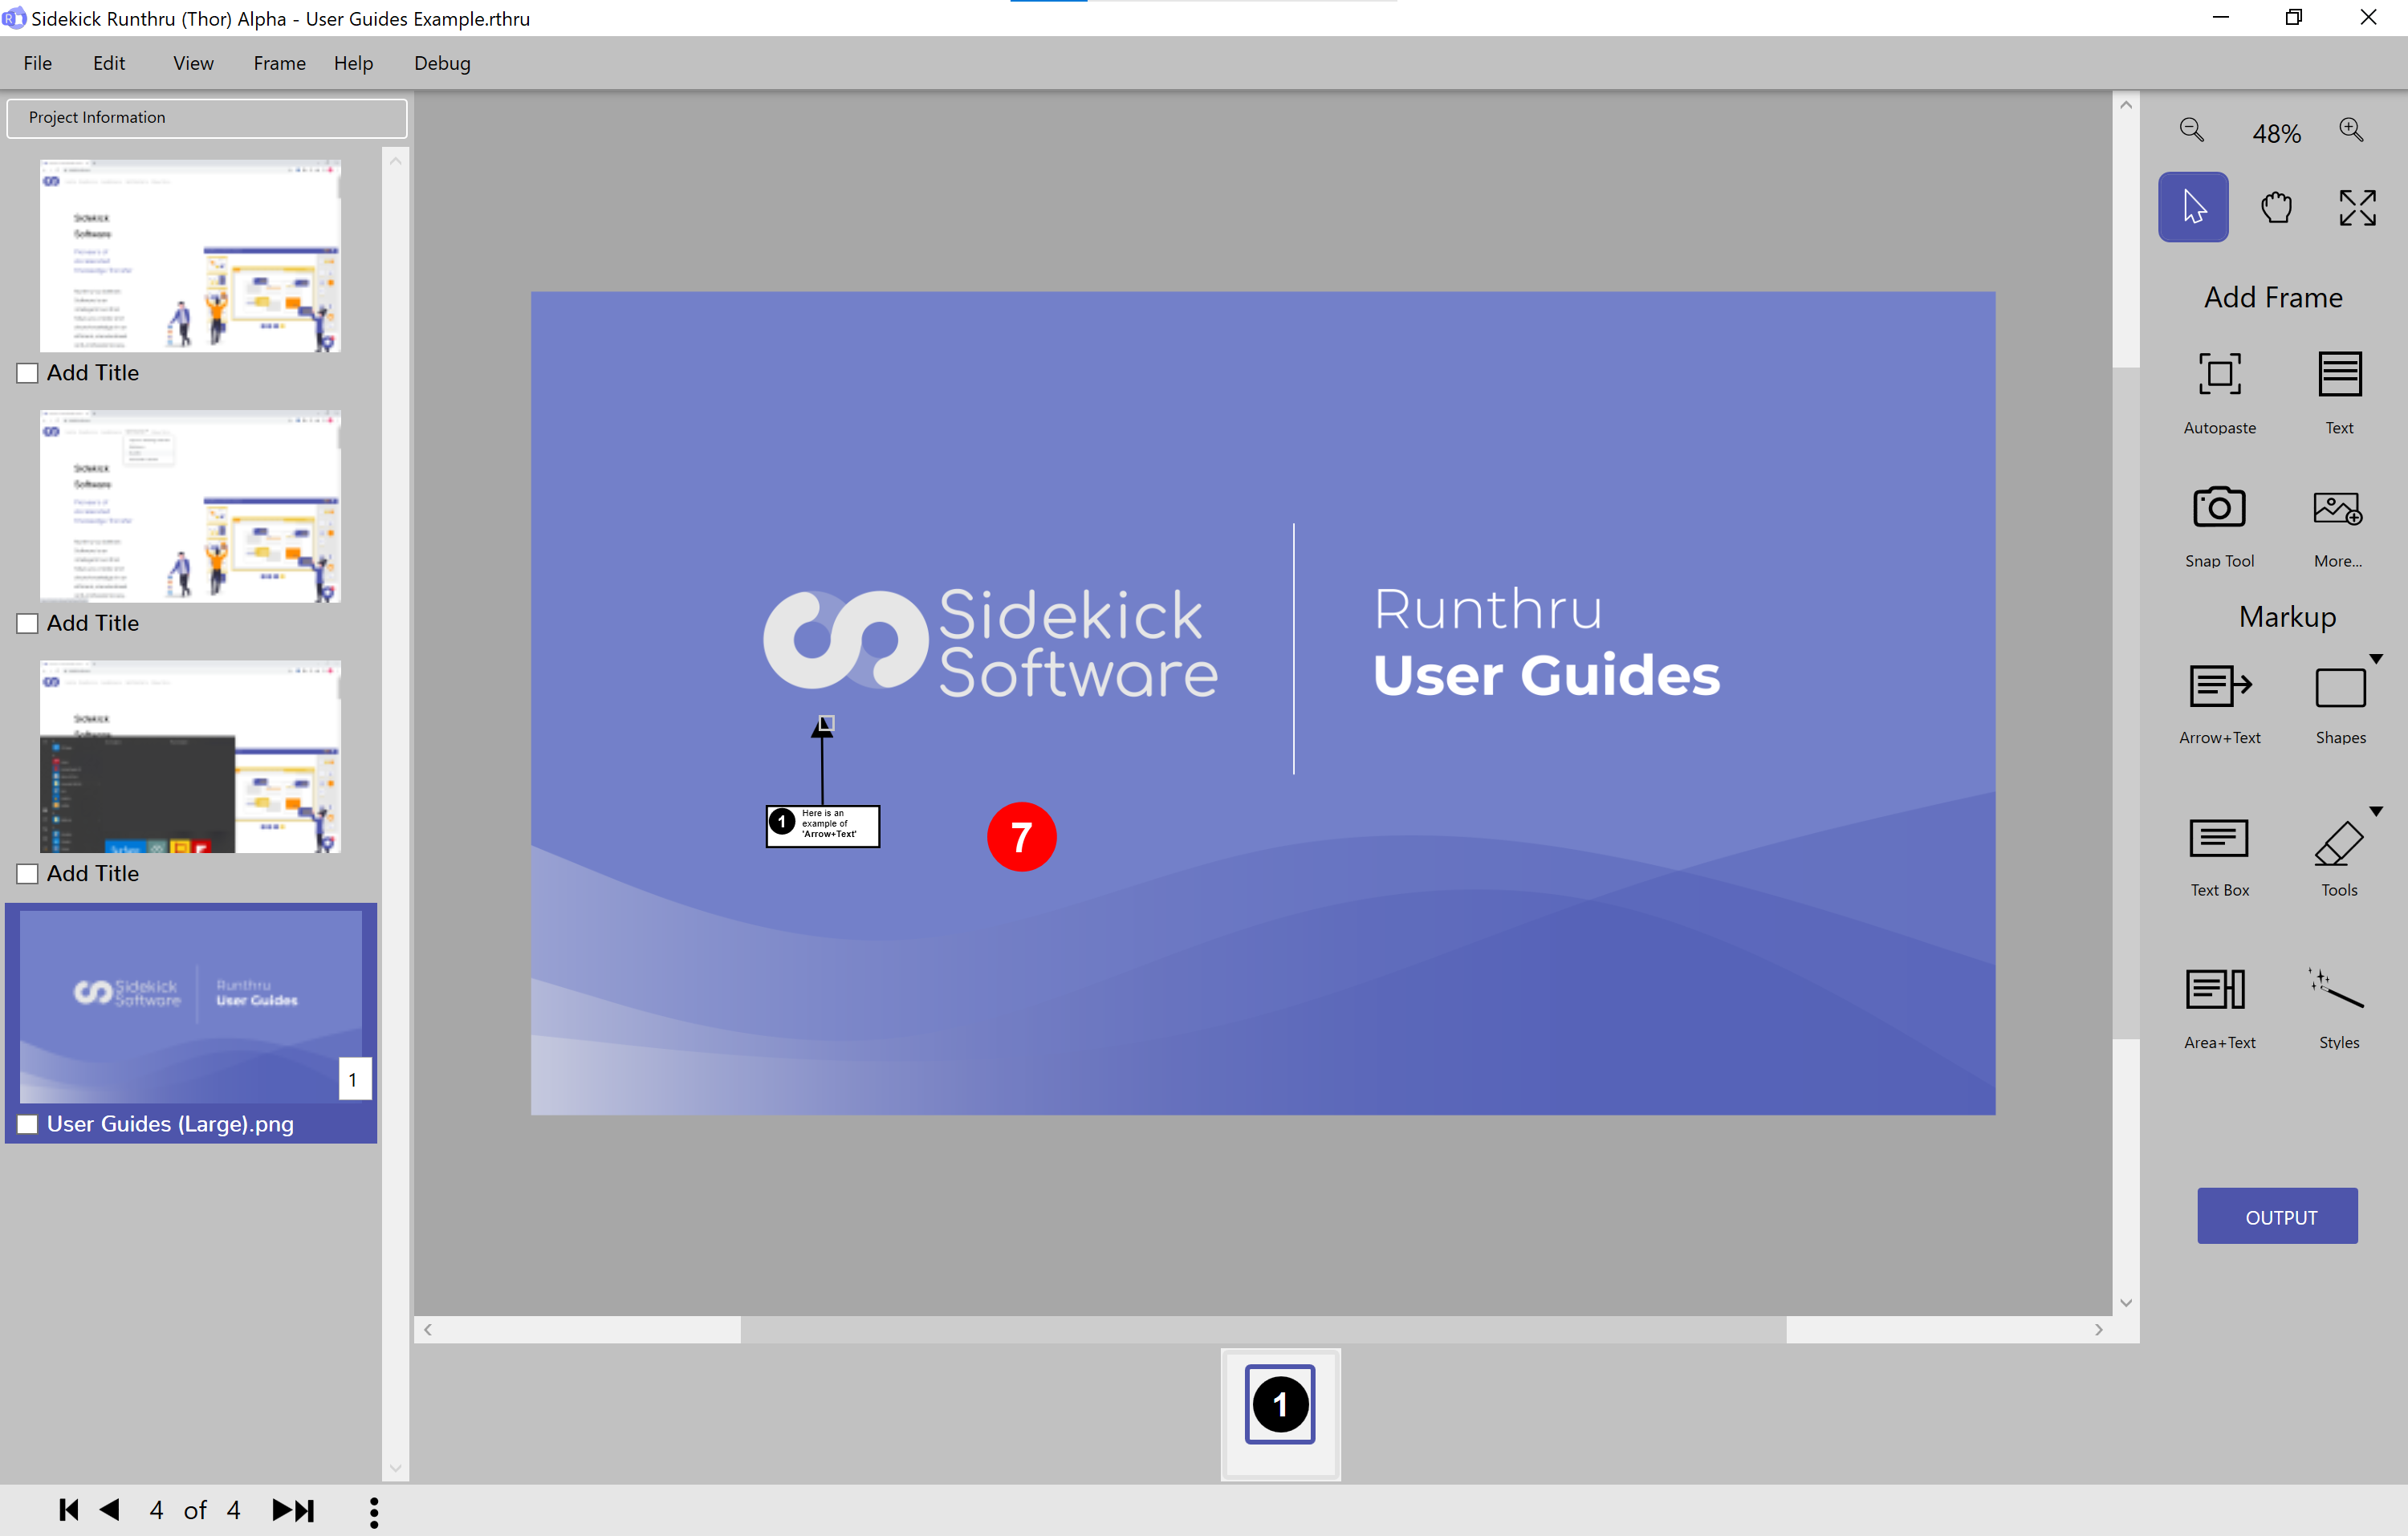

Click on the arrow and move it as required.
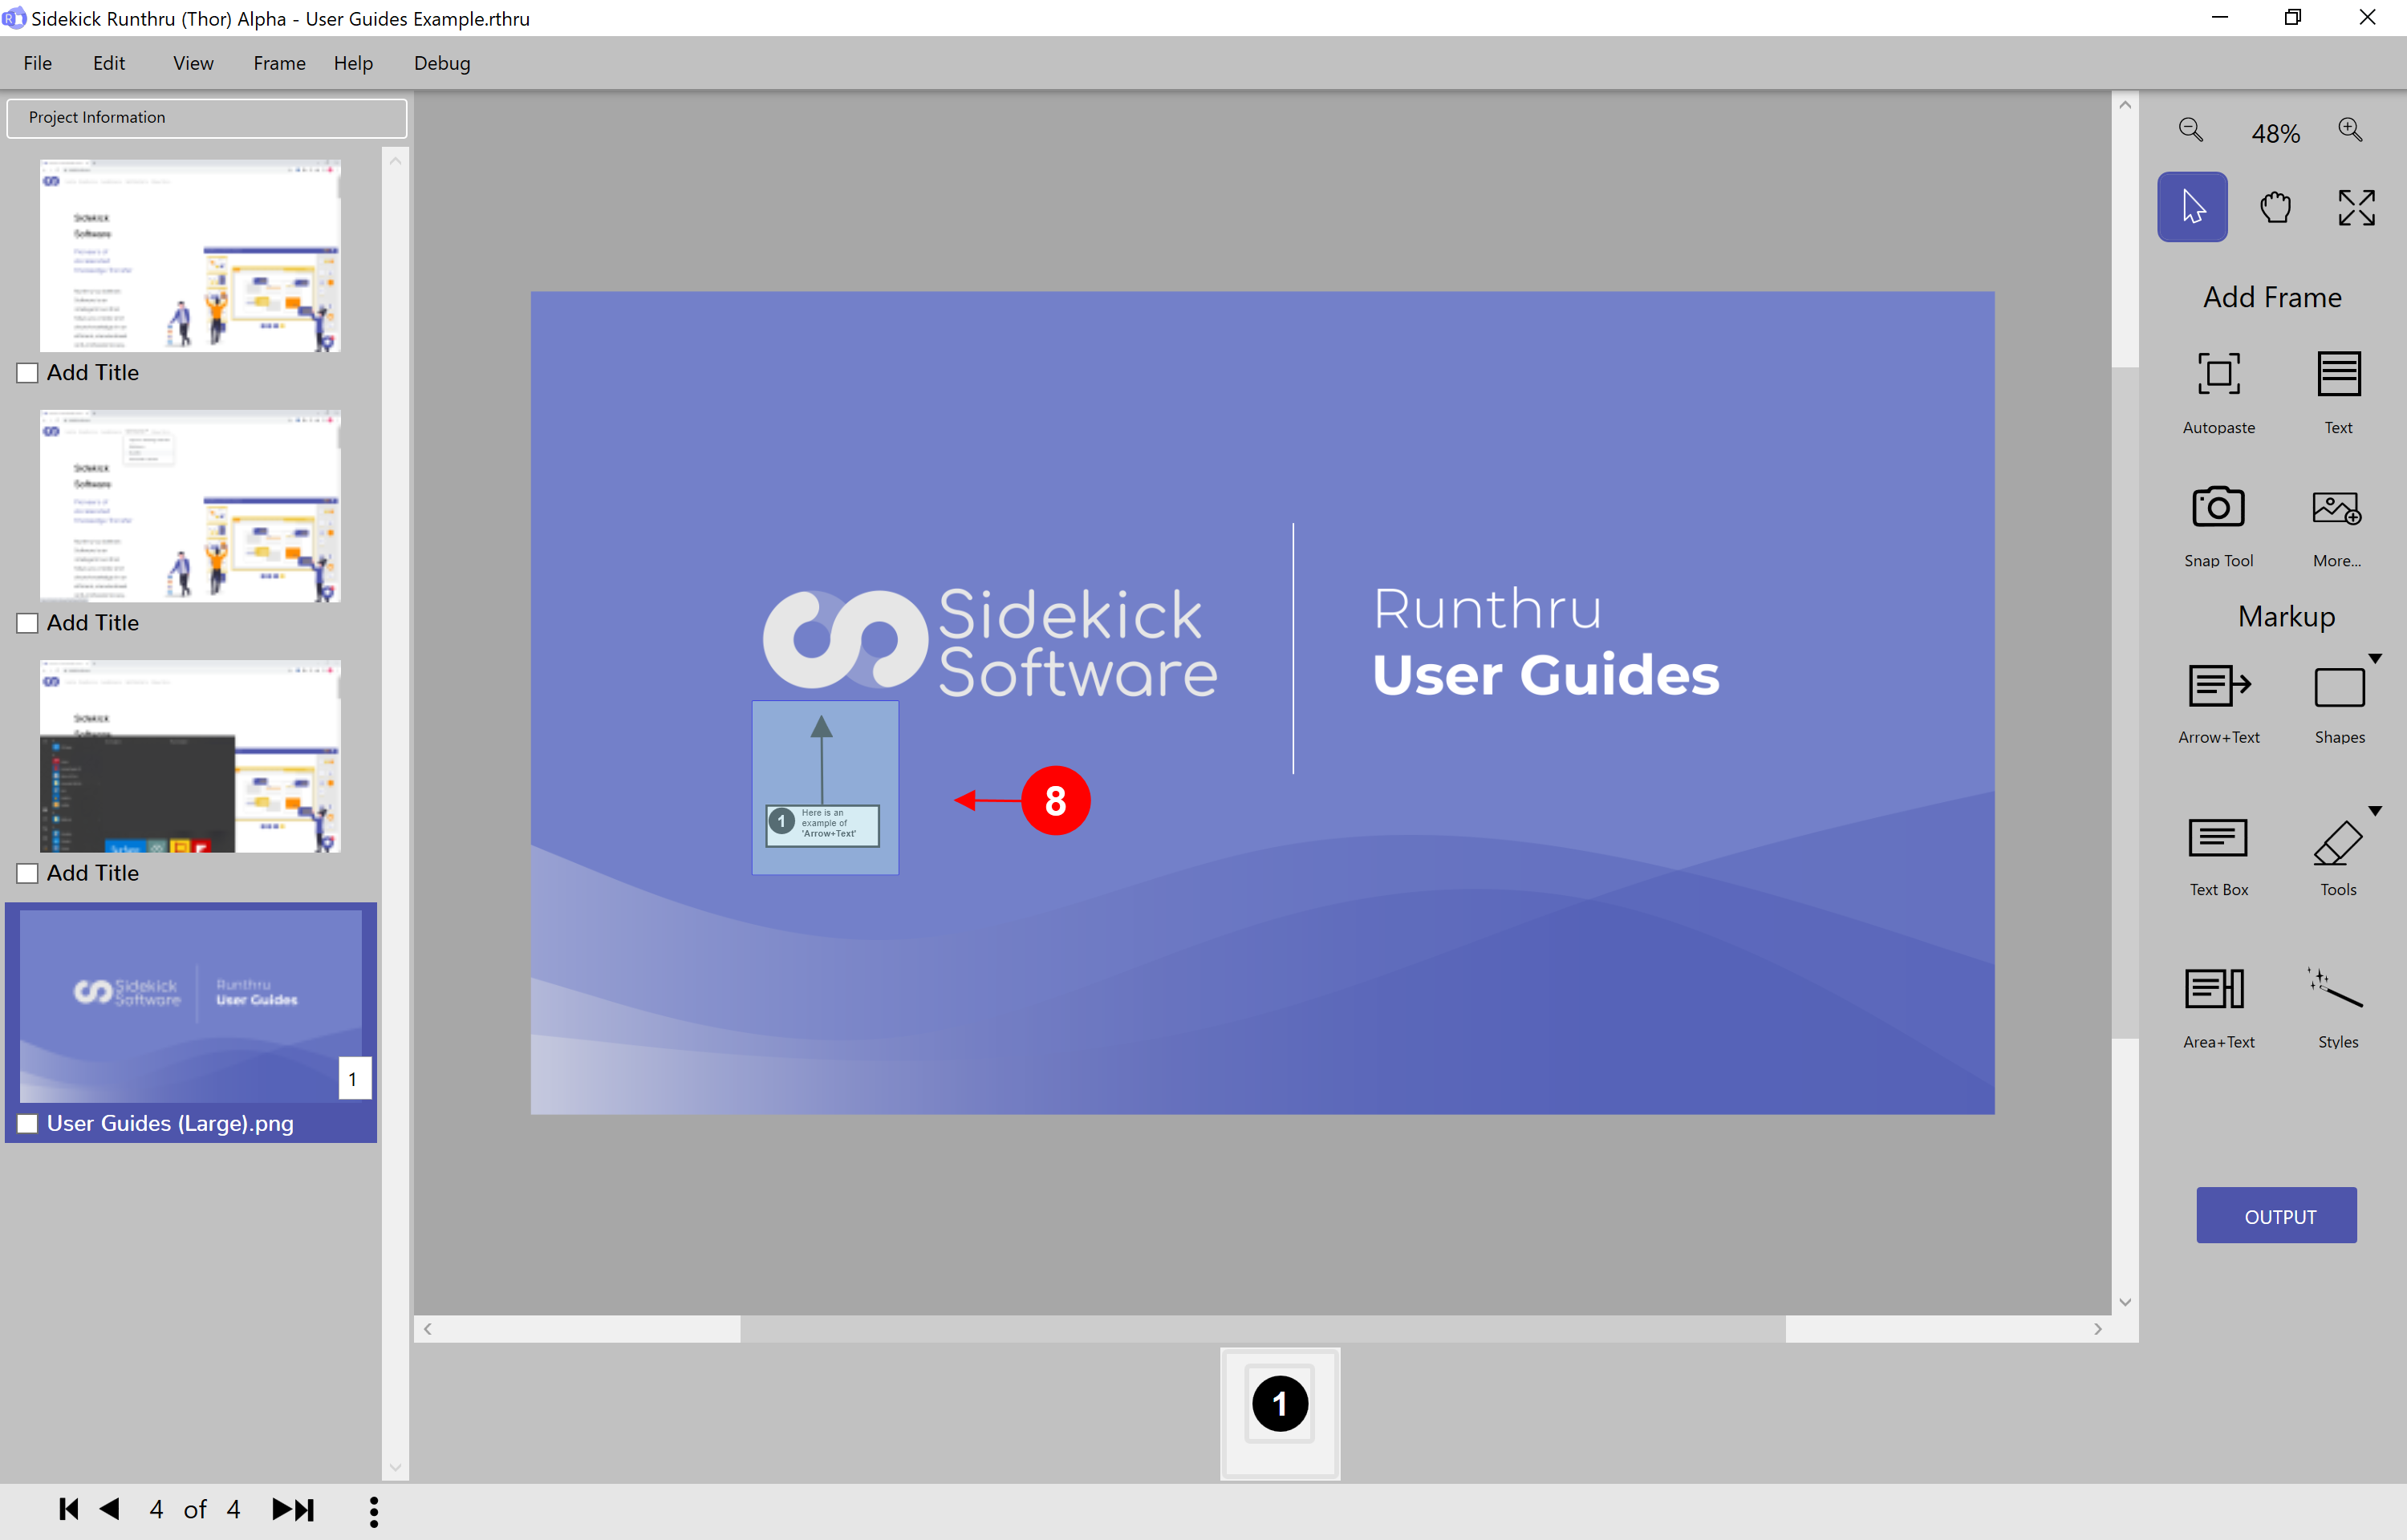

Select both (by dragging a rectangle over the box and arrow). This allows you to move both at the same time.
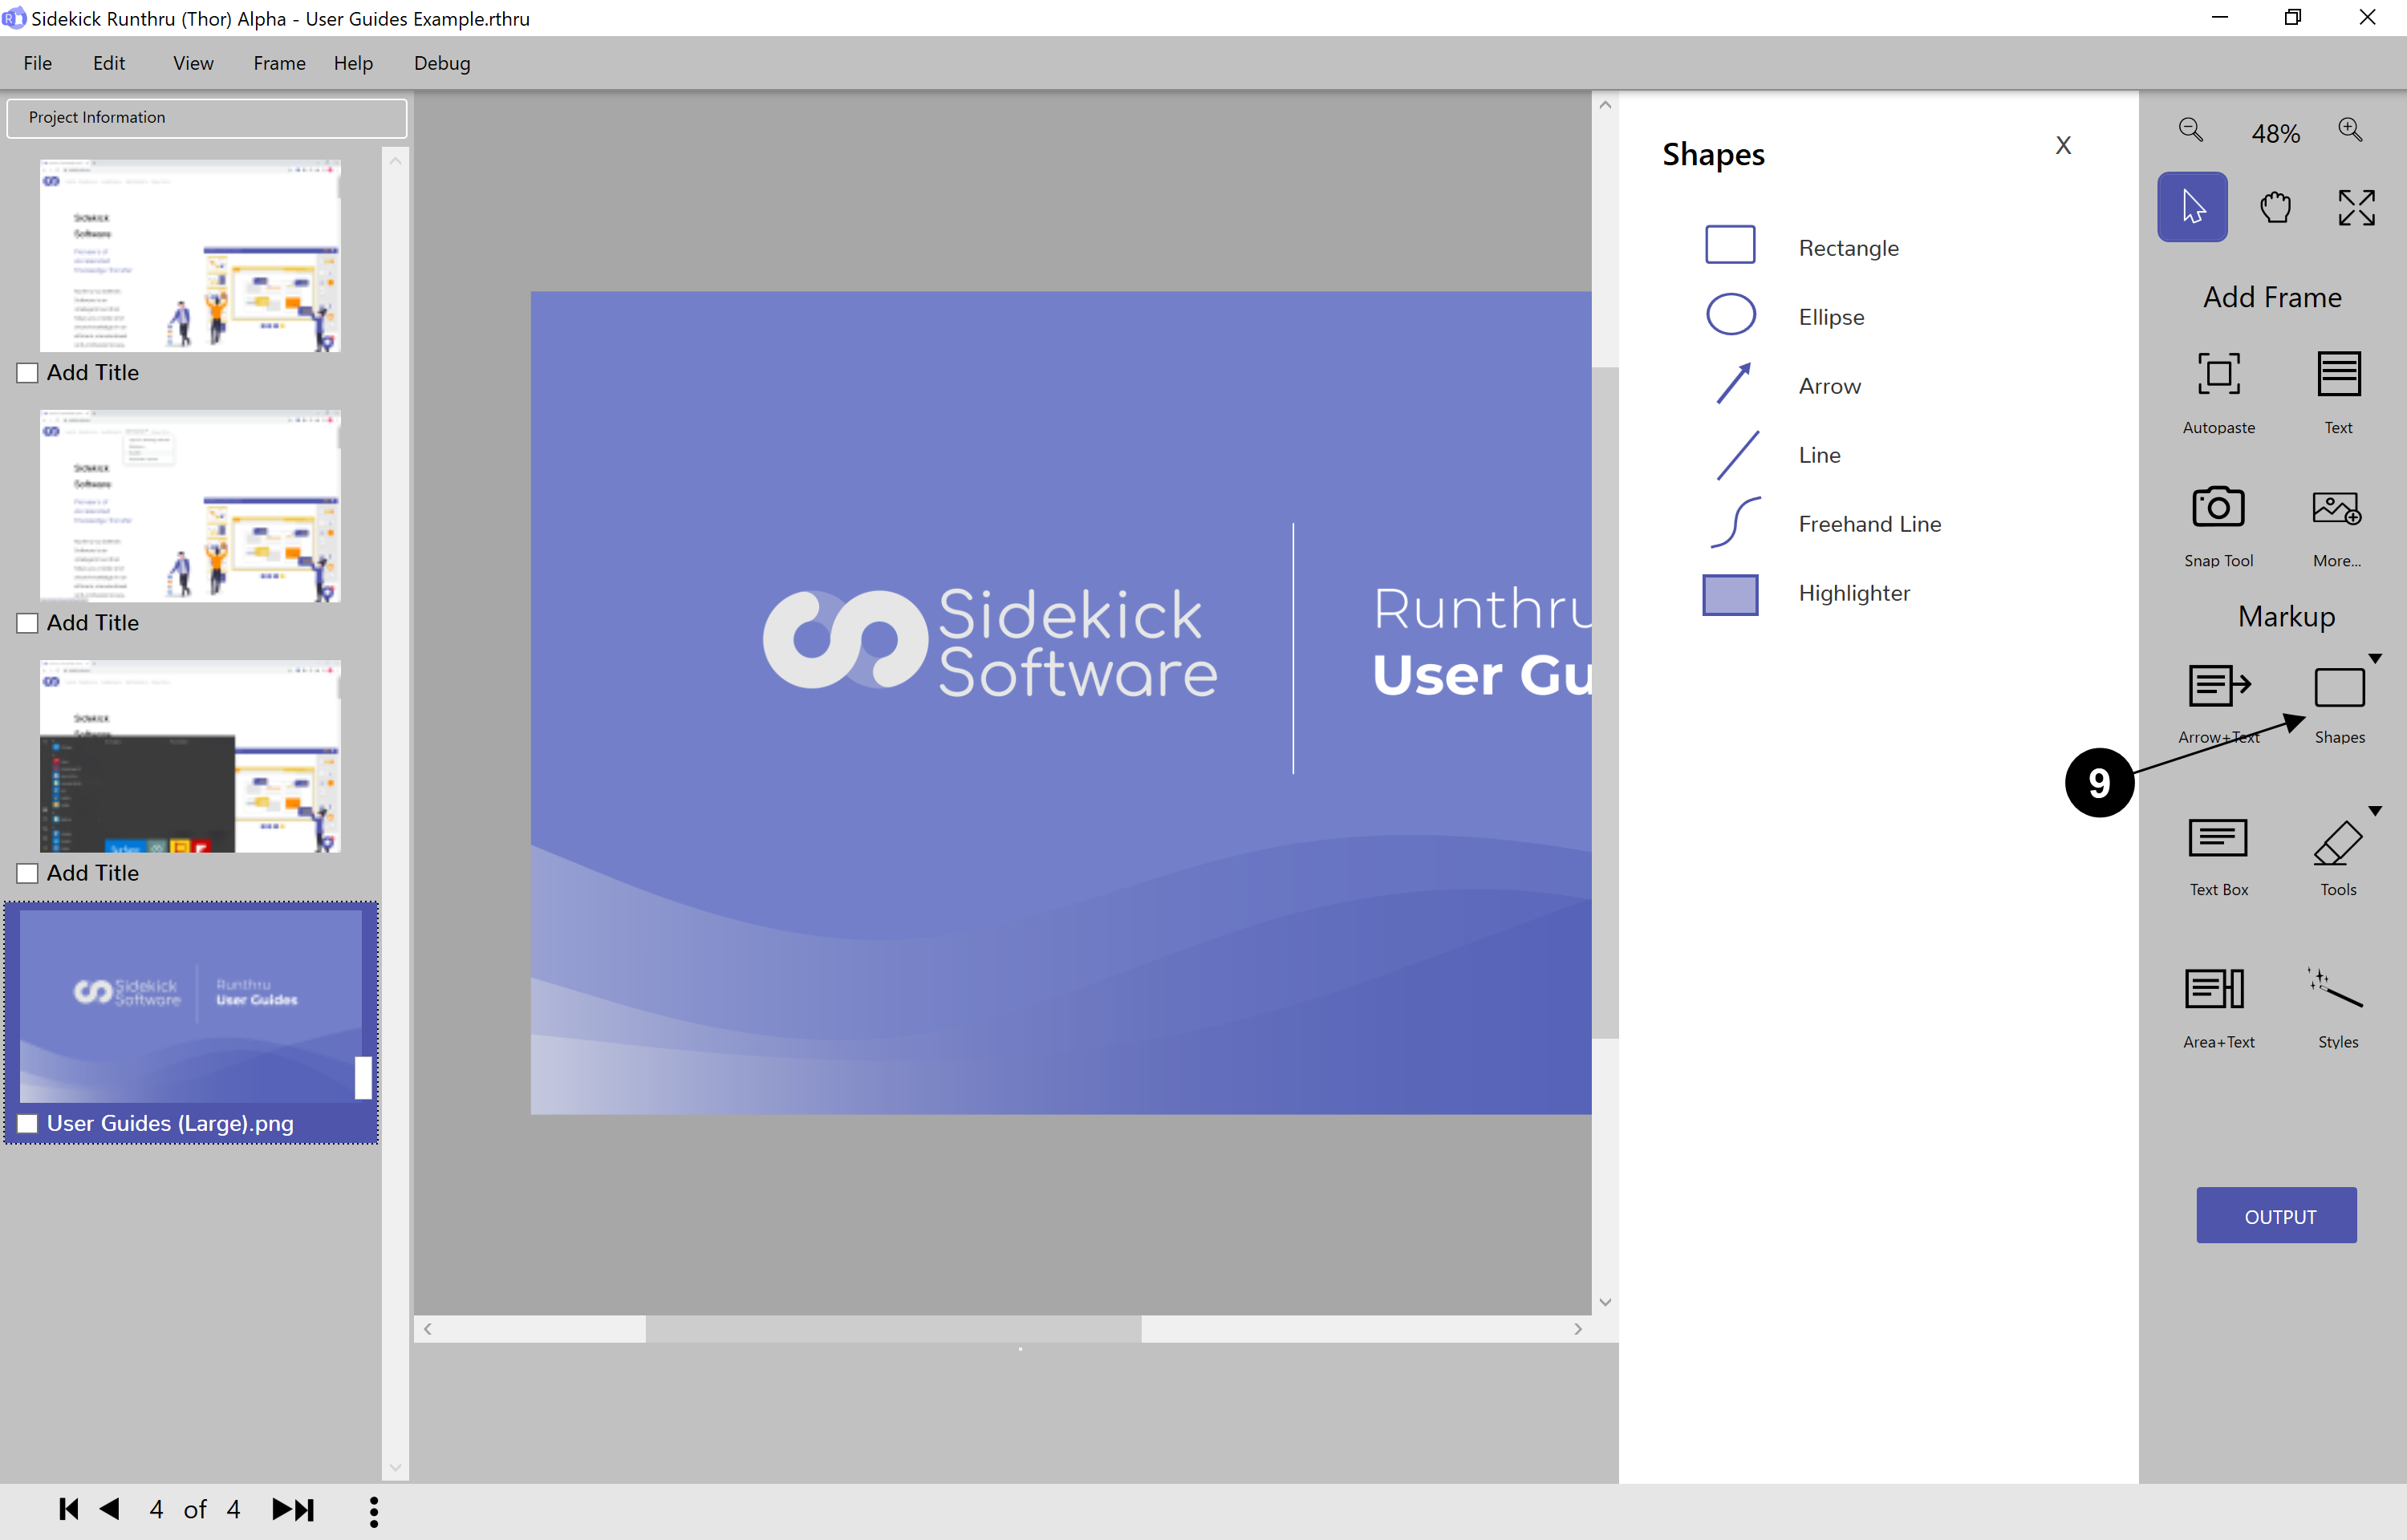

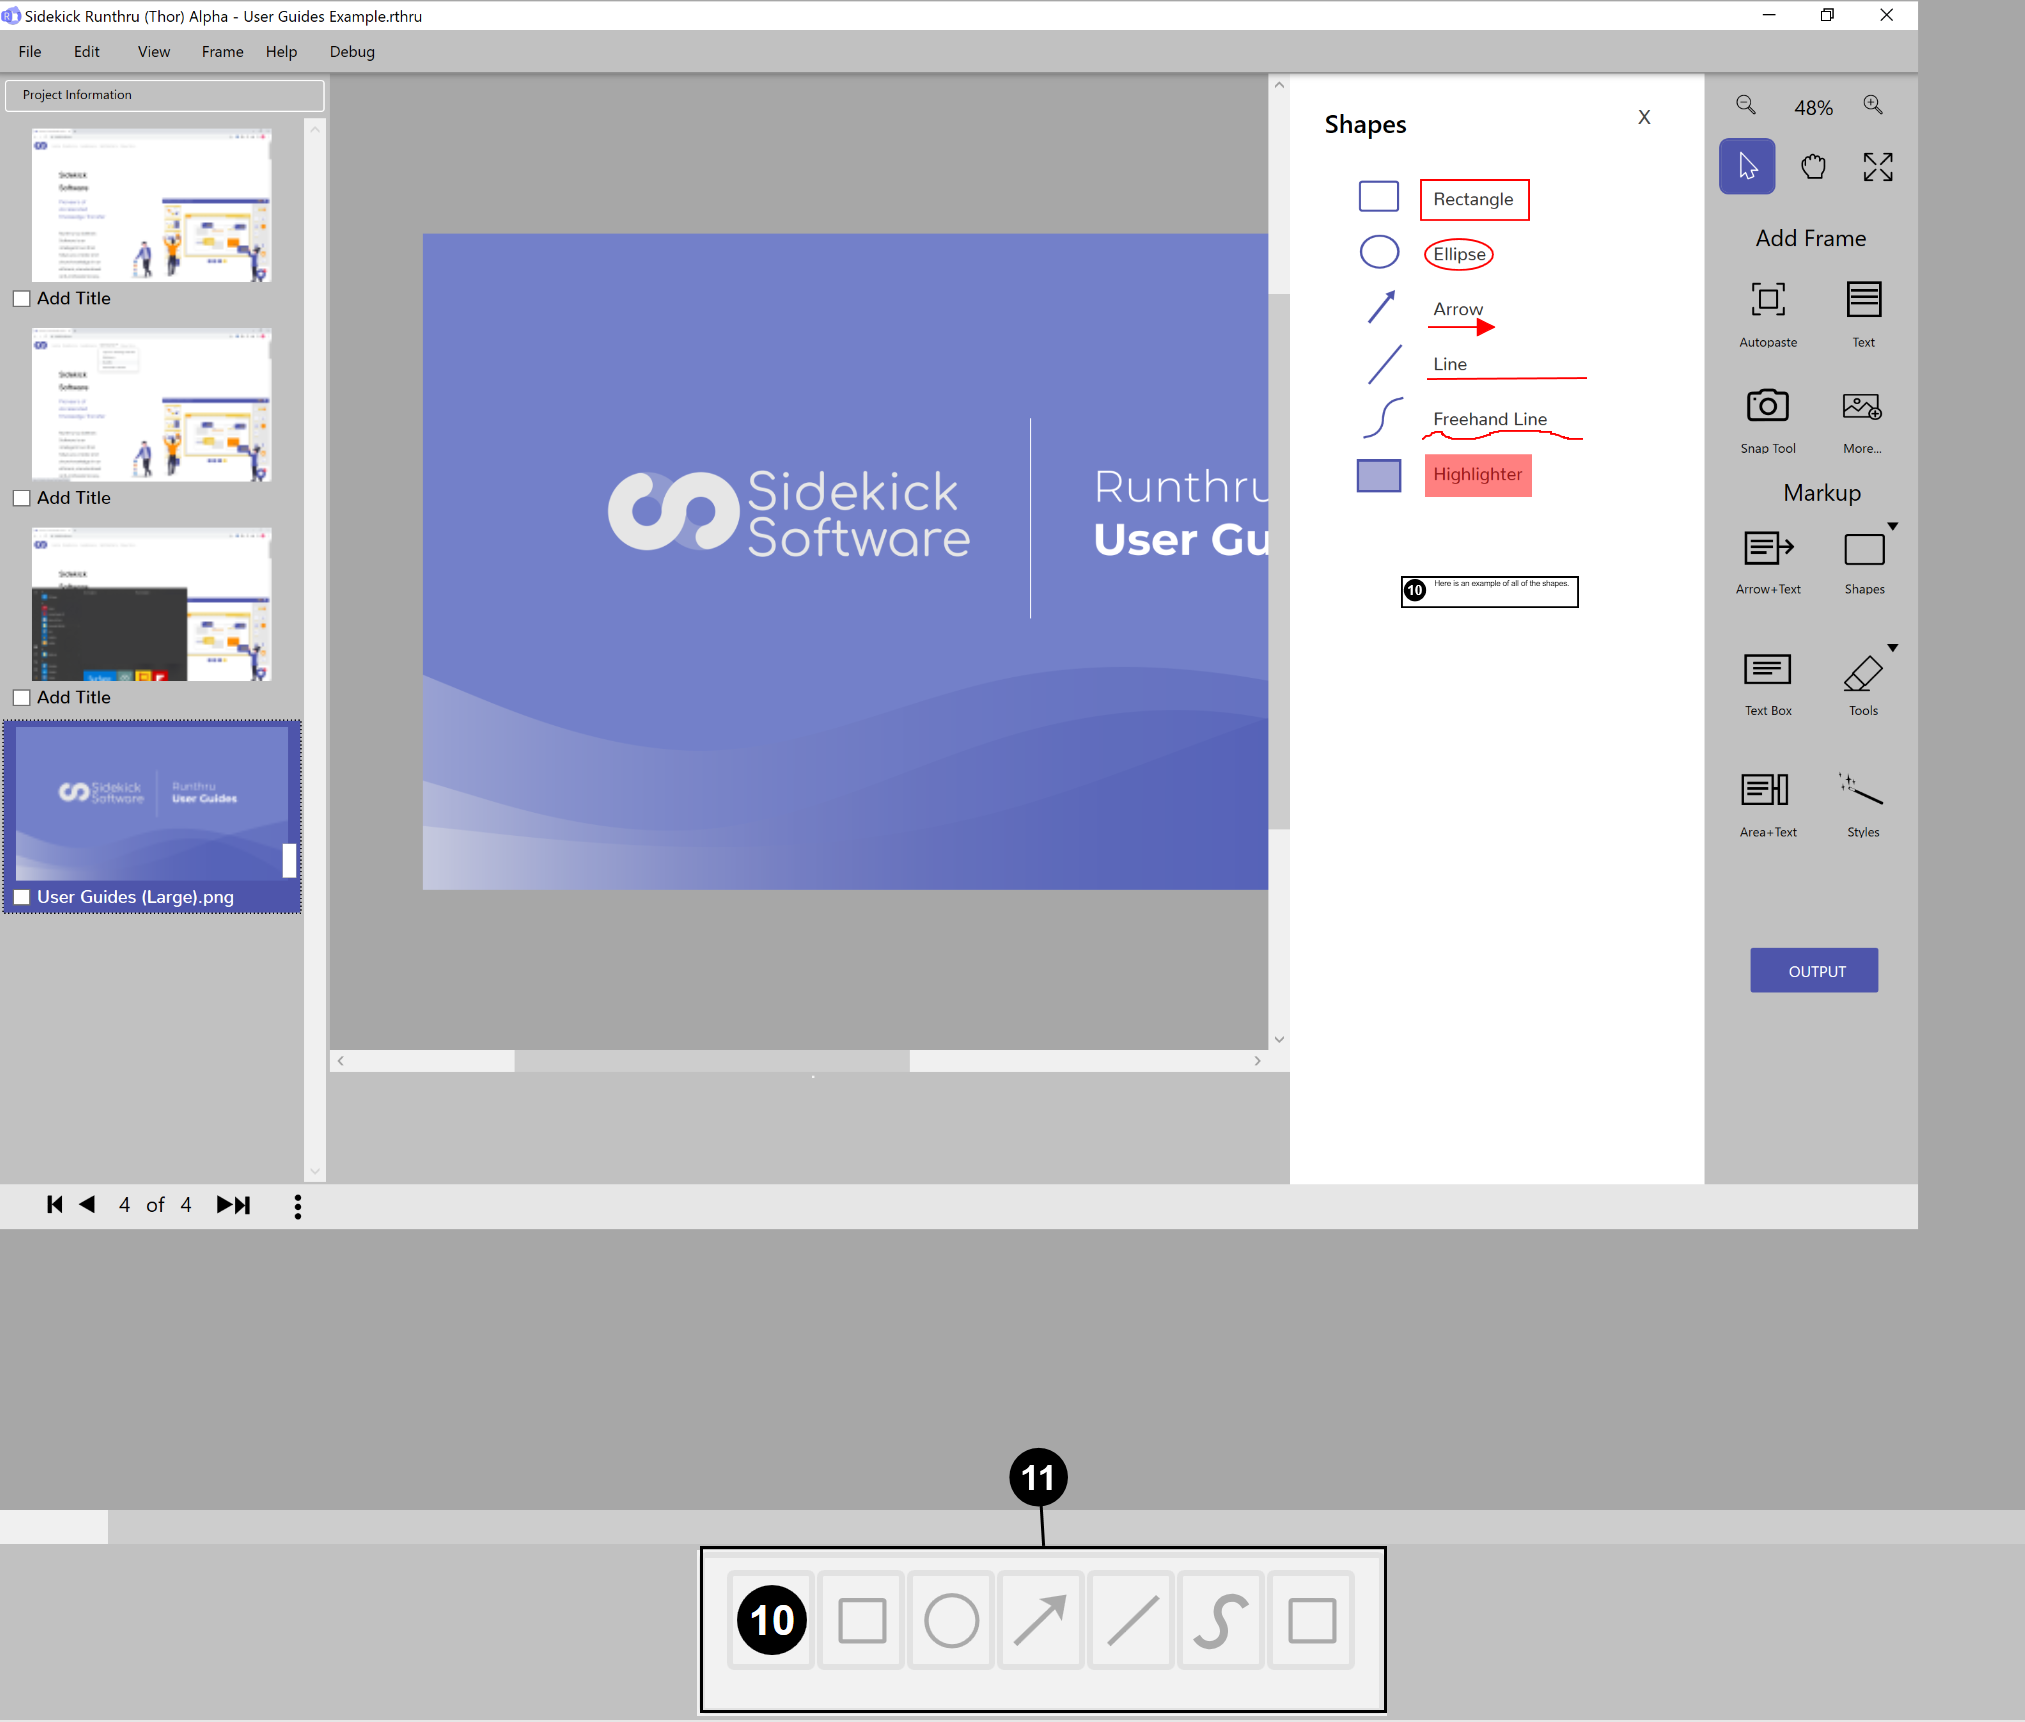
Click on the small black arrow on the 'Shapes' icon to open the shapes panel (as shown).
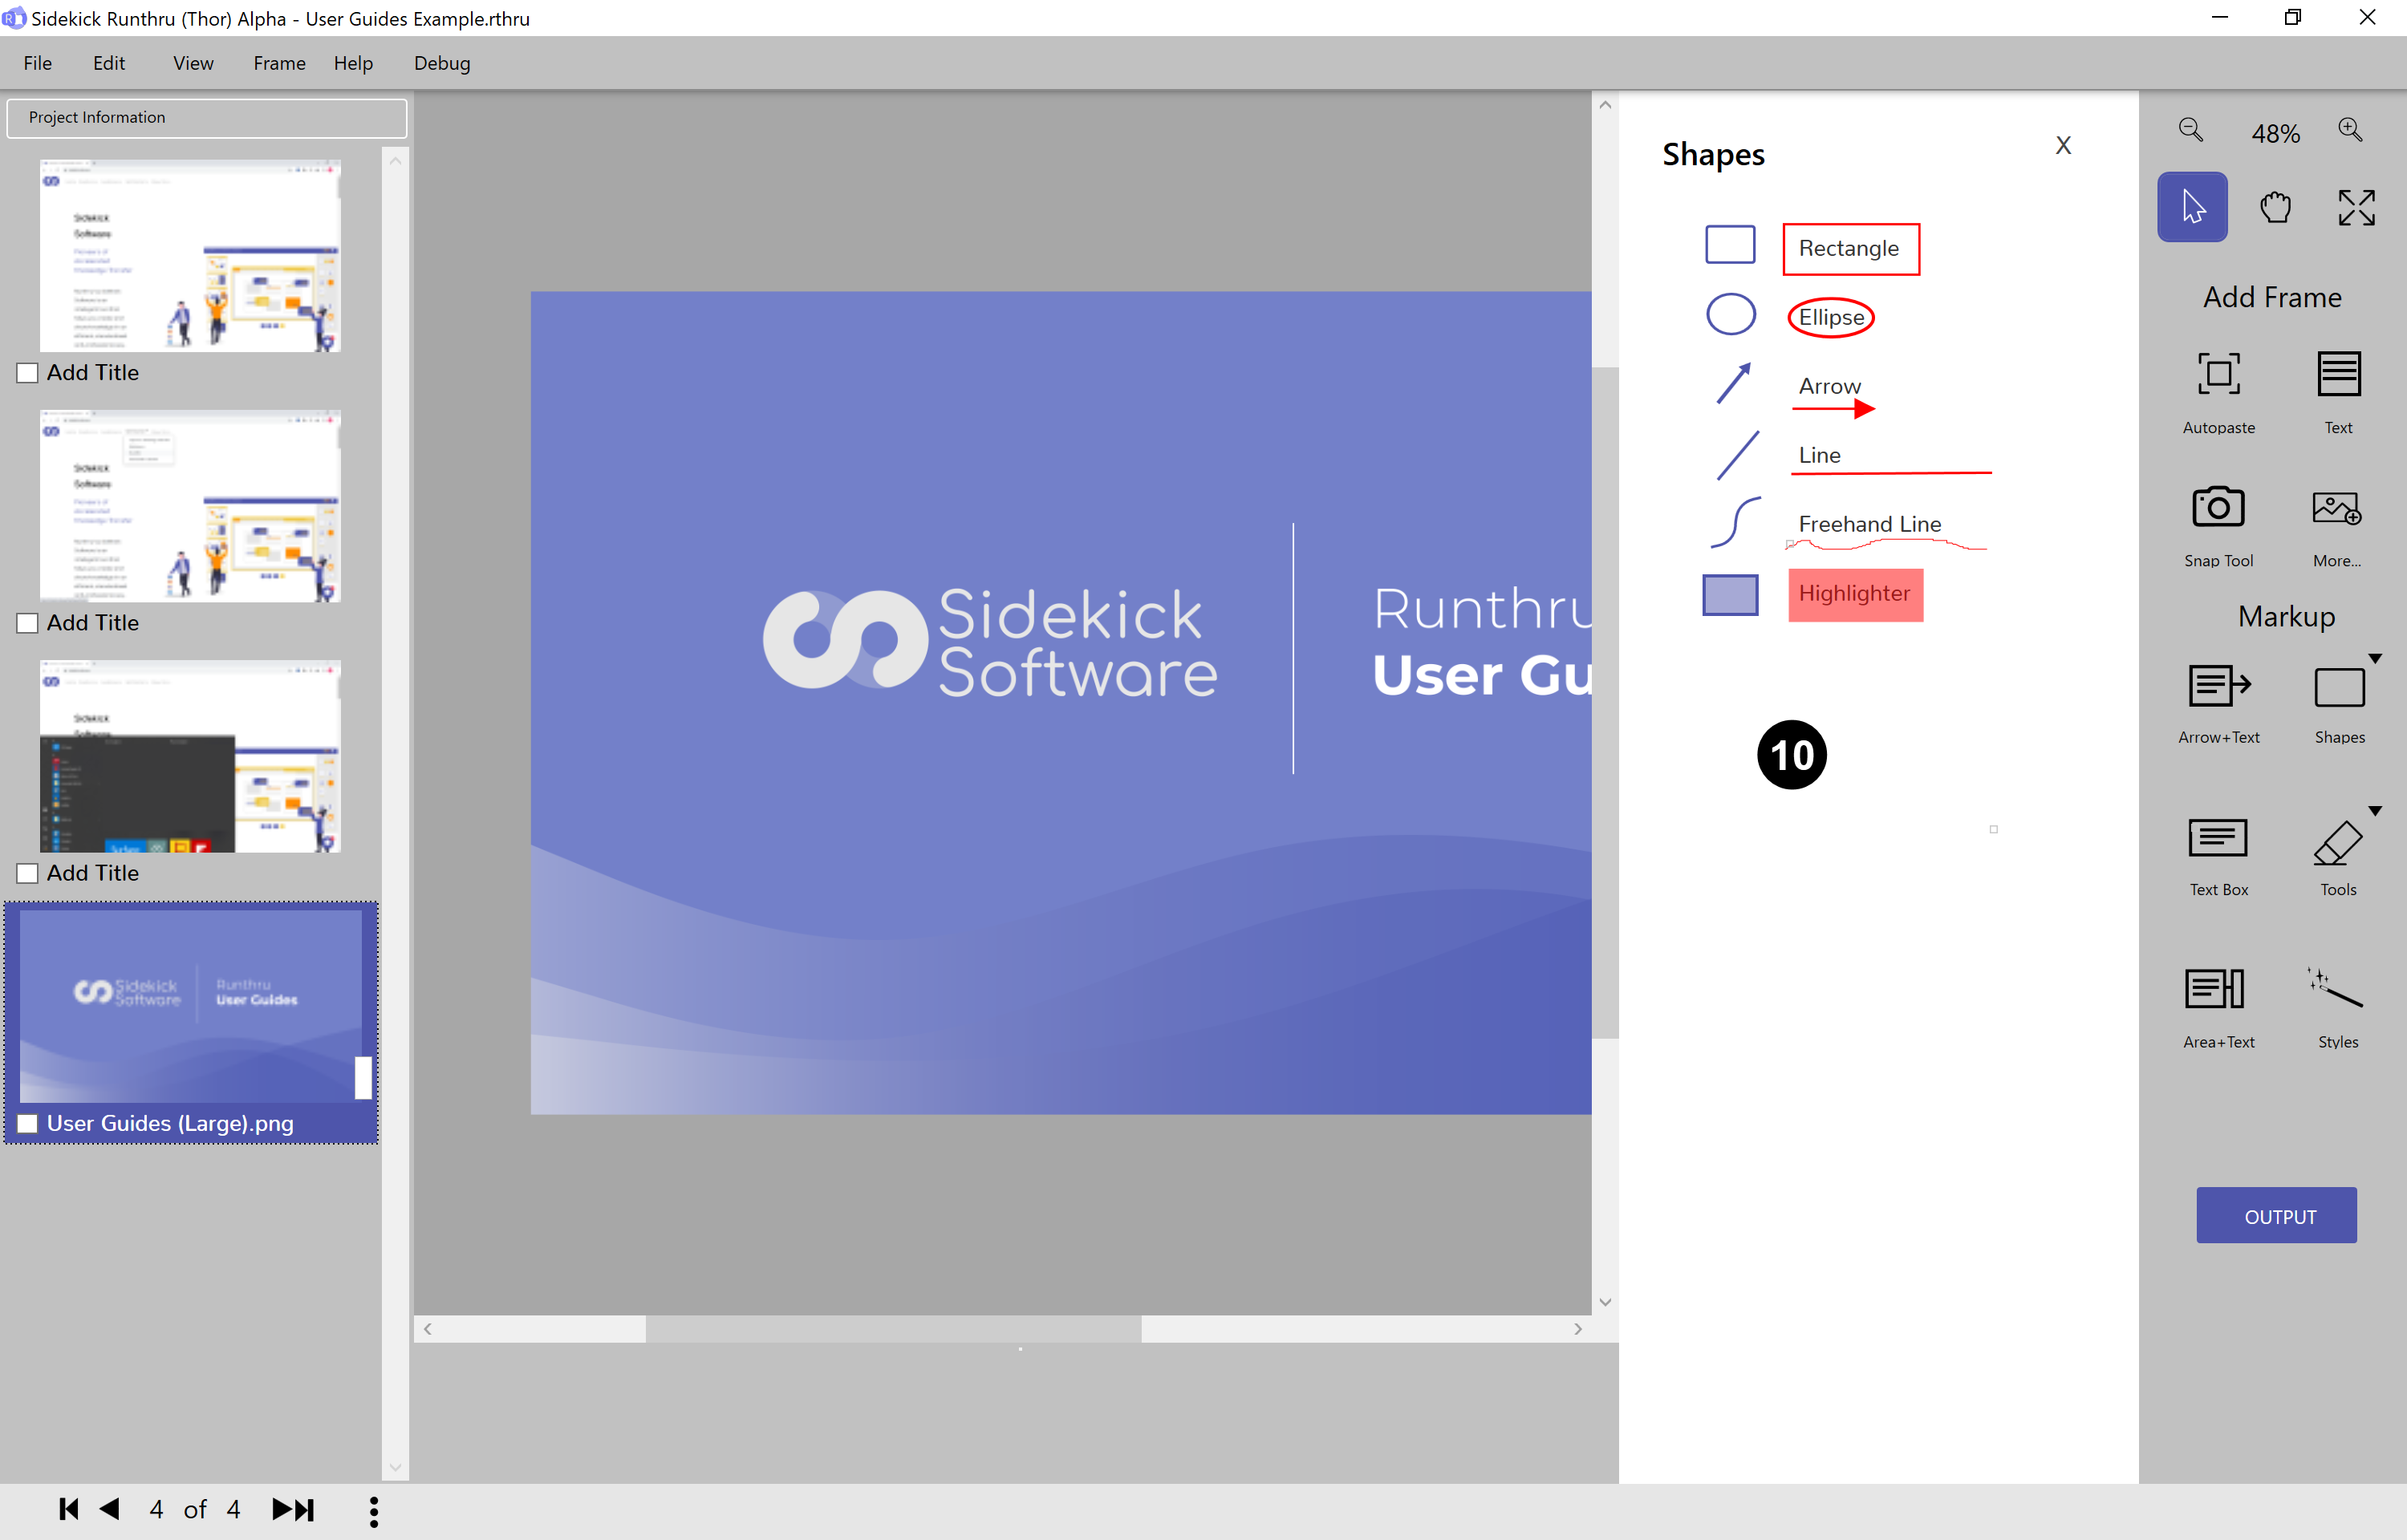

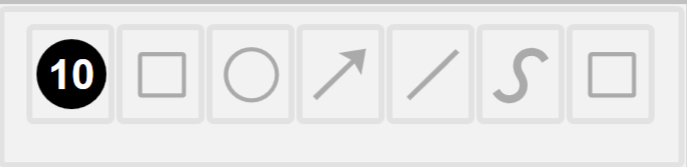
Here is an example of all of the shapes.

And it also adds the shapes here. It will form a group with one of the Text Boxes automatically. You may need to drag it into another group so that it is matched with the appropriate Text Box.
Why? Because in some outputs the groups are shown one at a time.
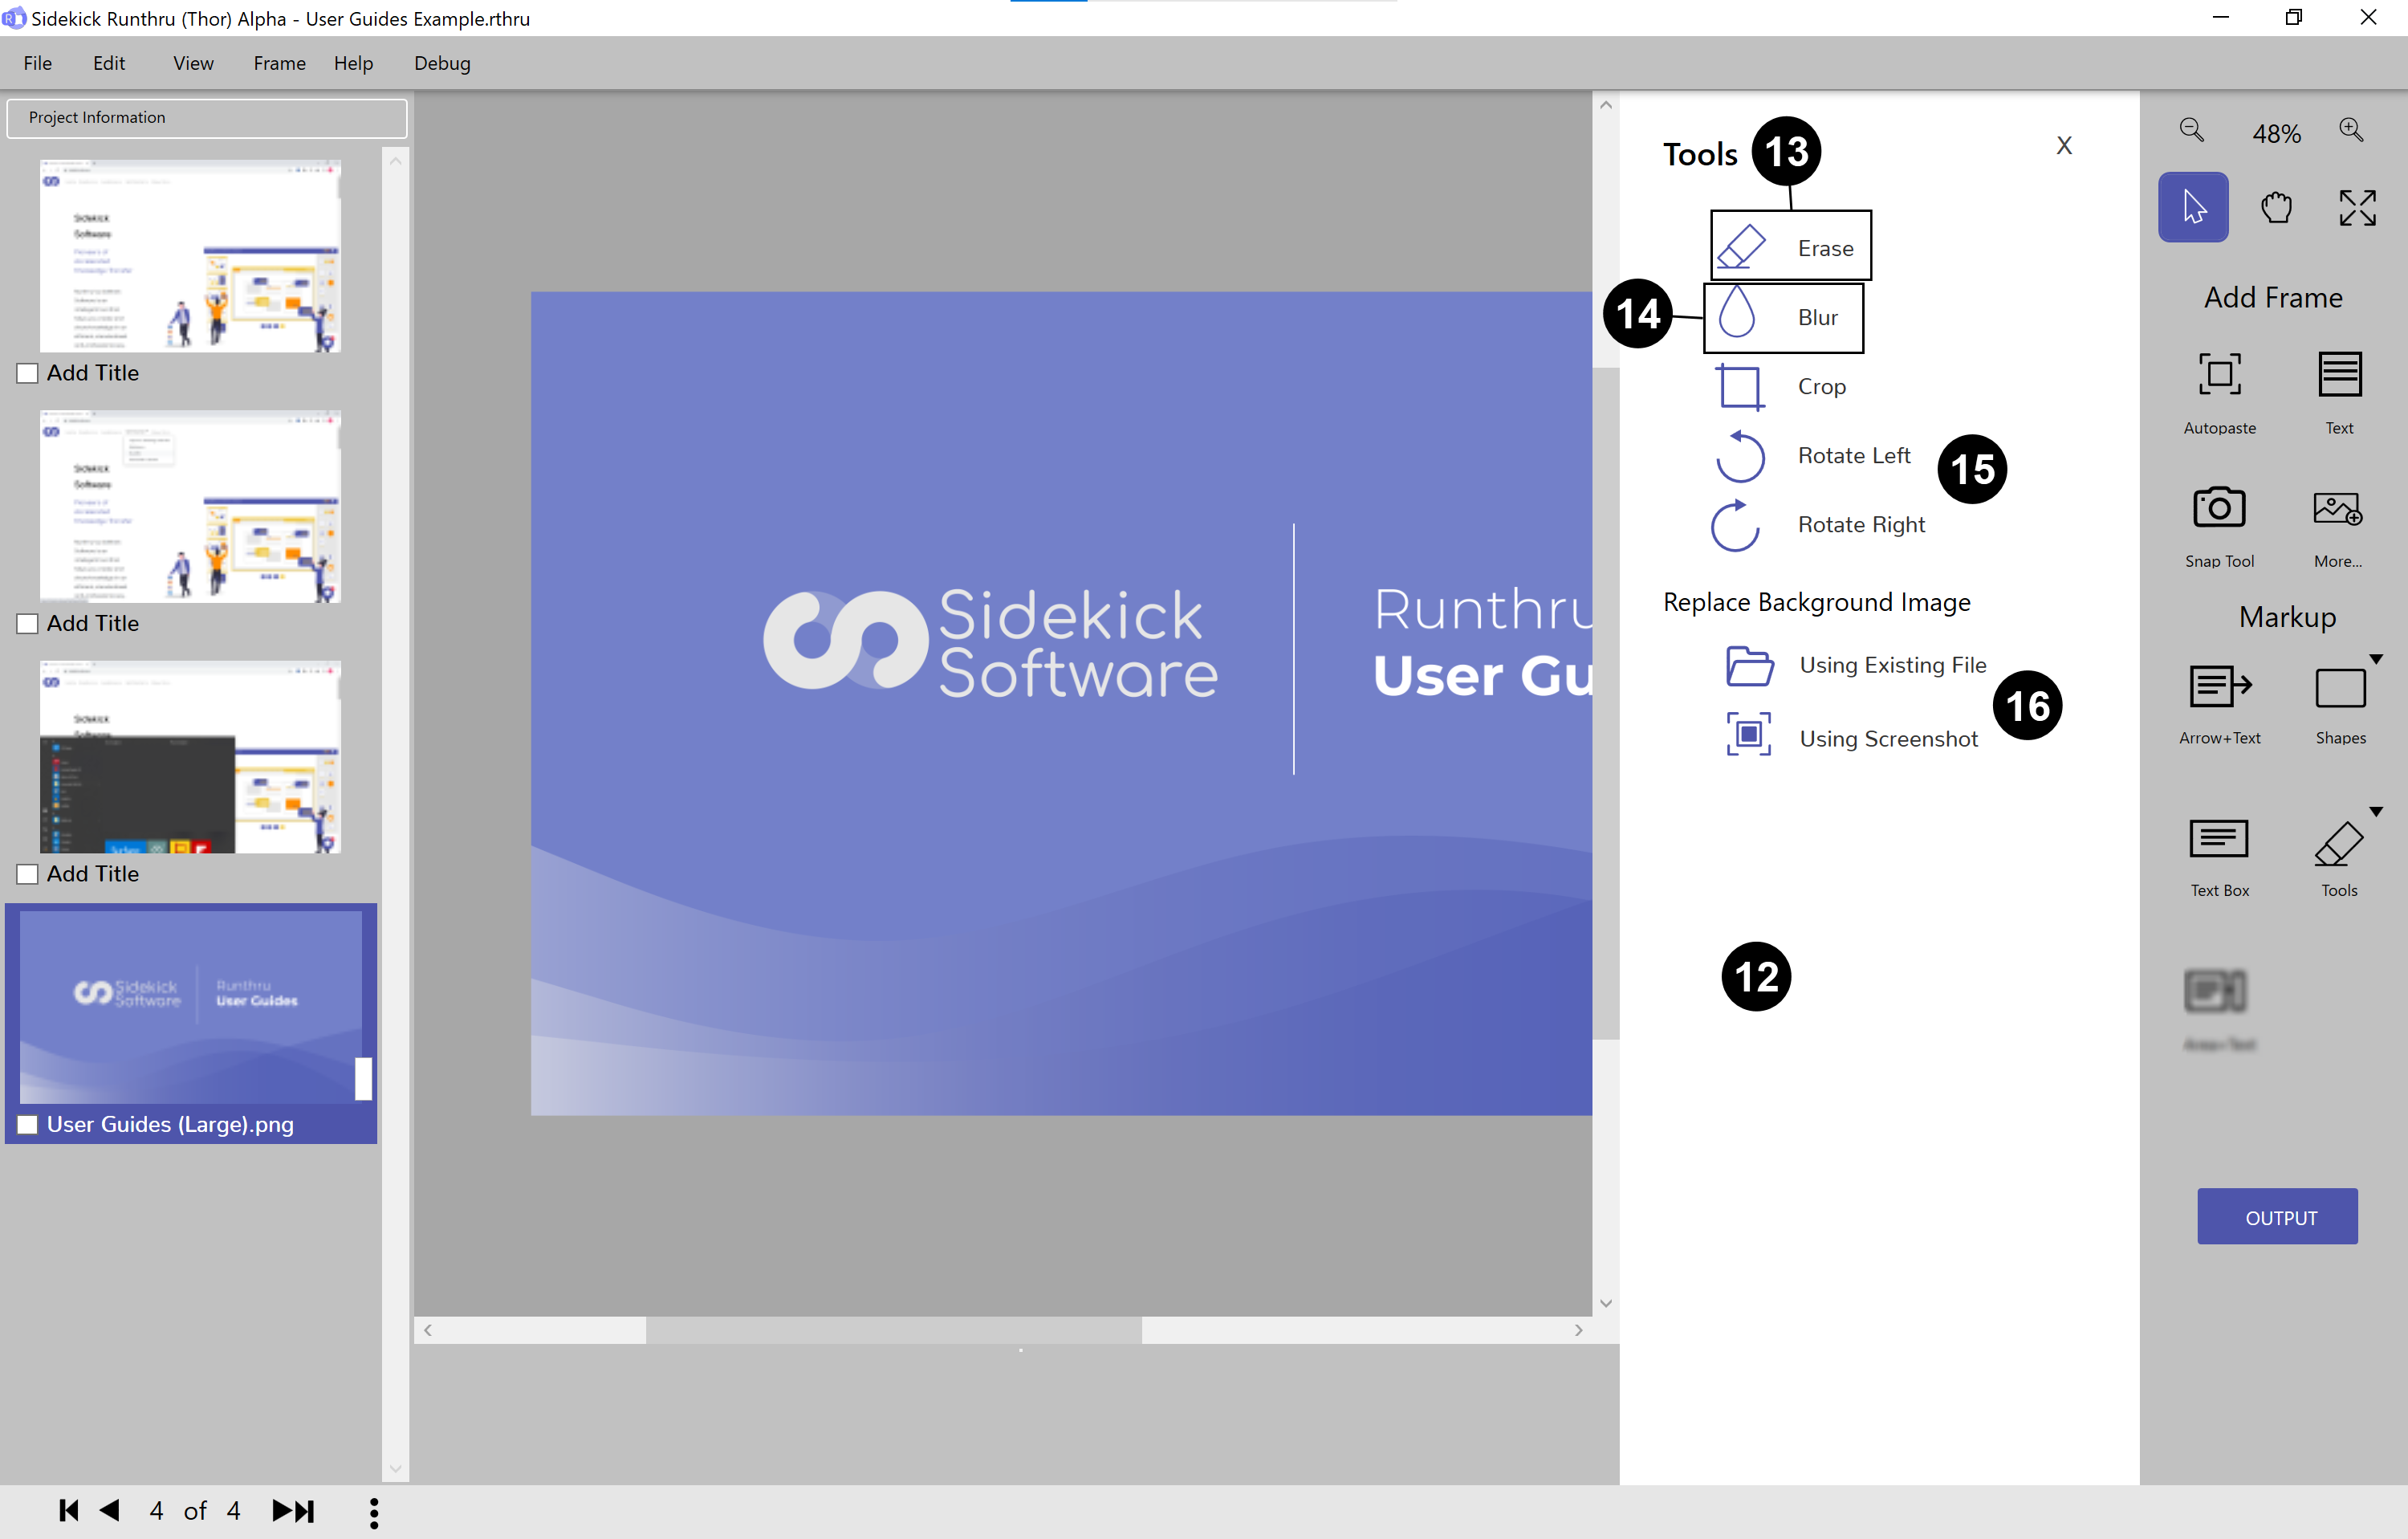

Click on 'Tools' to use these options. Do this by clicking the small triangle above the tools icon.

Use the 'Erase' tool which brings the background colour forward in order to clean up the image. For example the 'Styles' icon has disappeared.

Use the 'Blur' tool for sensitive text and ~/img/help/MarkingUpQuickly. For example the 'Arrow+Text' icon is blurred. Go over multiple times to increase the amount of blur.


You can also crop an image, and rotate it left or right.

As well, you can replace the background image with an existing file or a screenshot.
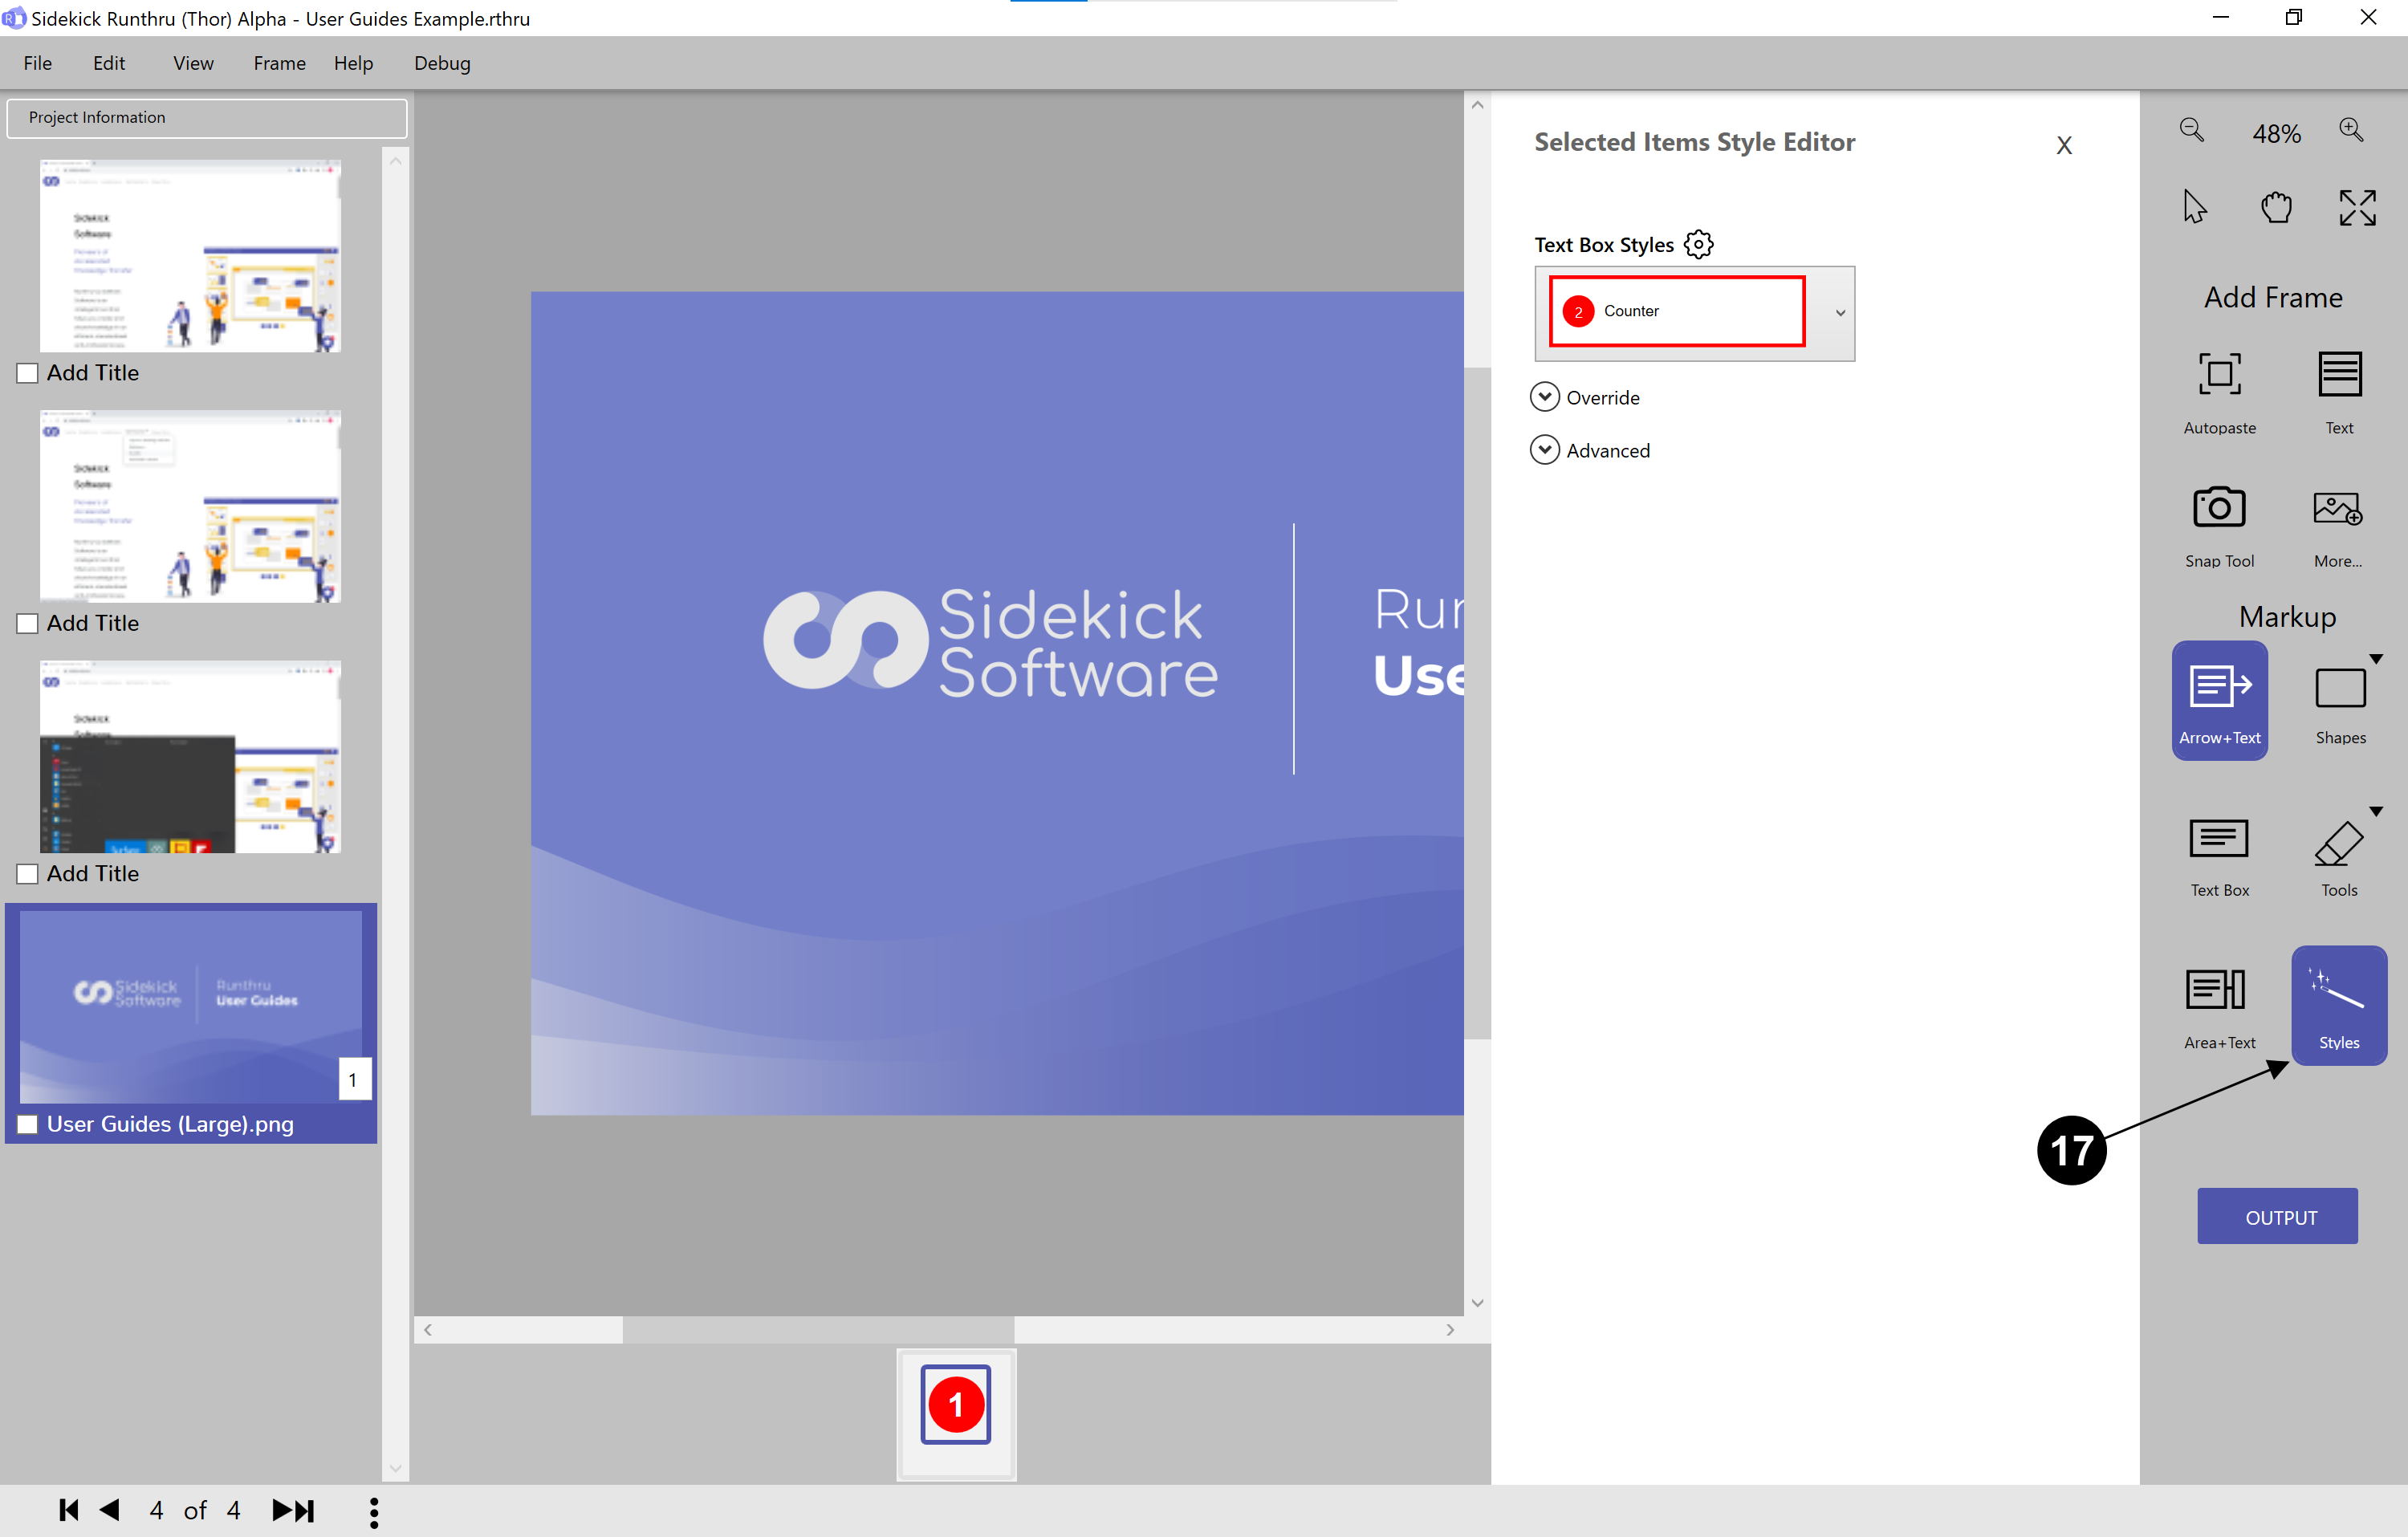

Click on 'Styles' to change the properties of what is selected.