Gathering Images Quickly
Gather Screenshots by using 'SnapTool'
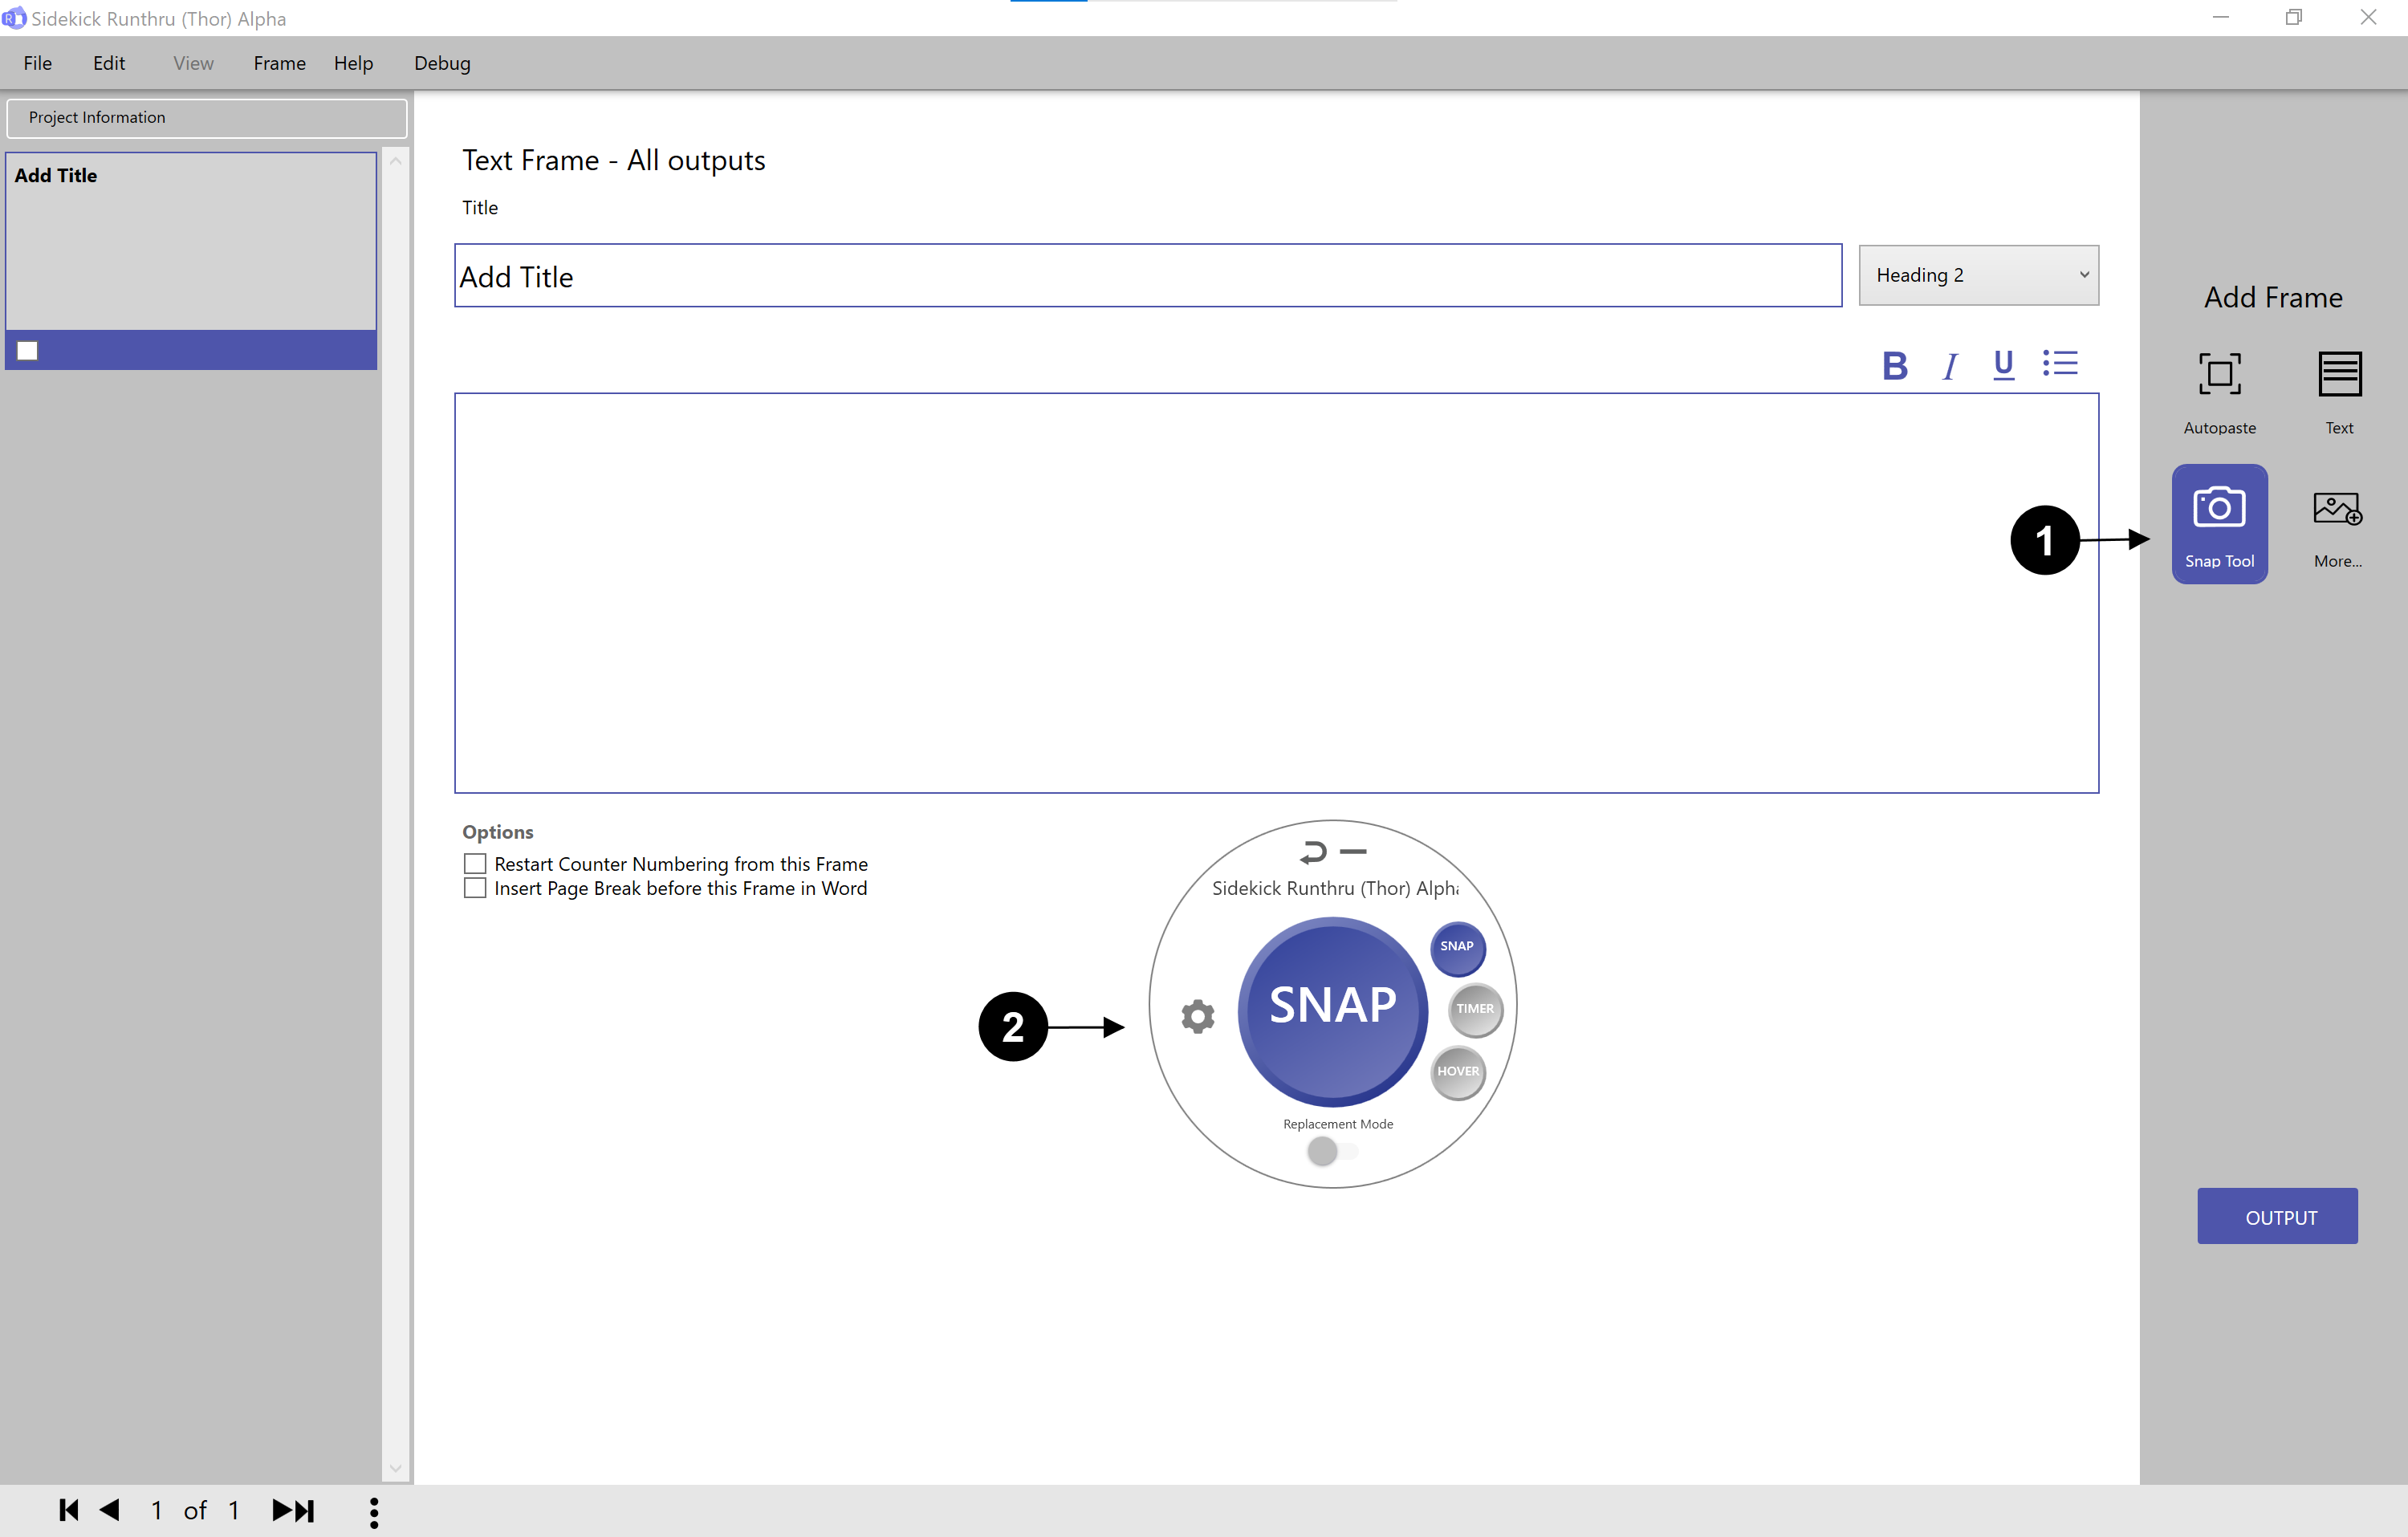

Click on the 'Snap Tool' button in the main window if it isn't active (purple).

The 'Snap Tool' appears. This tool will allow you to capture screenshots easily.
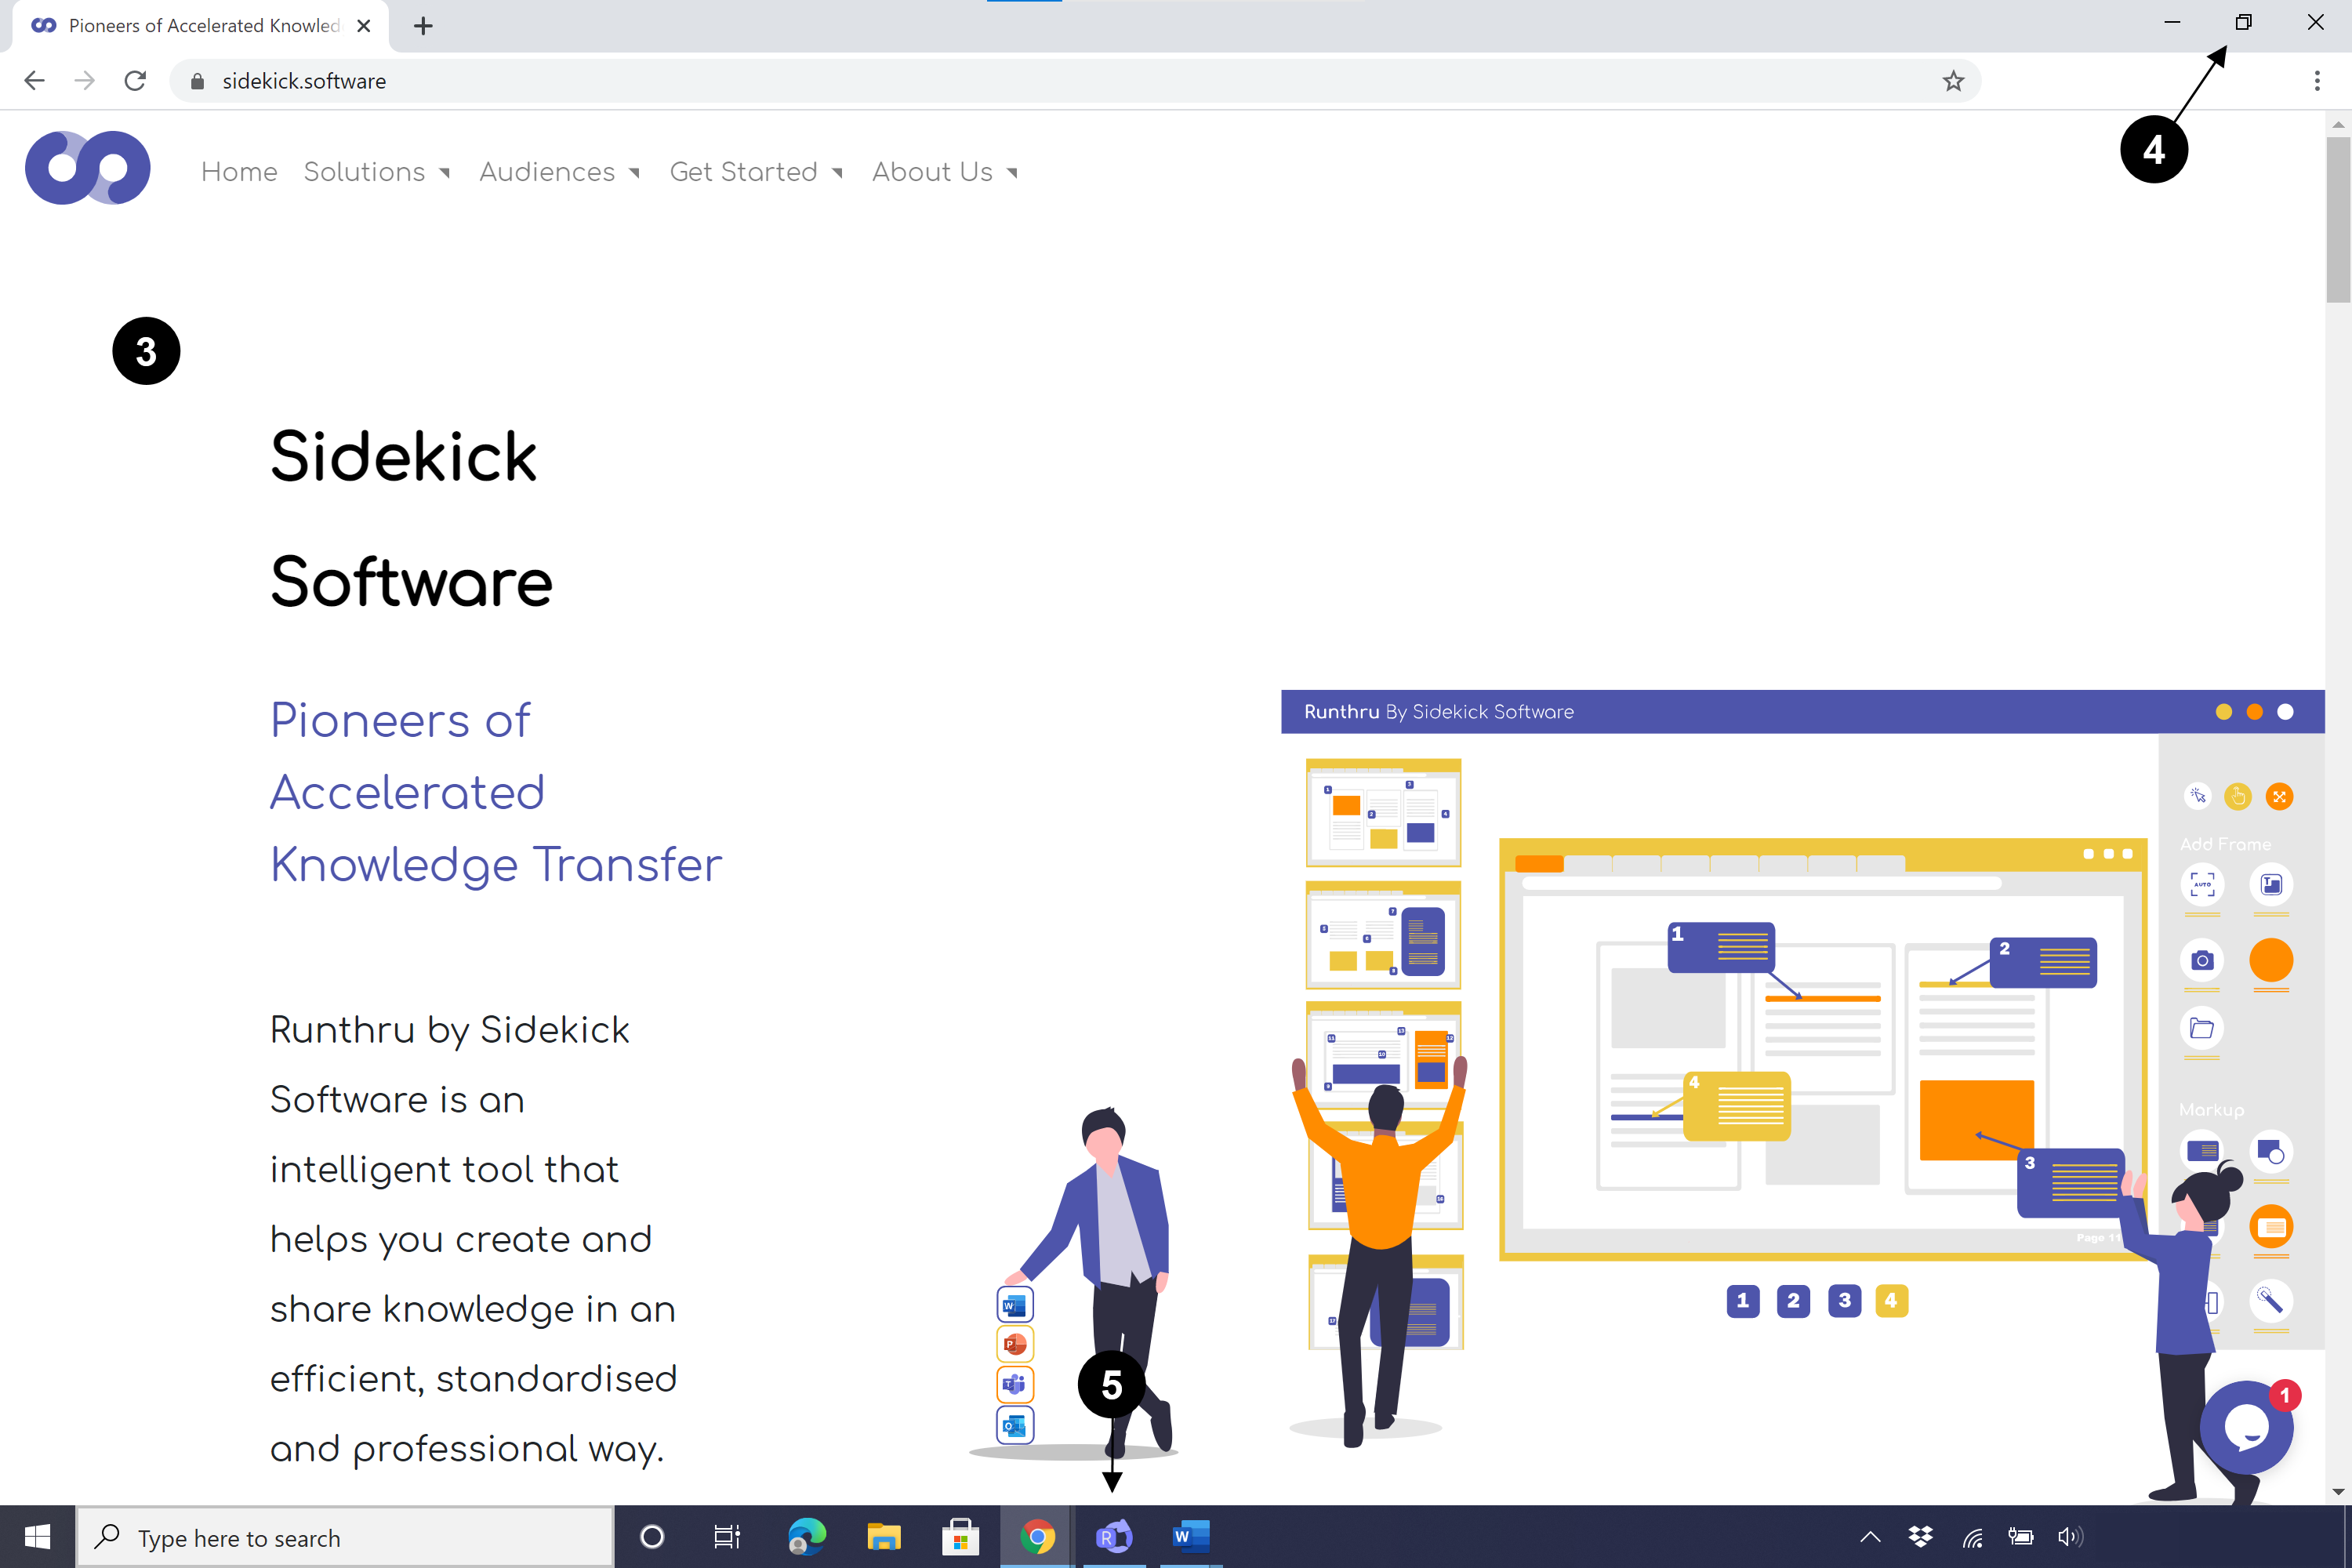

Get the target window (what you would like to screenshot).

Now that you have your target window ready, you may need to resize it. In most cases, you will take the image out of full screen mode and reduce the image size, but ensure you keep all the necessary items in view.

Now select the Runthru 'Snap Tool' in your taskbar and position it over the target window. The screenshot will be of what the 'Snap Tool' is positioned on top of.
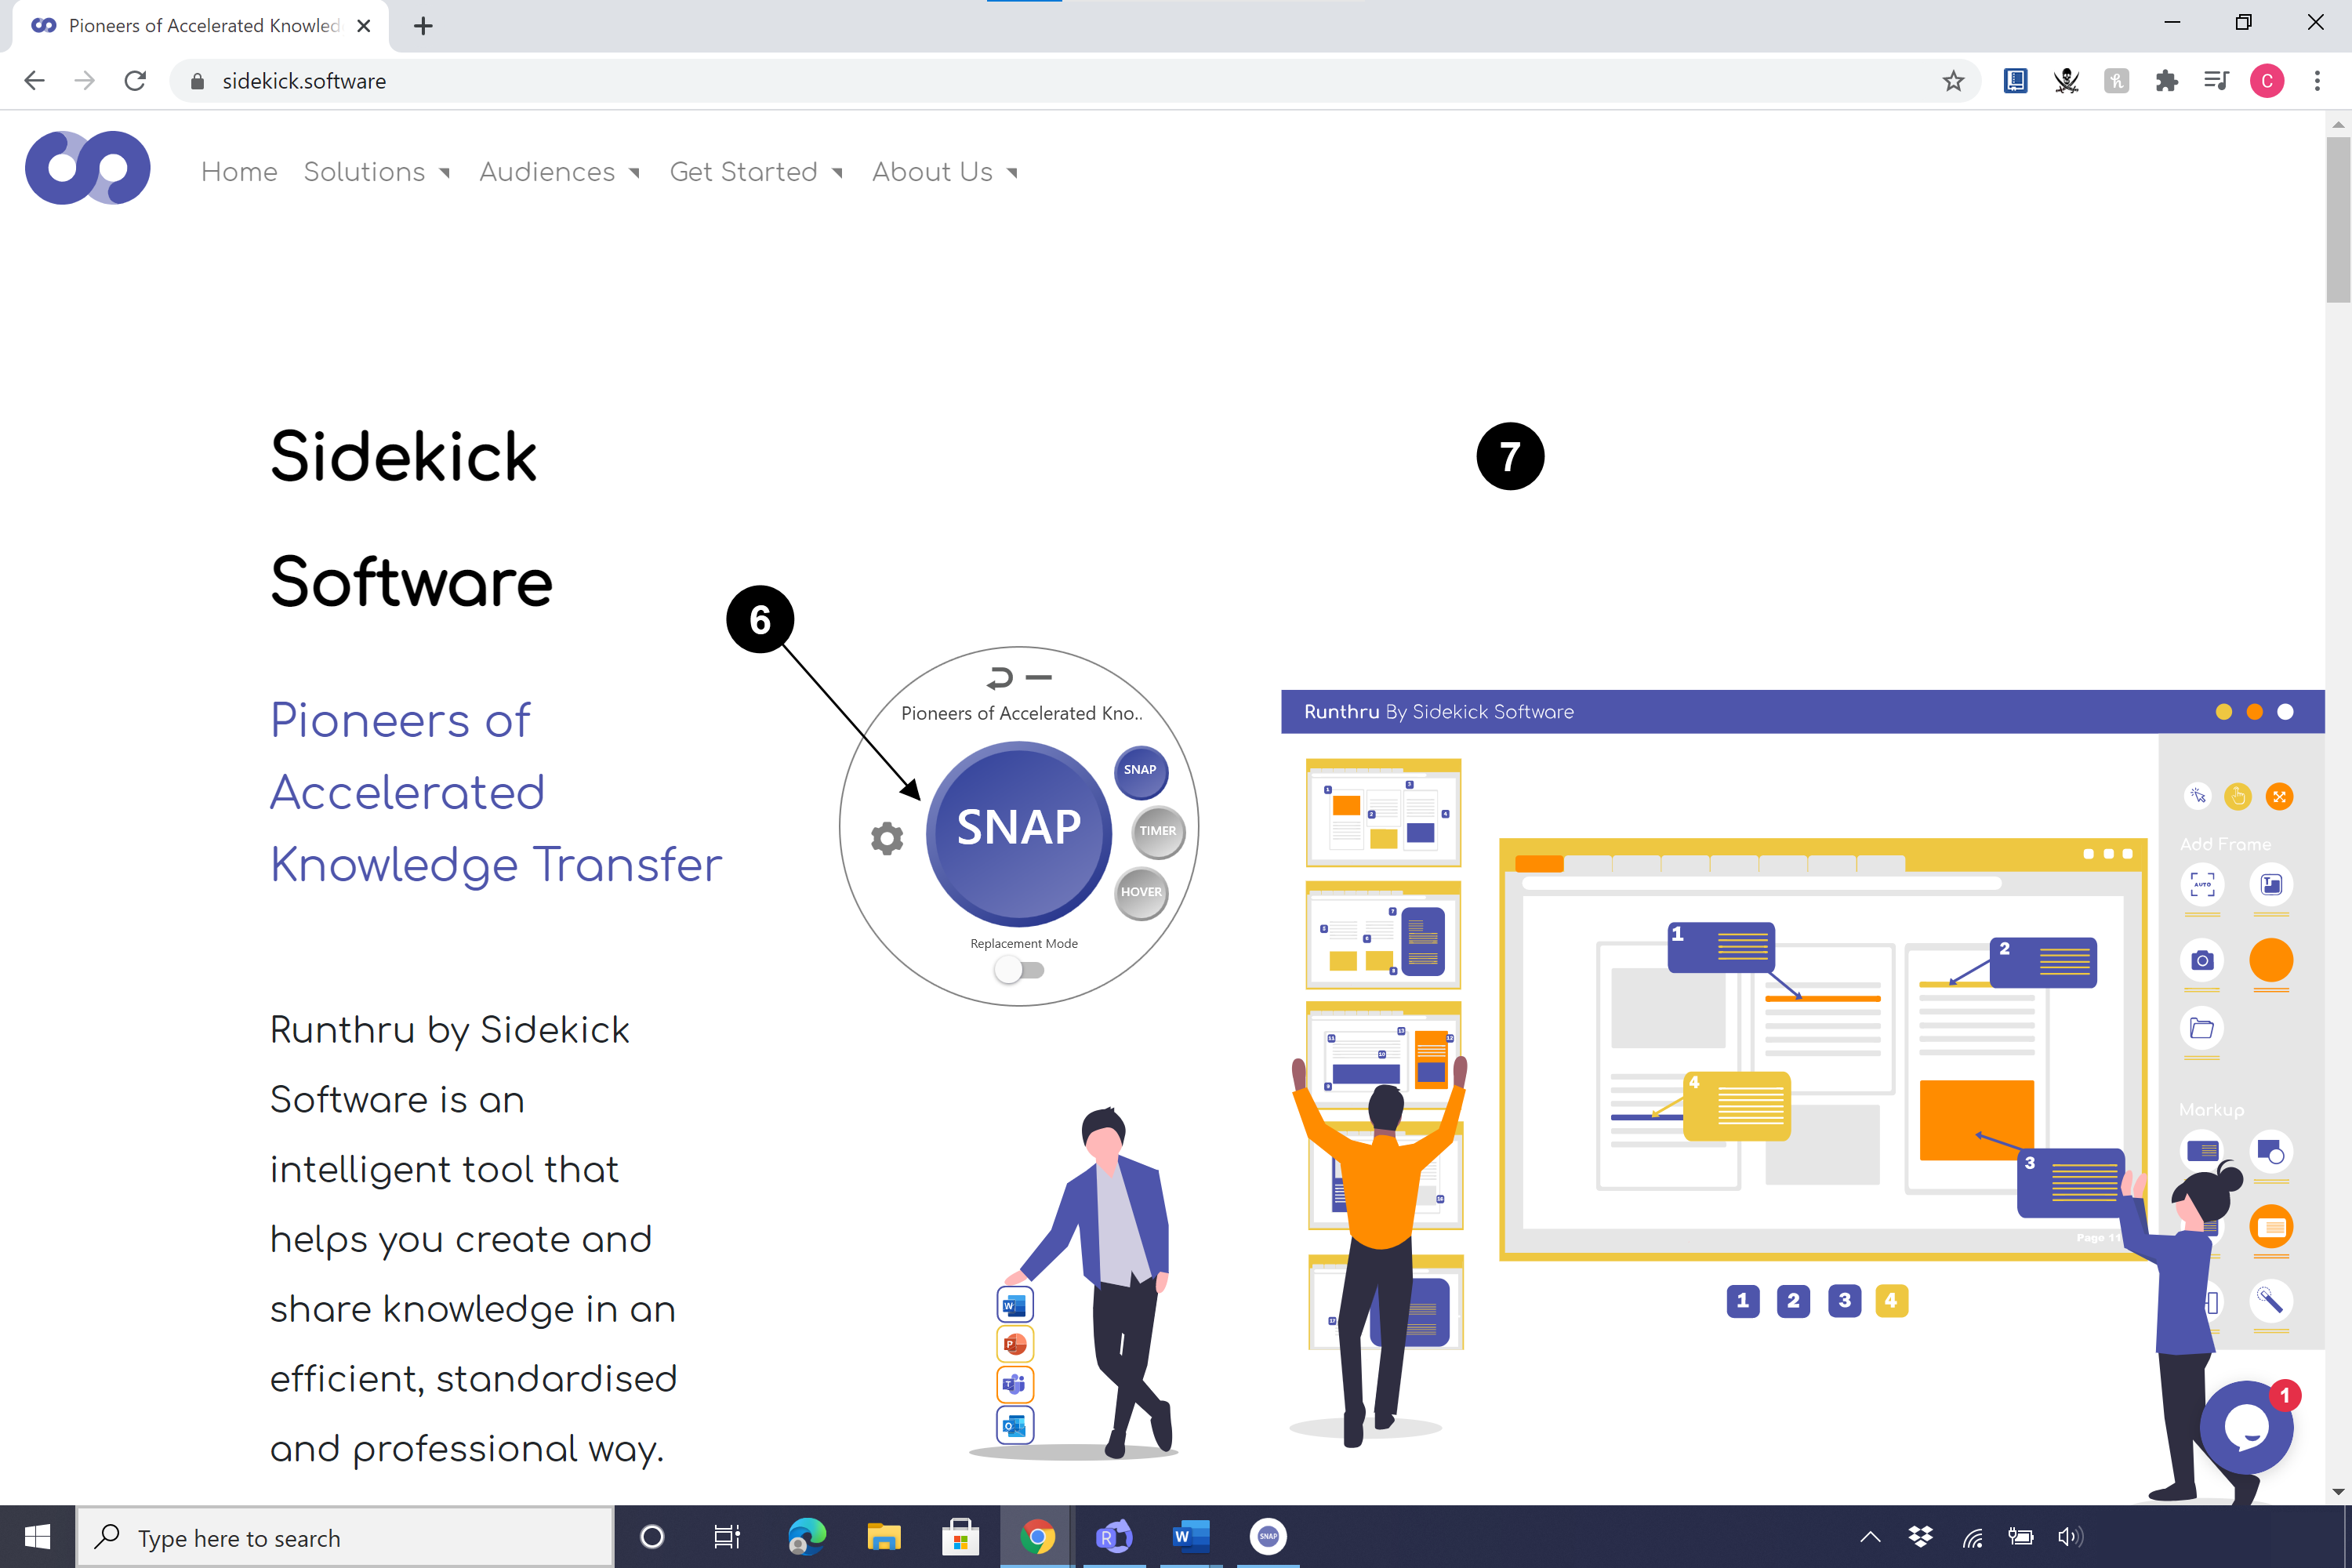

Press the 'SNAP' when you are ready to take a screenshot.

Now go back to Runthru so you can see your image.
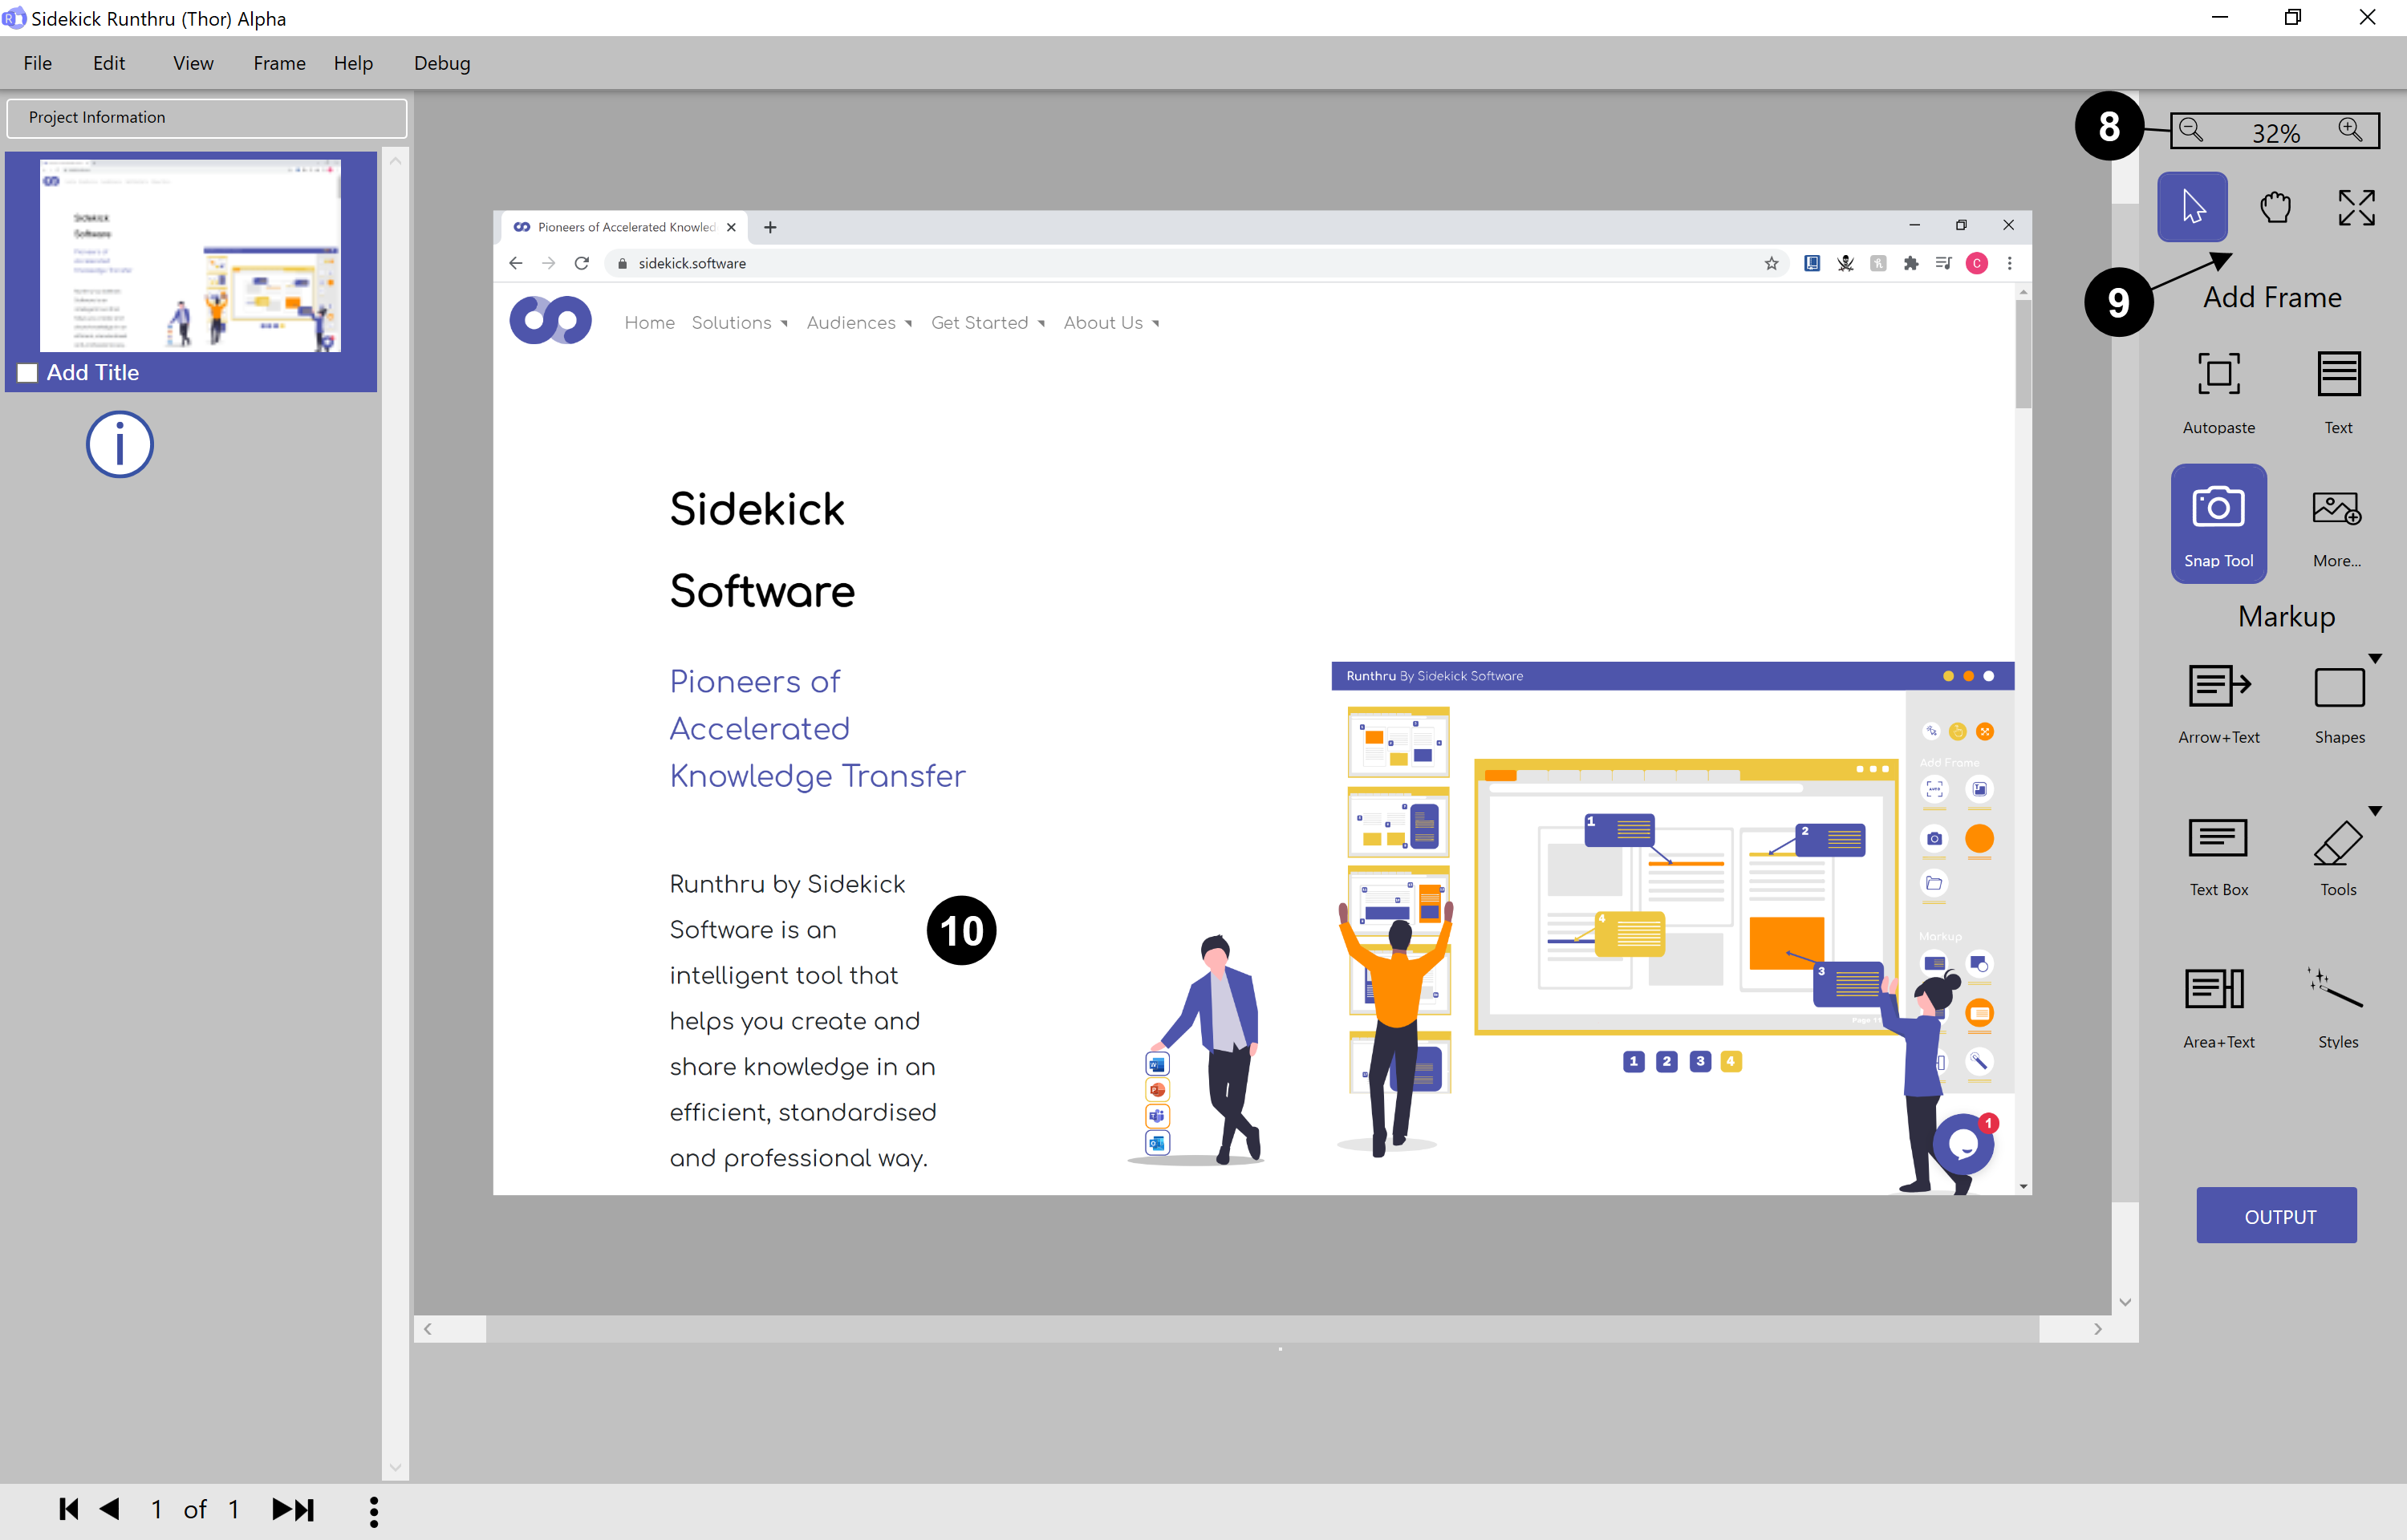

The Image creates an item in the left hand column, and it is also displayed on the canvas when it is selected.

These buttons allow you to zoom in and out of the Image.


(From Left to Right):
Click the 'Select' button to highlight certain Markup/s to provide options to move, edit or change properties.
Click the 'Pan' button to move a screenshot. Click the 'Fit to available space' to bring the screenshot back to both full size and centre.

Come back to your target application to try another way of gathering images.
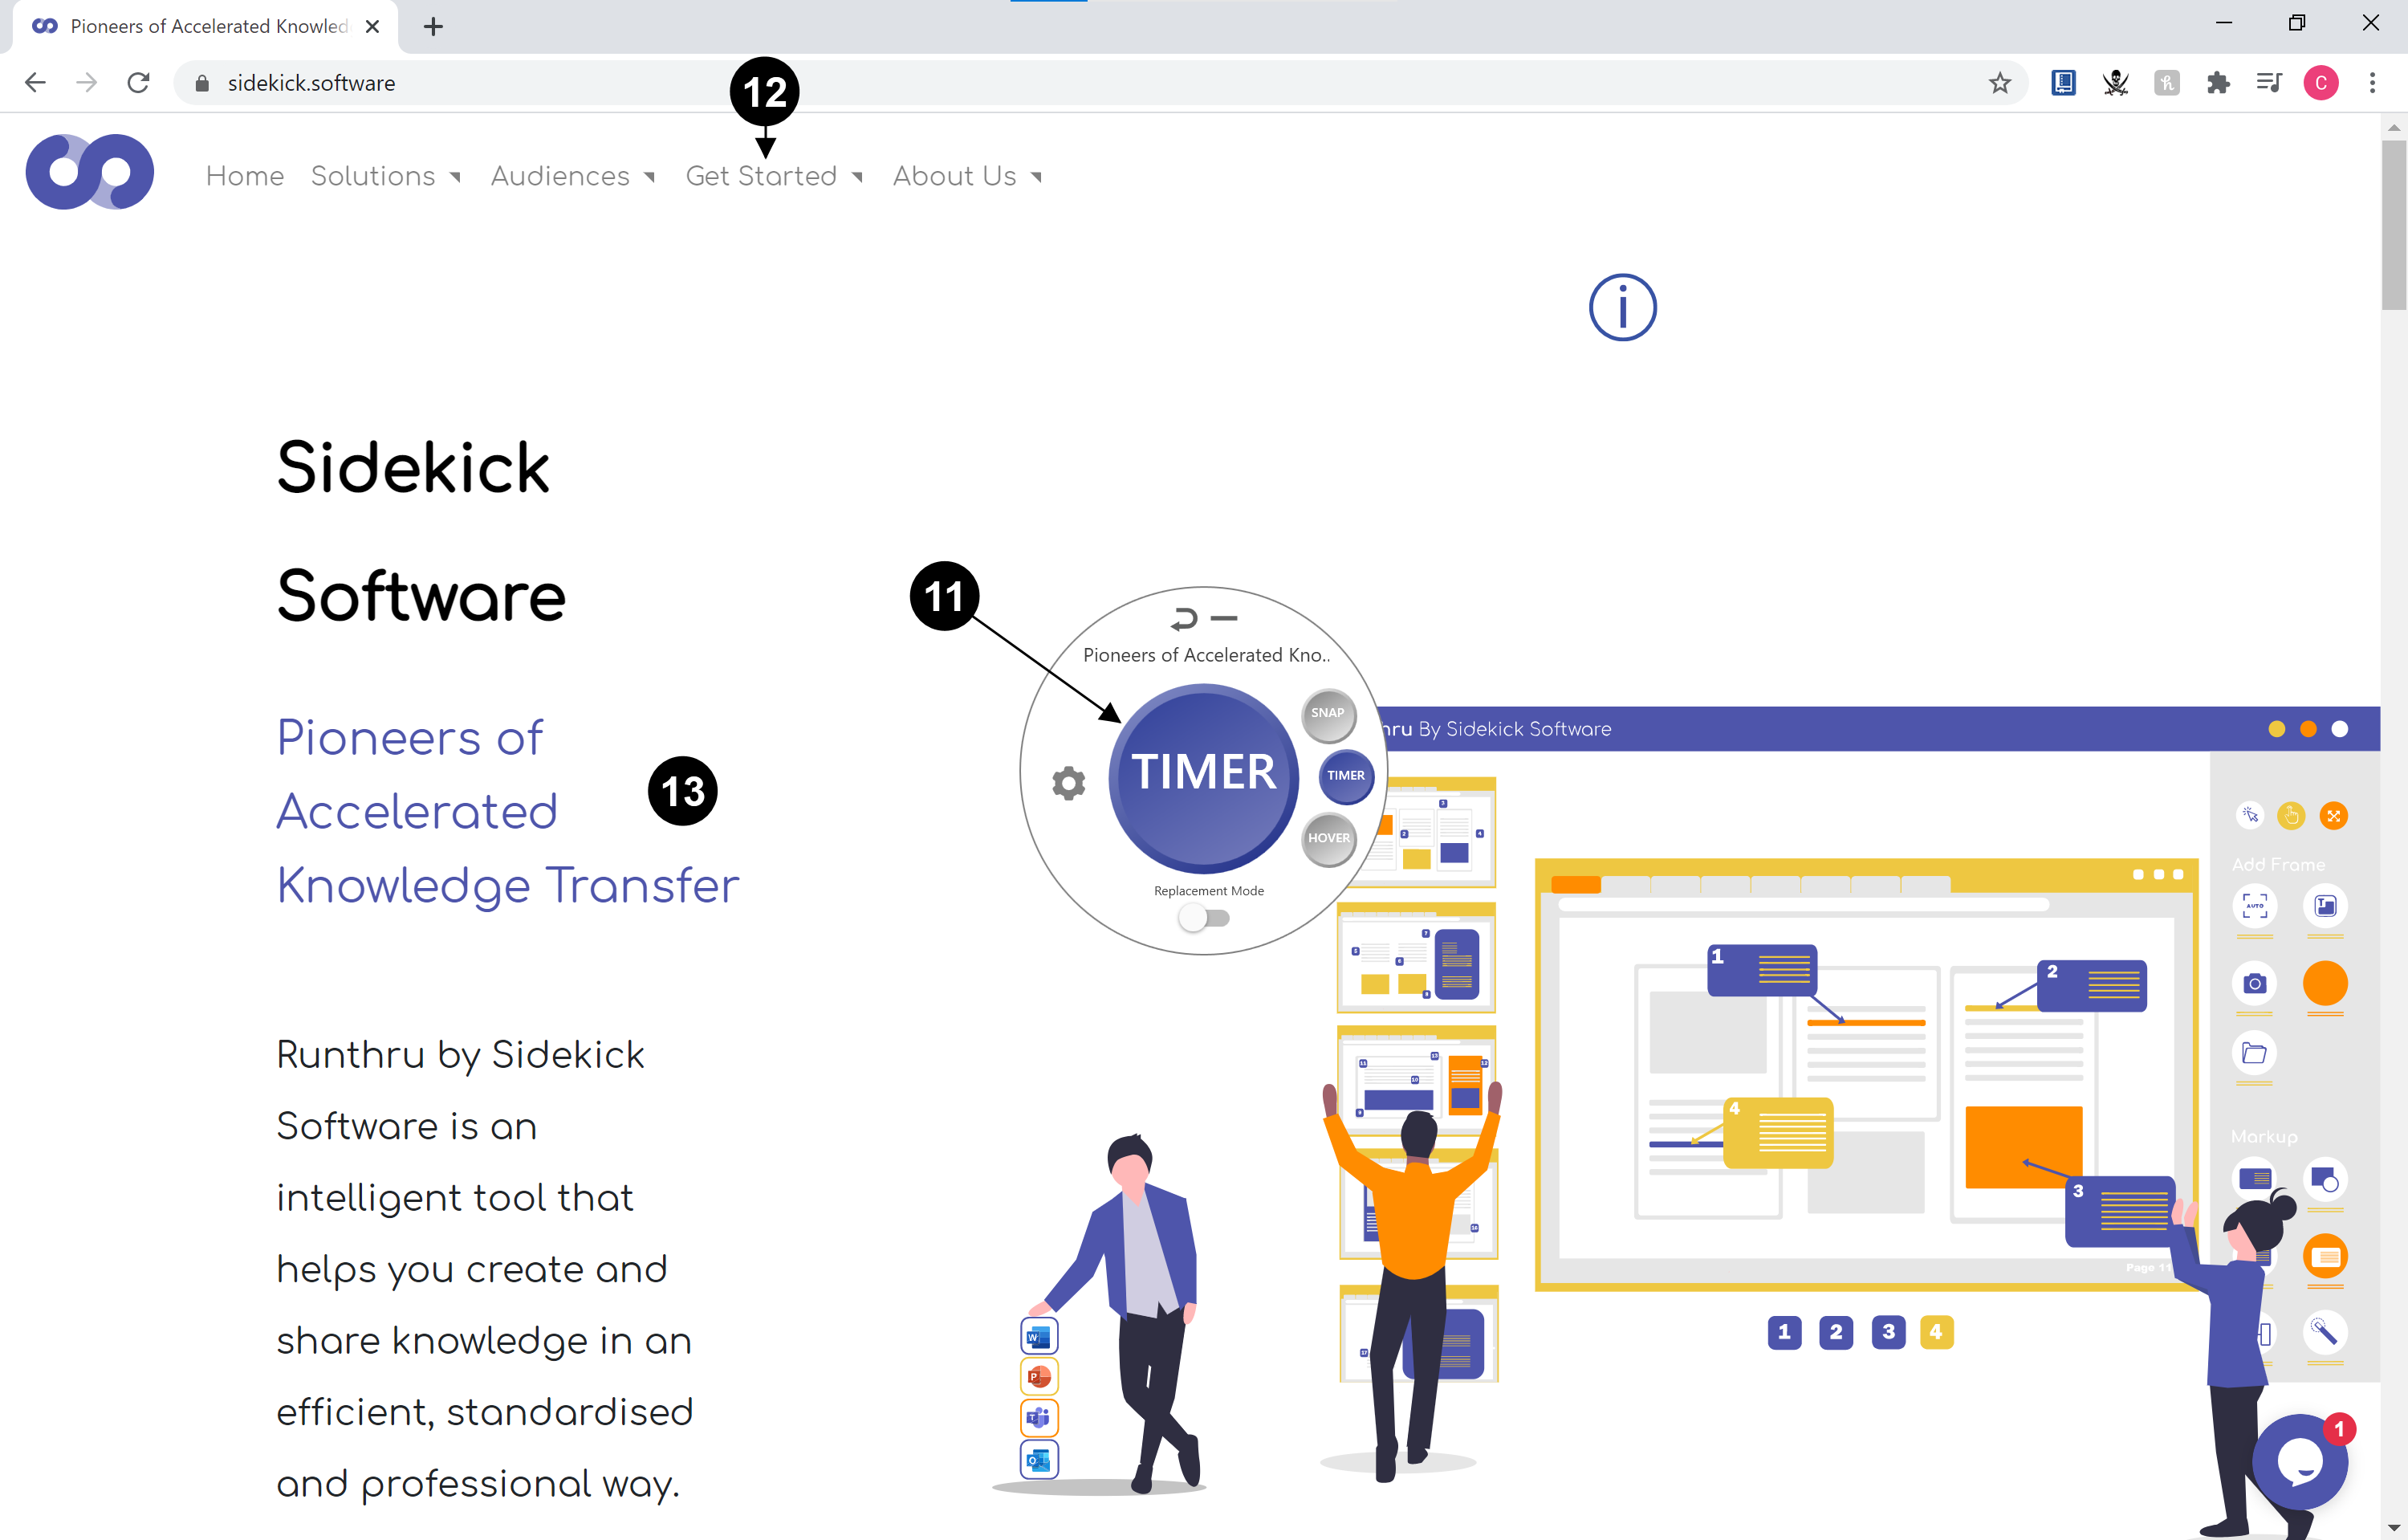

'Timer' takes a delayed screenshot of 5 seconds. The time can be changed when you press the cog on the 'Snap Tool'.

Click on 'Timer' and within 5 seconds place the mouse over your target window.

In those few seconds, you can go and open a popup menu.
E.g. Within 5 seconds, position your mouse over 'Get Started' and then over 'Guides' (in order to take a screenshot of the opened Drop-Down).

Now go back again to Runthru where you can see your screenshots.
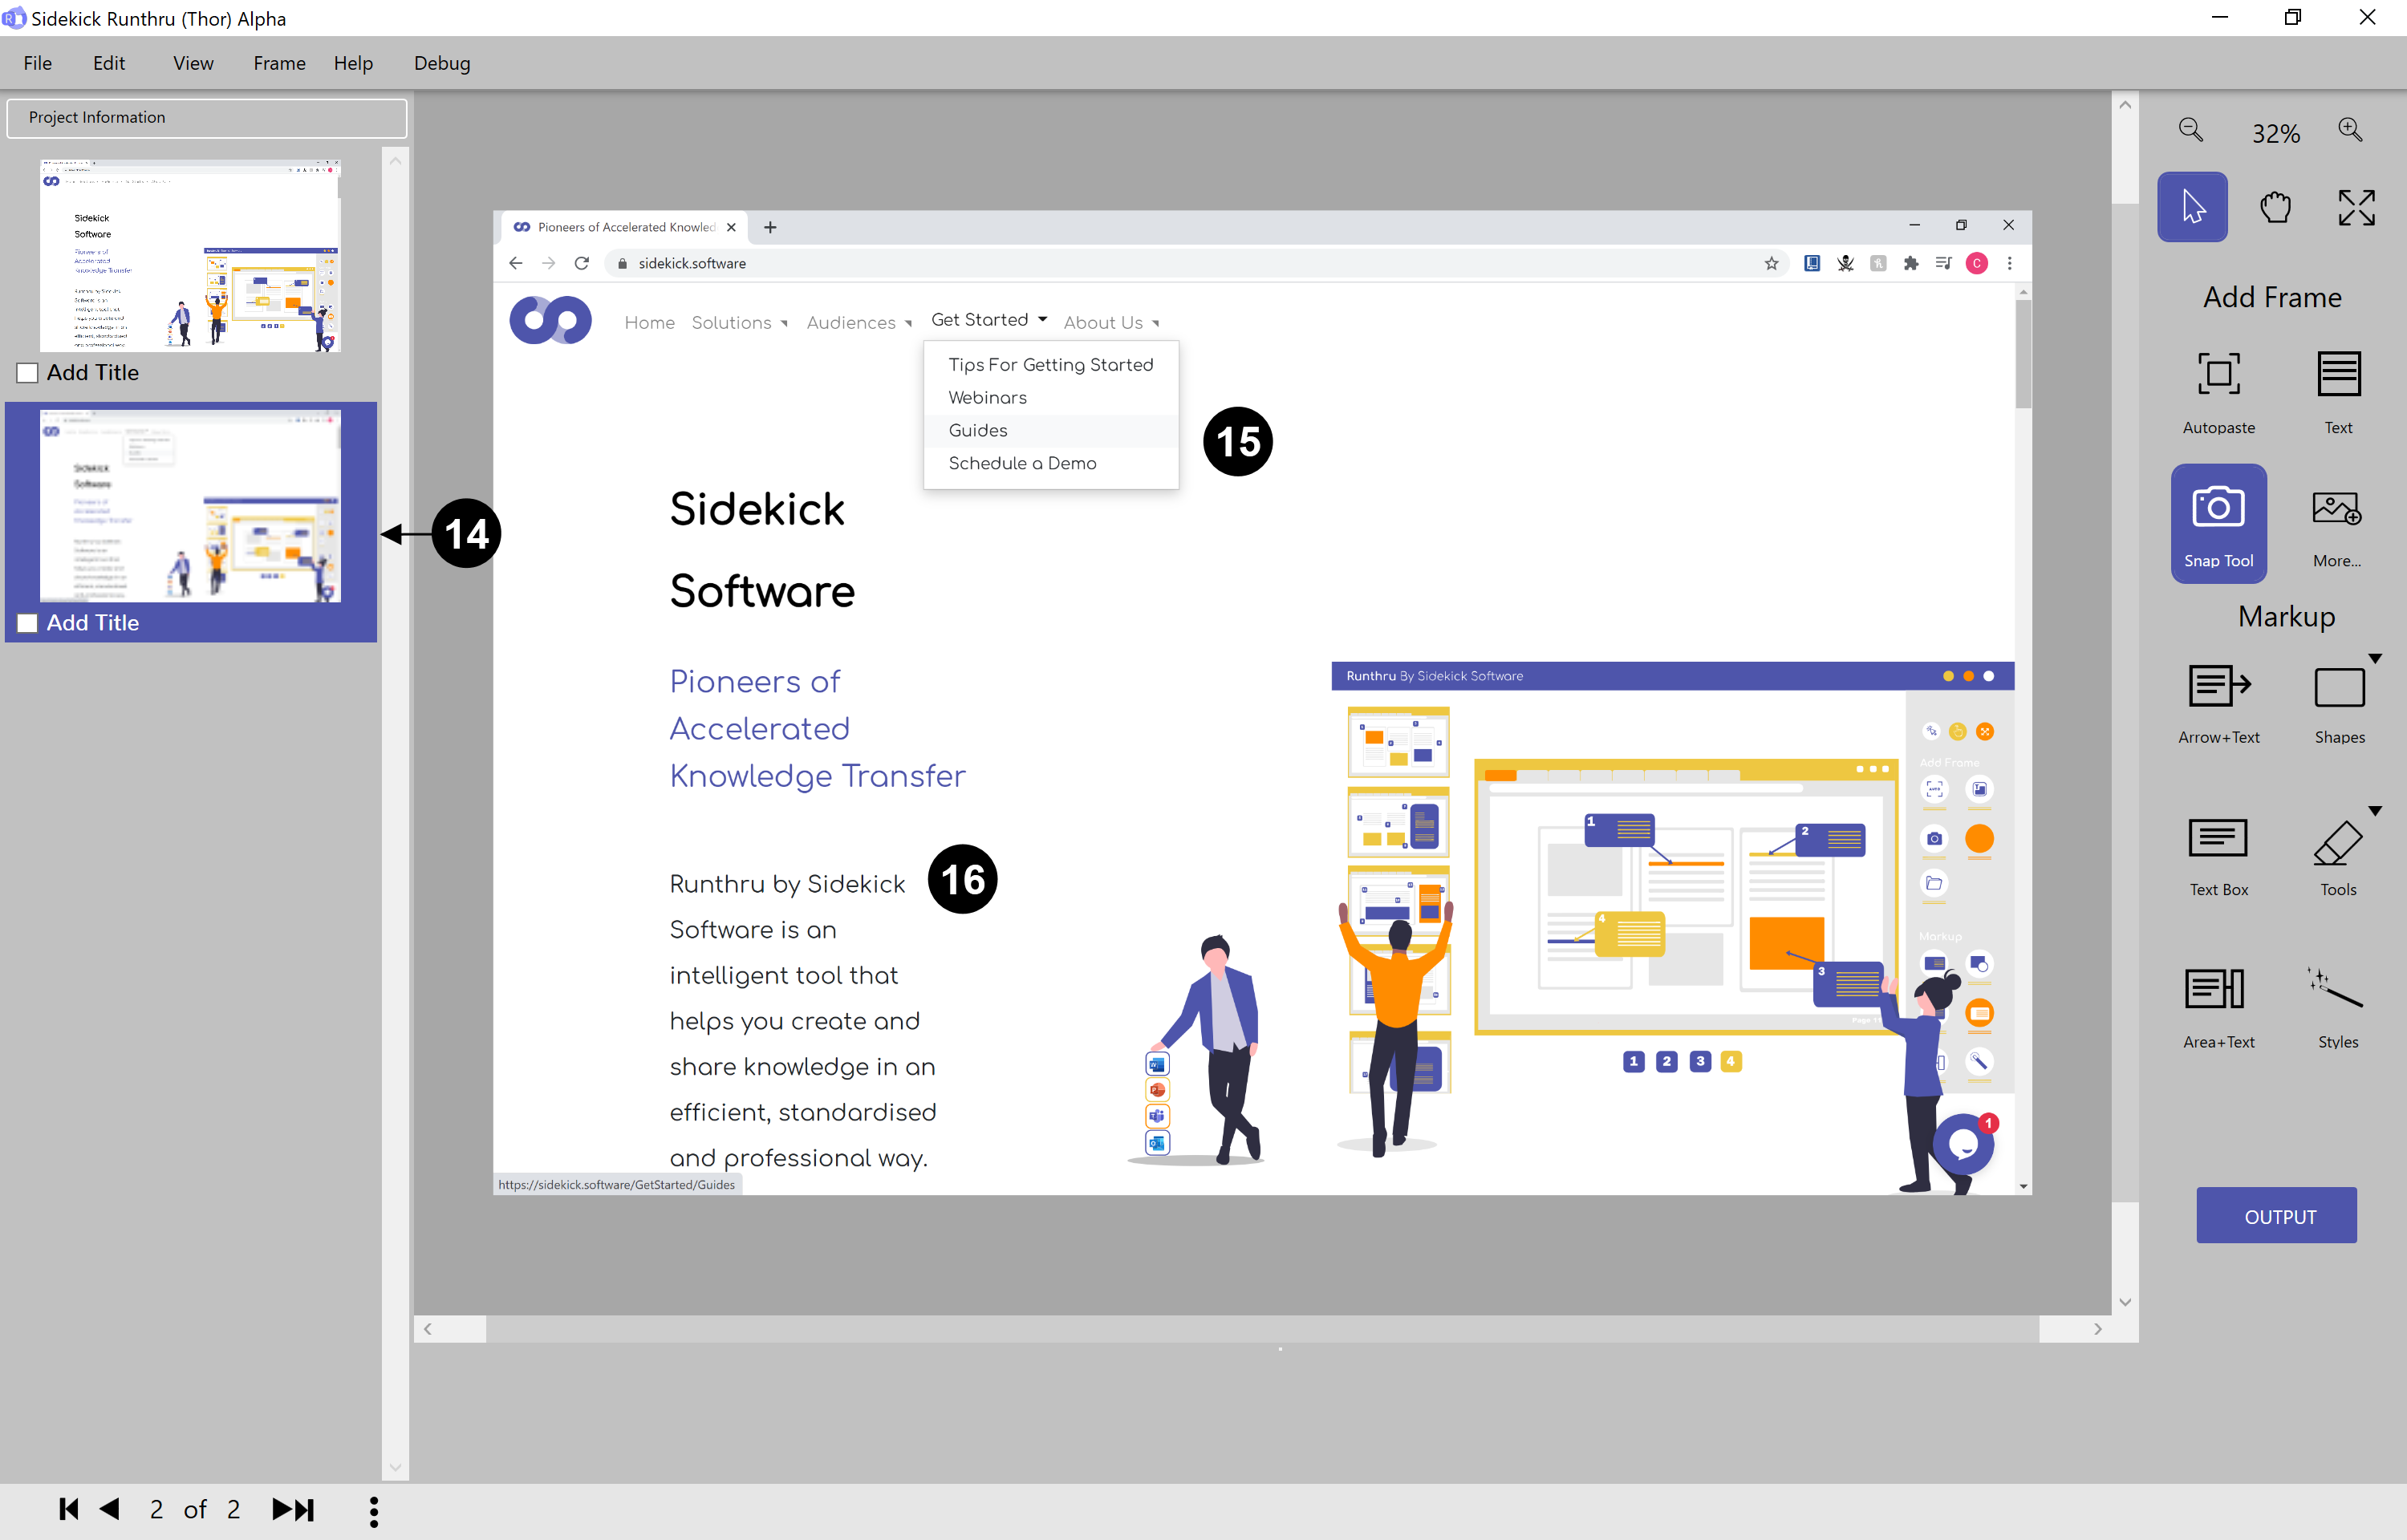

As you can see, the image appeared below the previous one, and it is also displayed on the canvas as well.

See the result.

Come back to your target application in order to try another way of gathering images.

Click Menu button to open Menu and capture it.

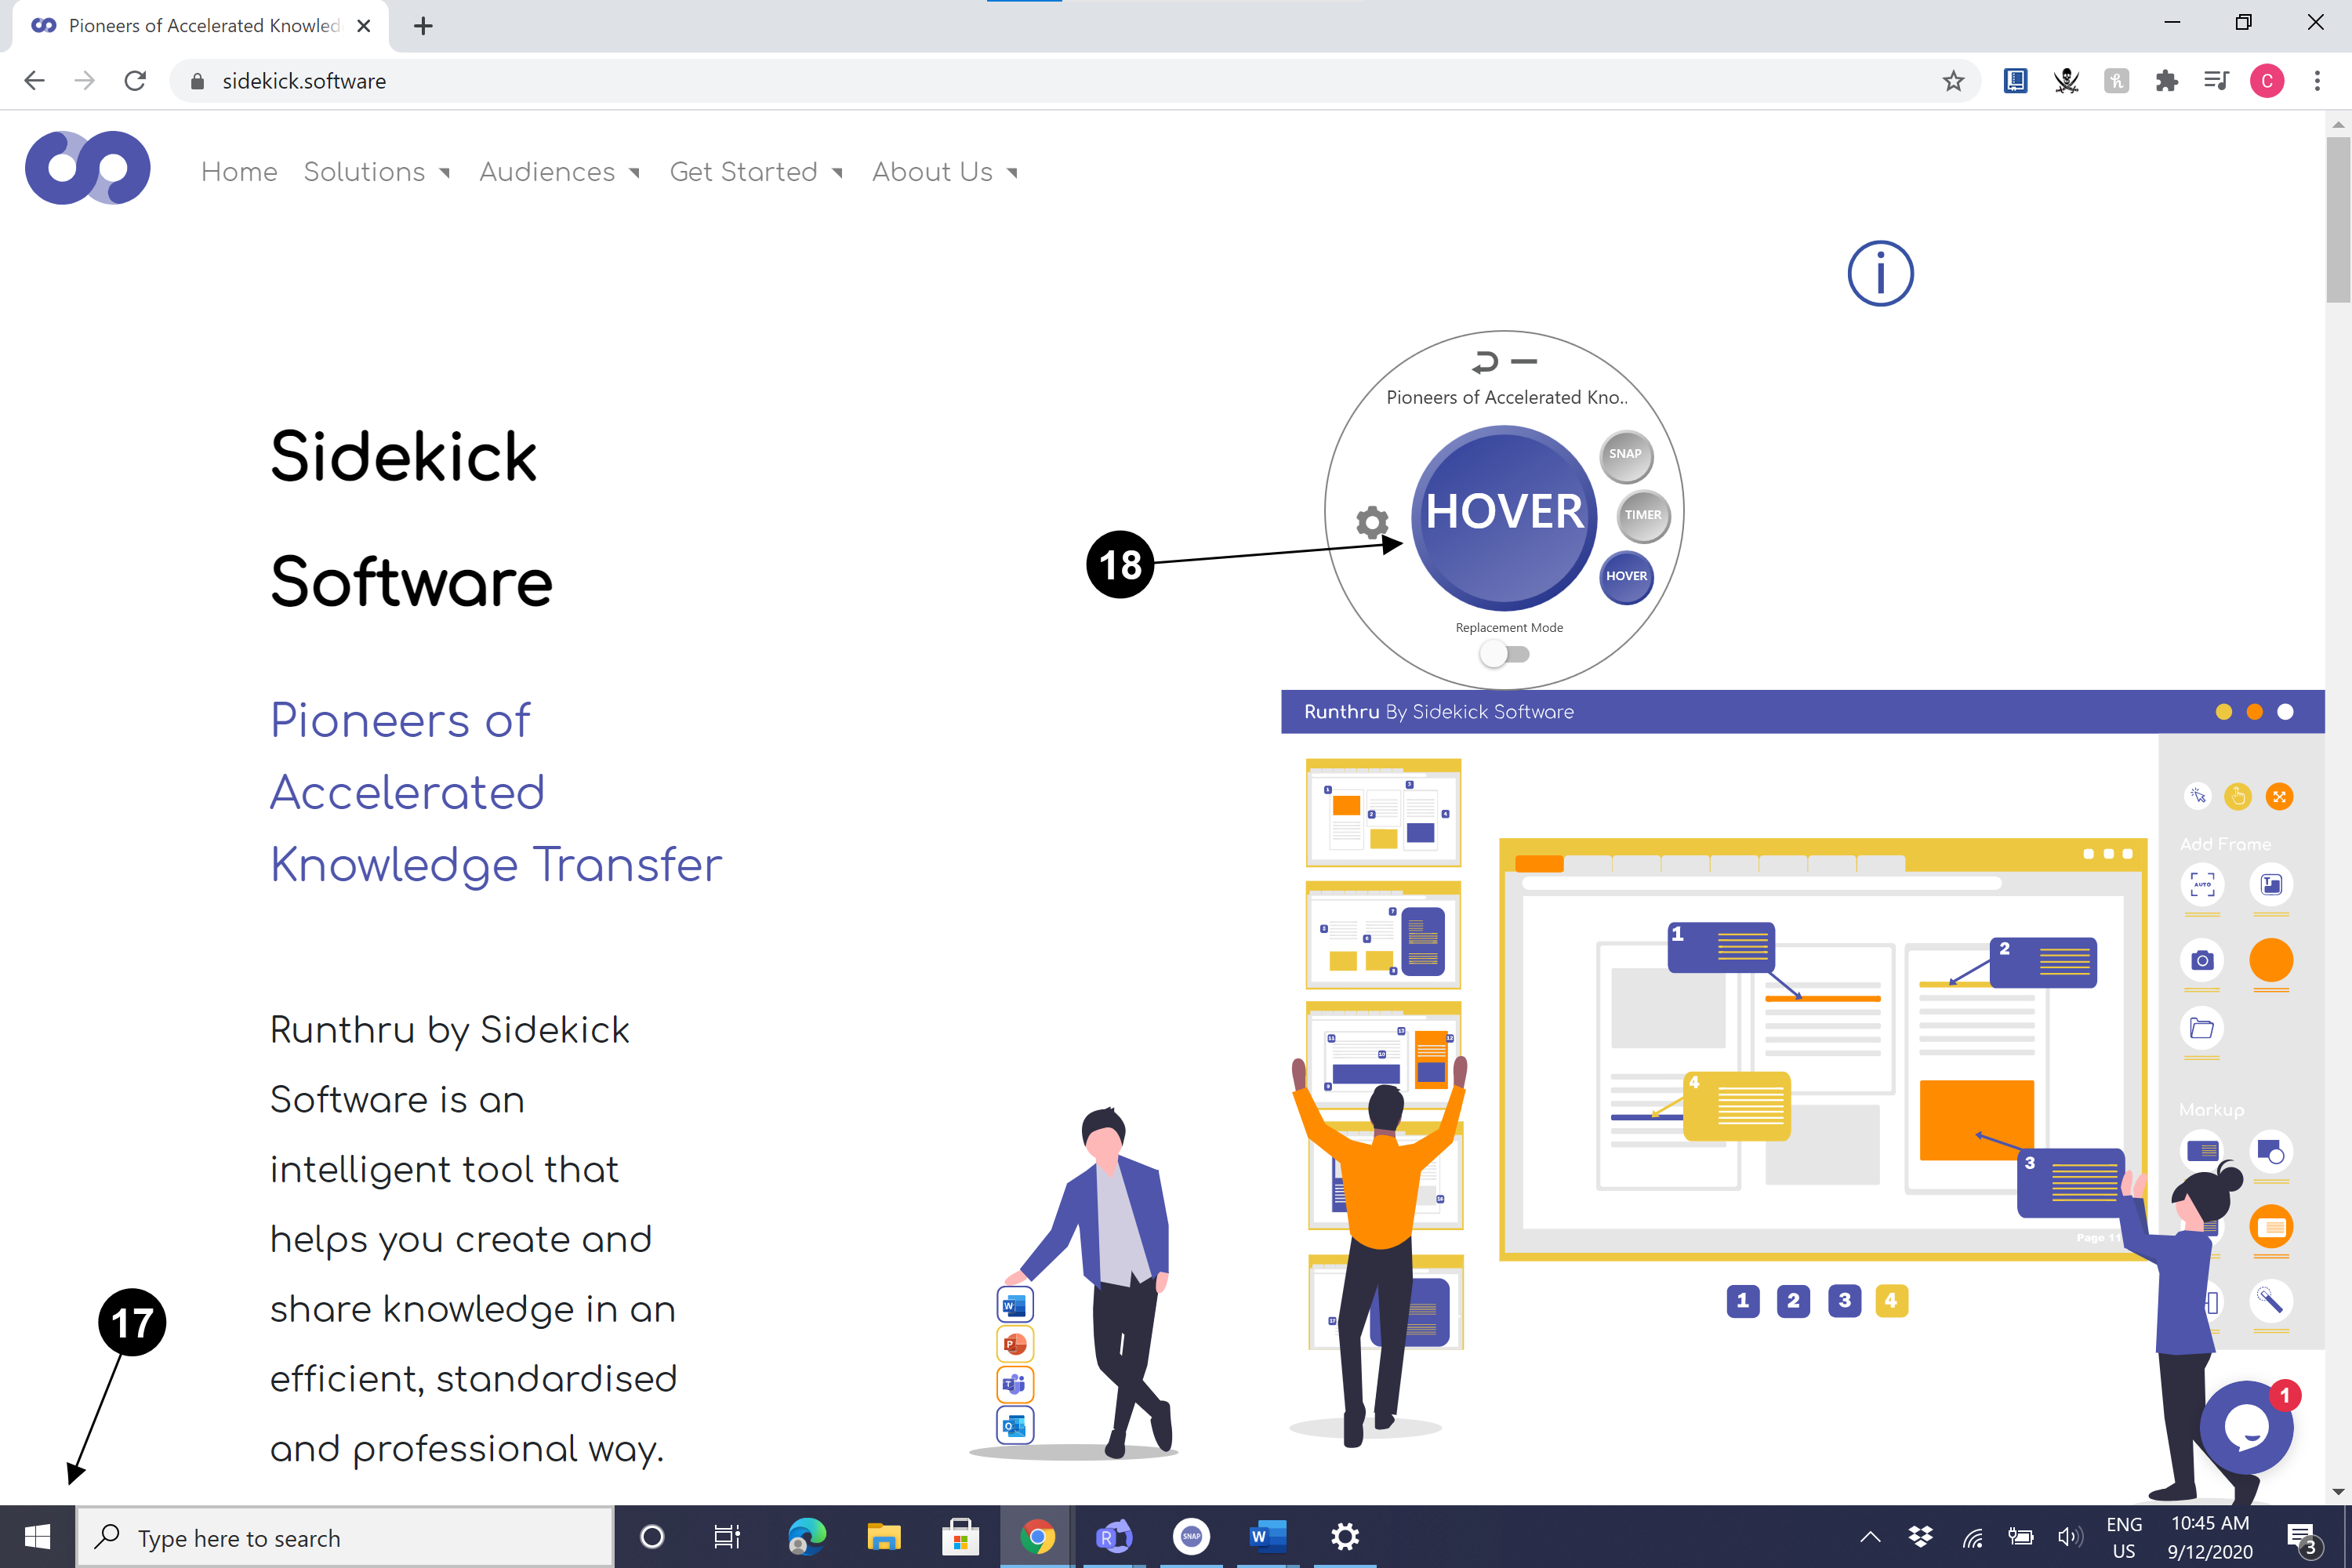
Hover your mouse in order to screenshot the active application without having to click the button.

Place and hold the mouse over the 'Hover' button and wait for 3 seconds to take a screenshot. The time can be changed with the cog button on the 'Snap Tool'.
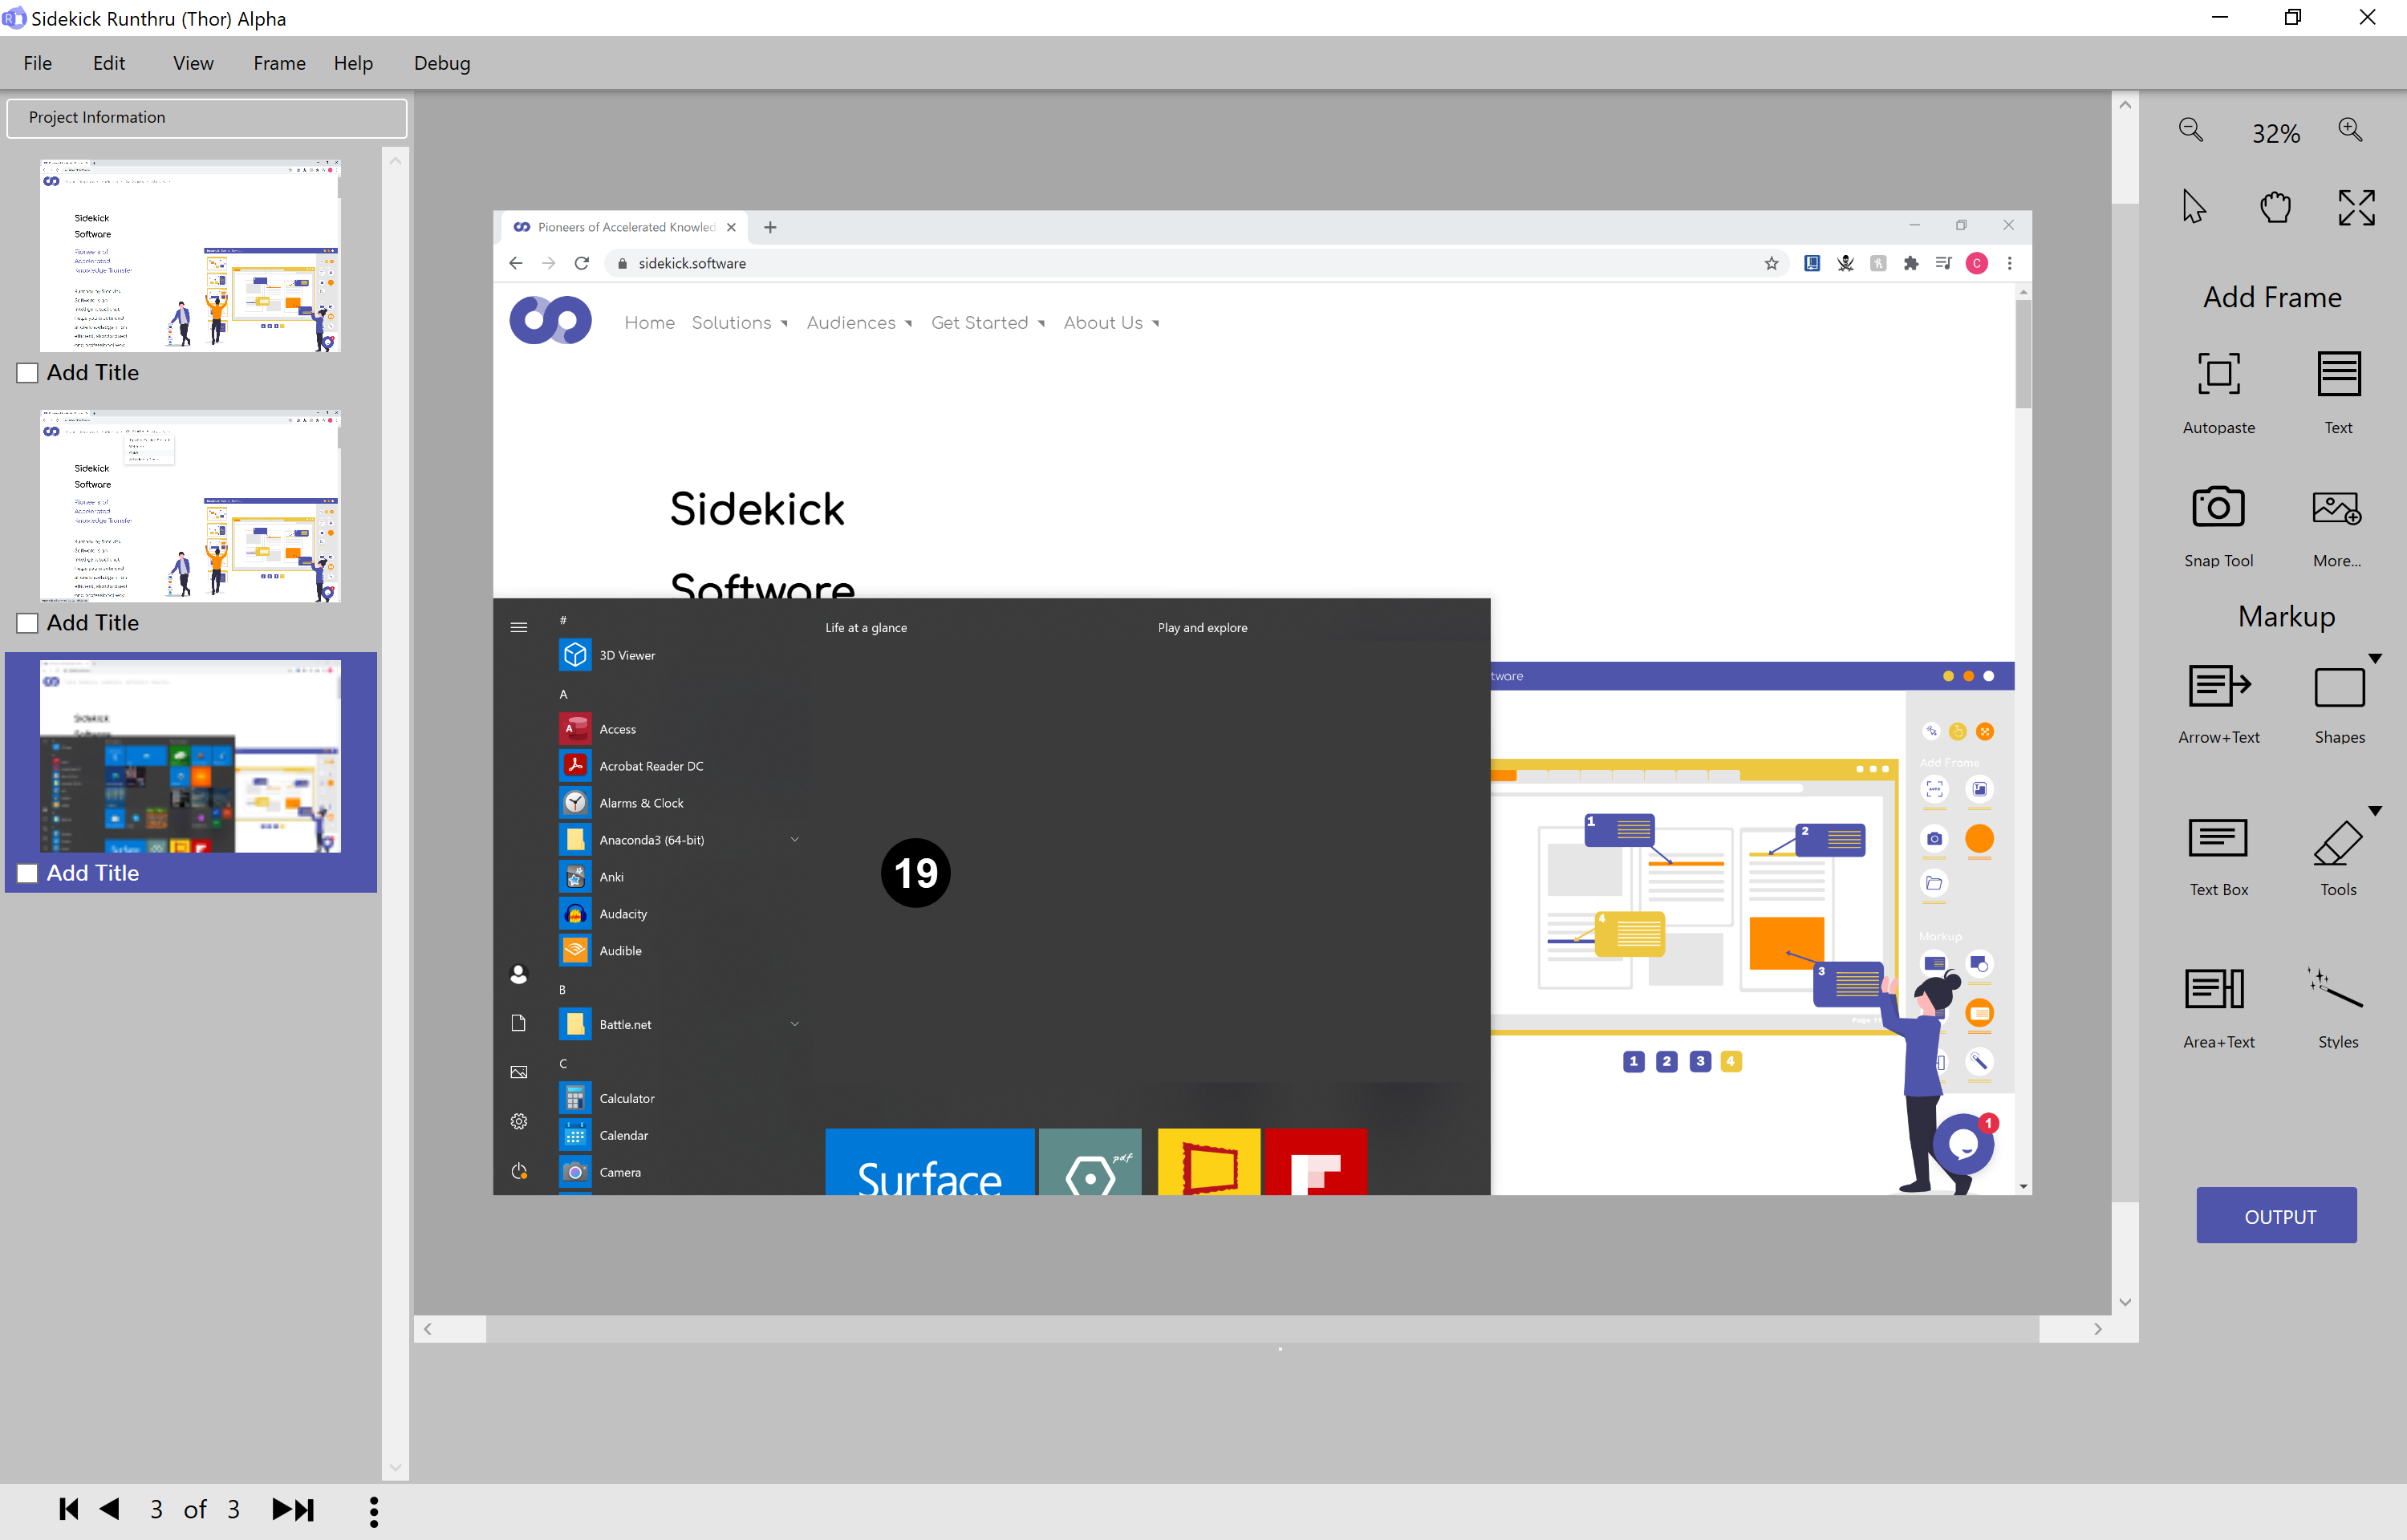

As you can see, it has captured a target application with an active opened Menu.
Gather Screenshots by importing an image from the computer's drive
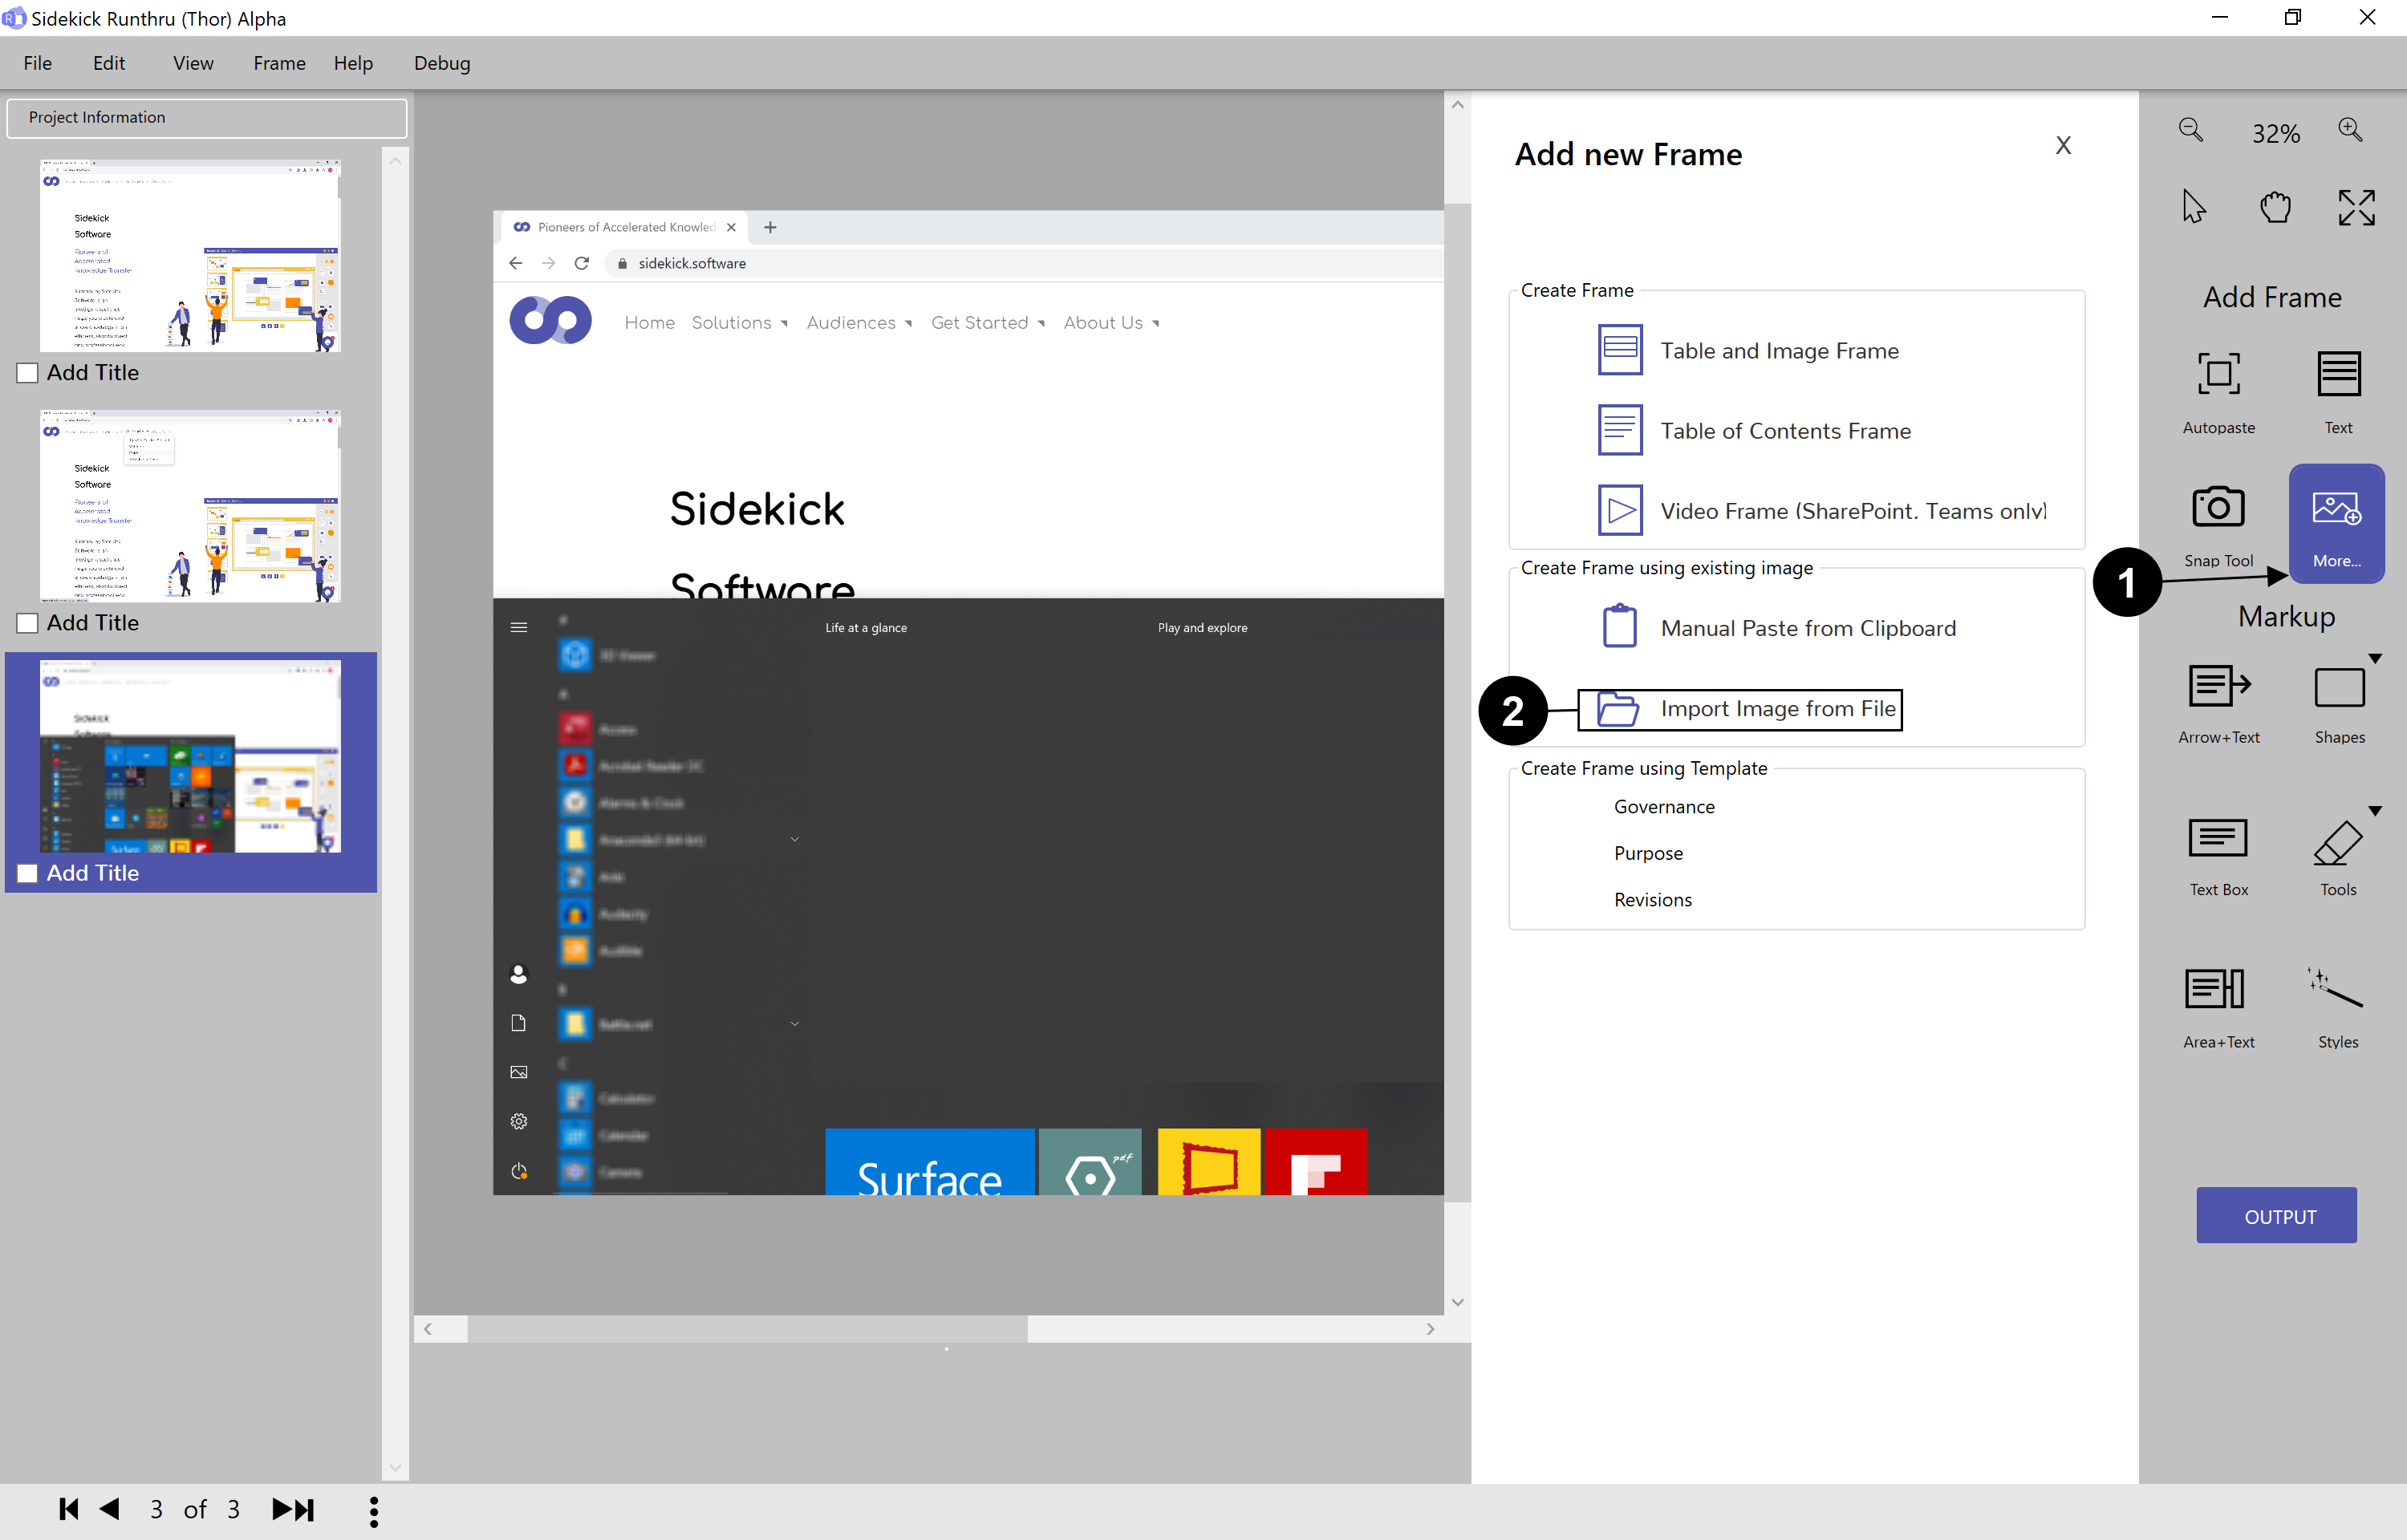

Click 'More...' to open 'Add new Frame'

Choose 'Import Image from File'.

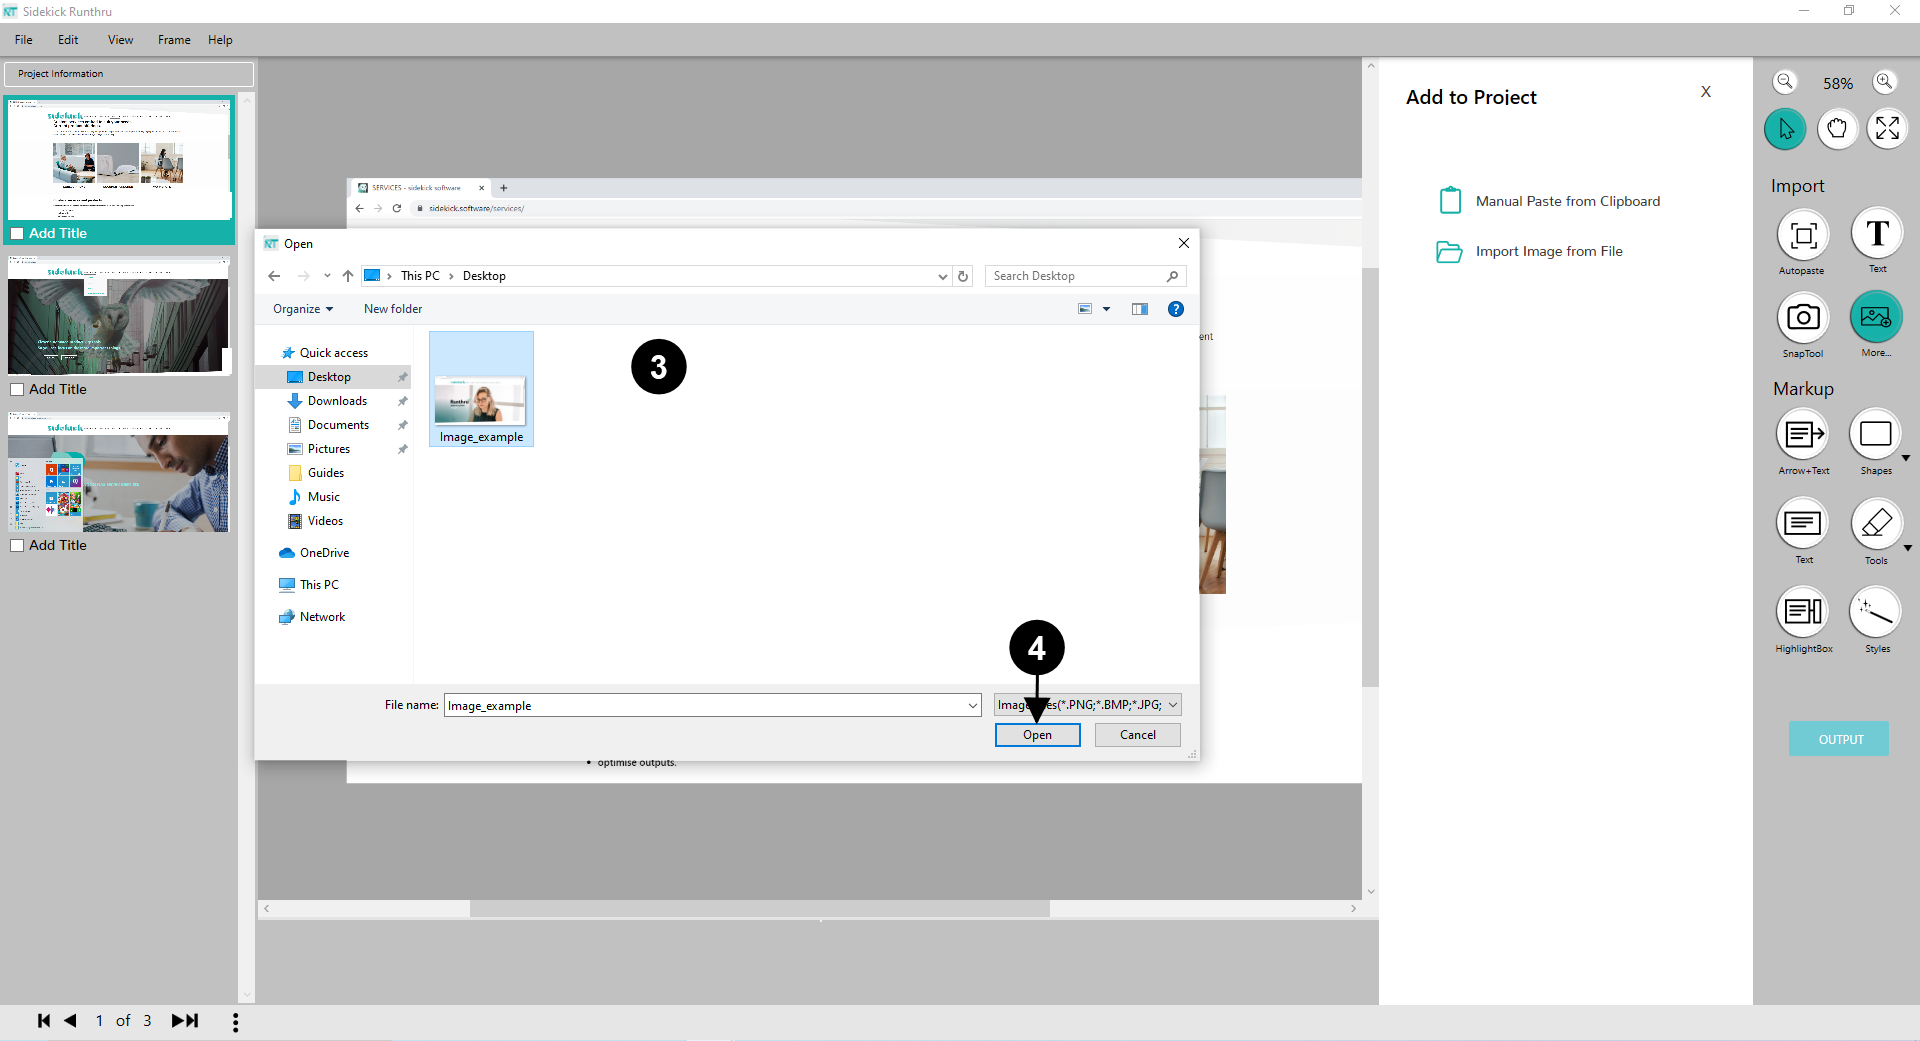

A Windows box will show and you choose one or more images.

Click 'Open' to import the images into Runthru.
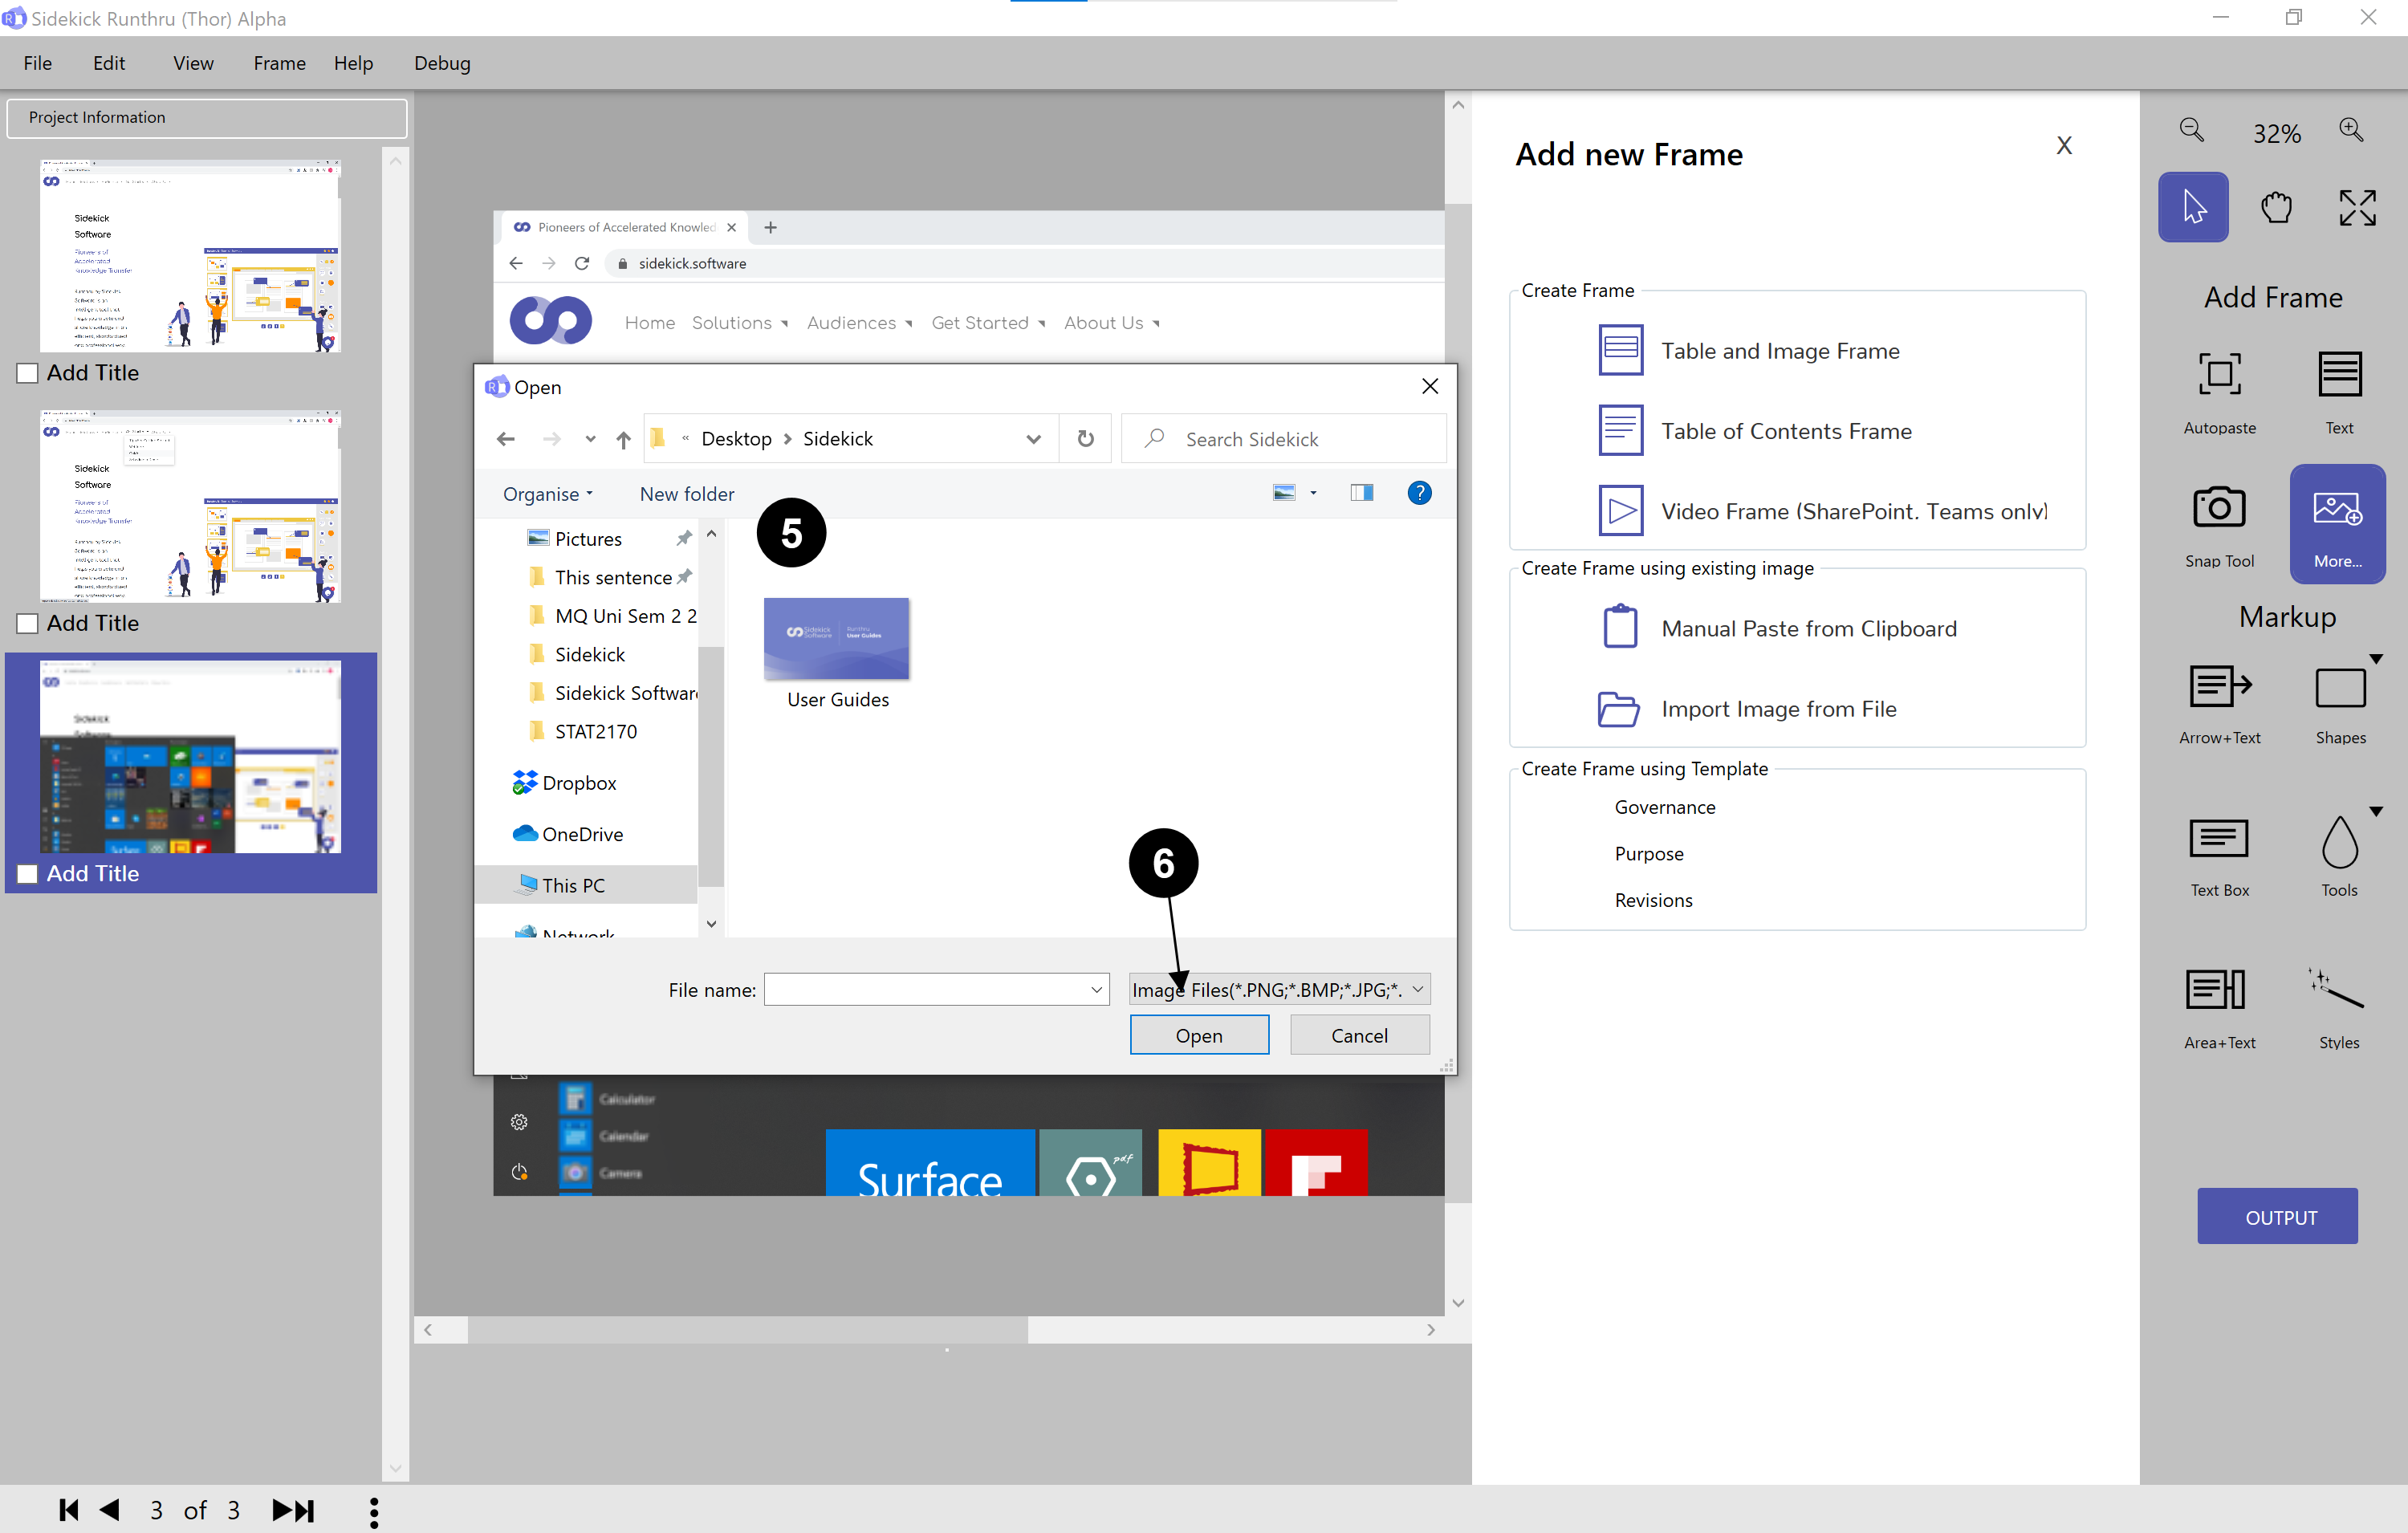

Choose one or more image from your computer's files.

Click 'Open' to import the images into Runthru.
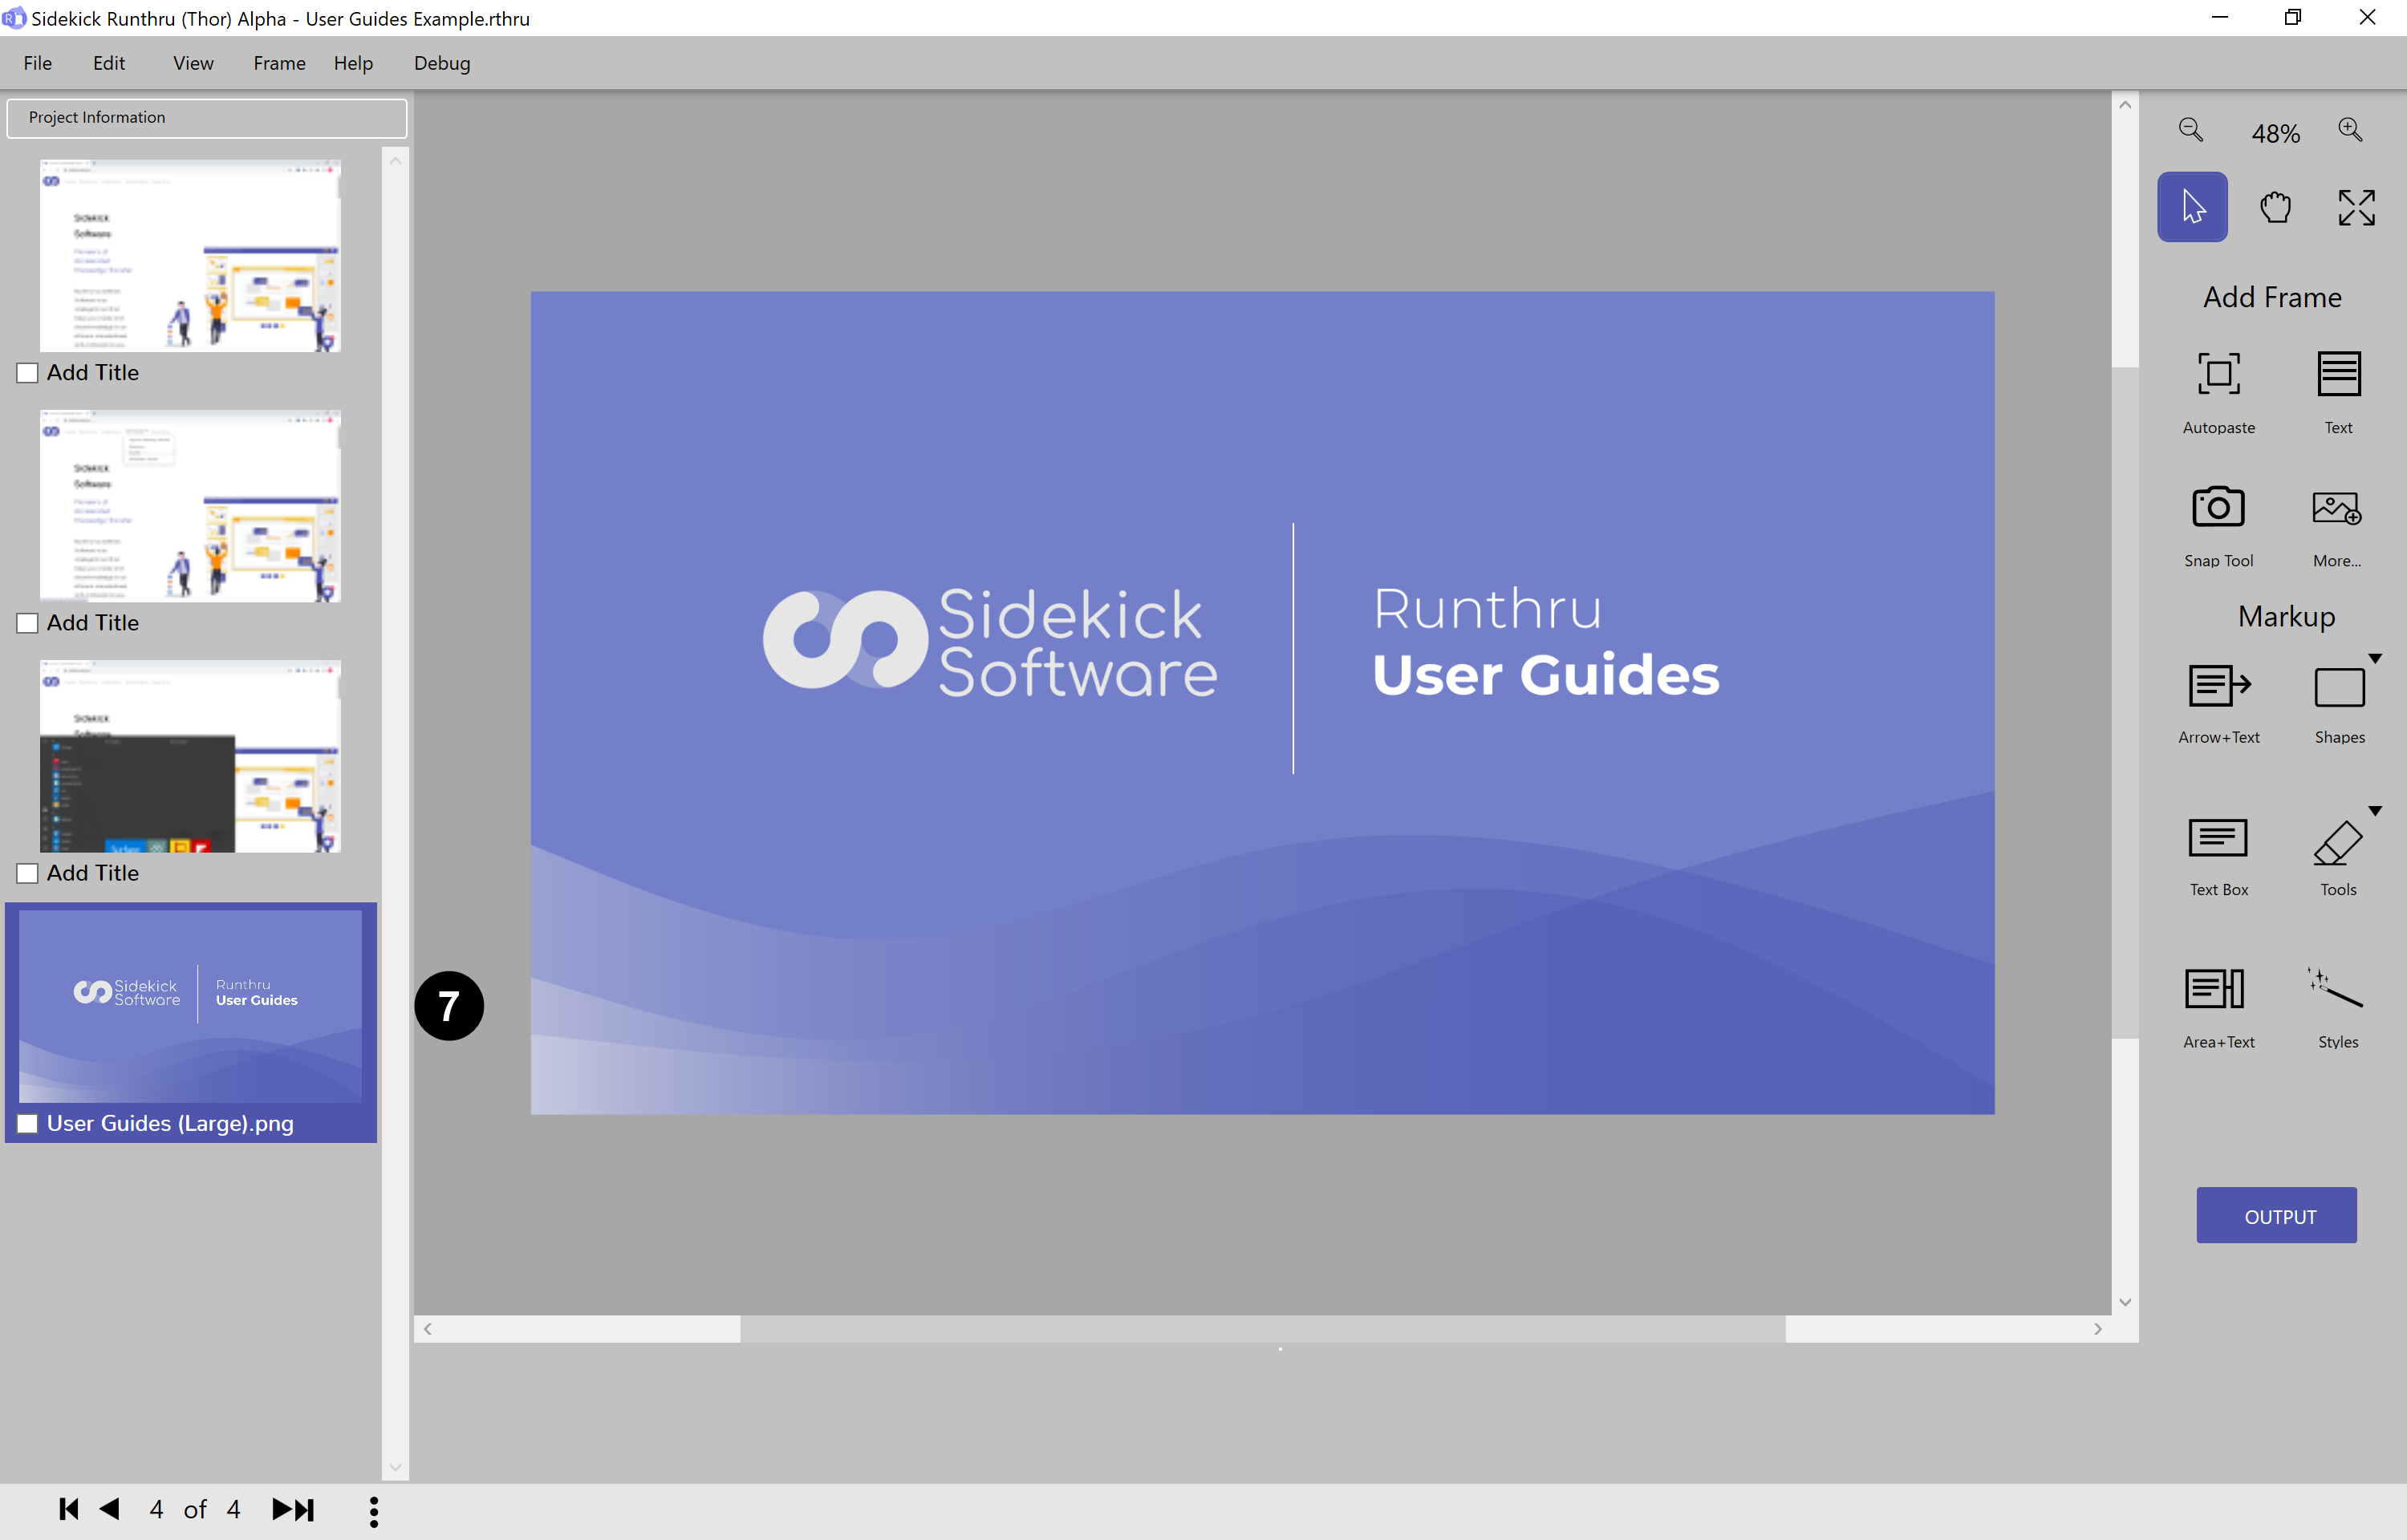

The image appears in the left hand column (below the previous screenshot) and it is also displayed on the canvas.
Gather Screenshots by using the Clipboard
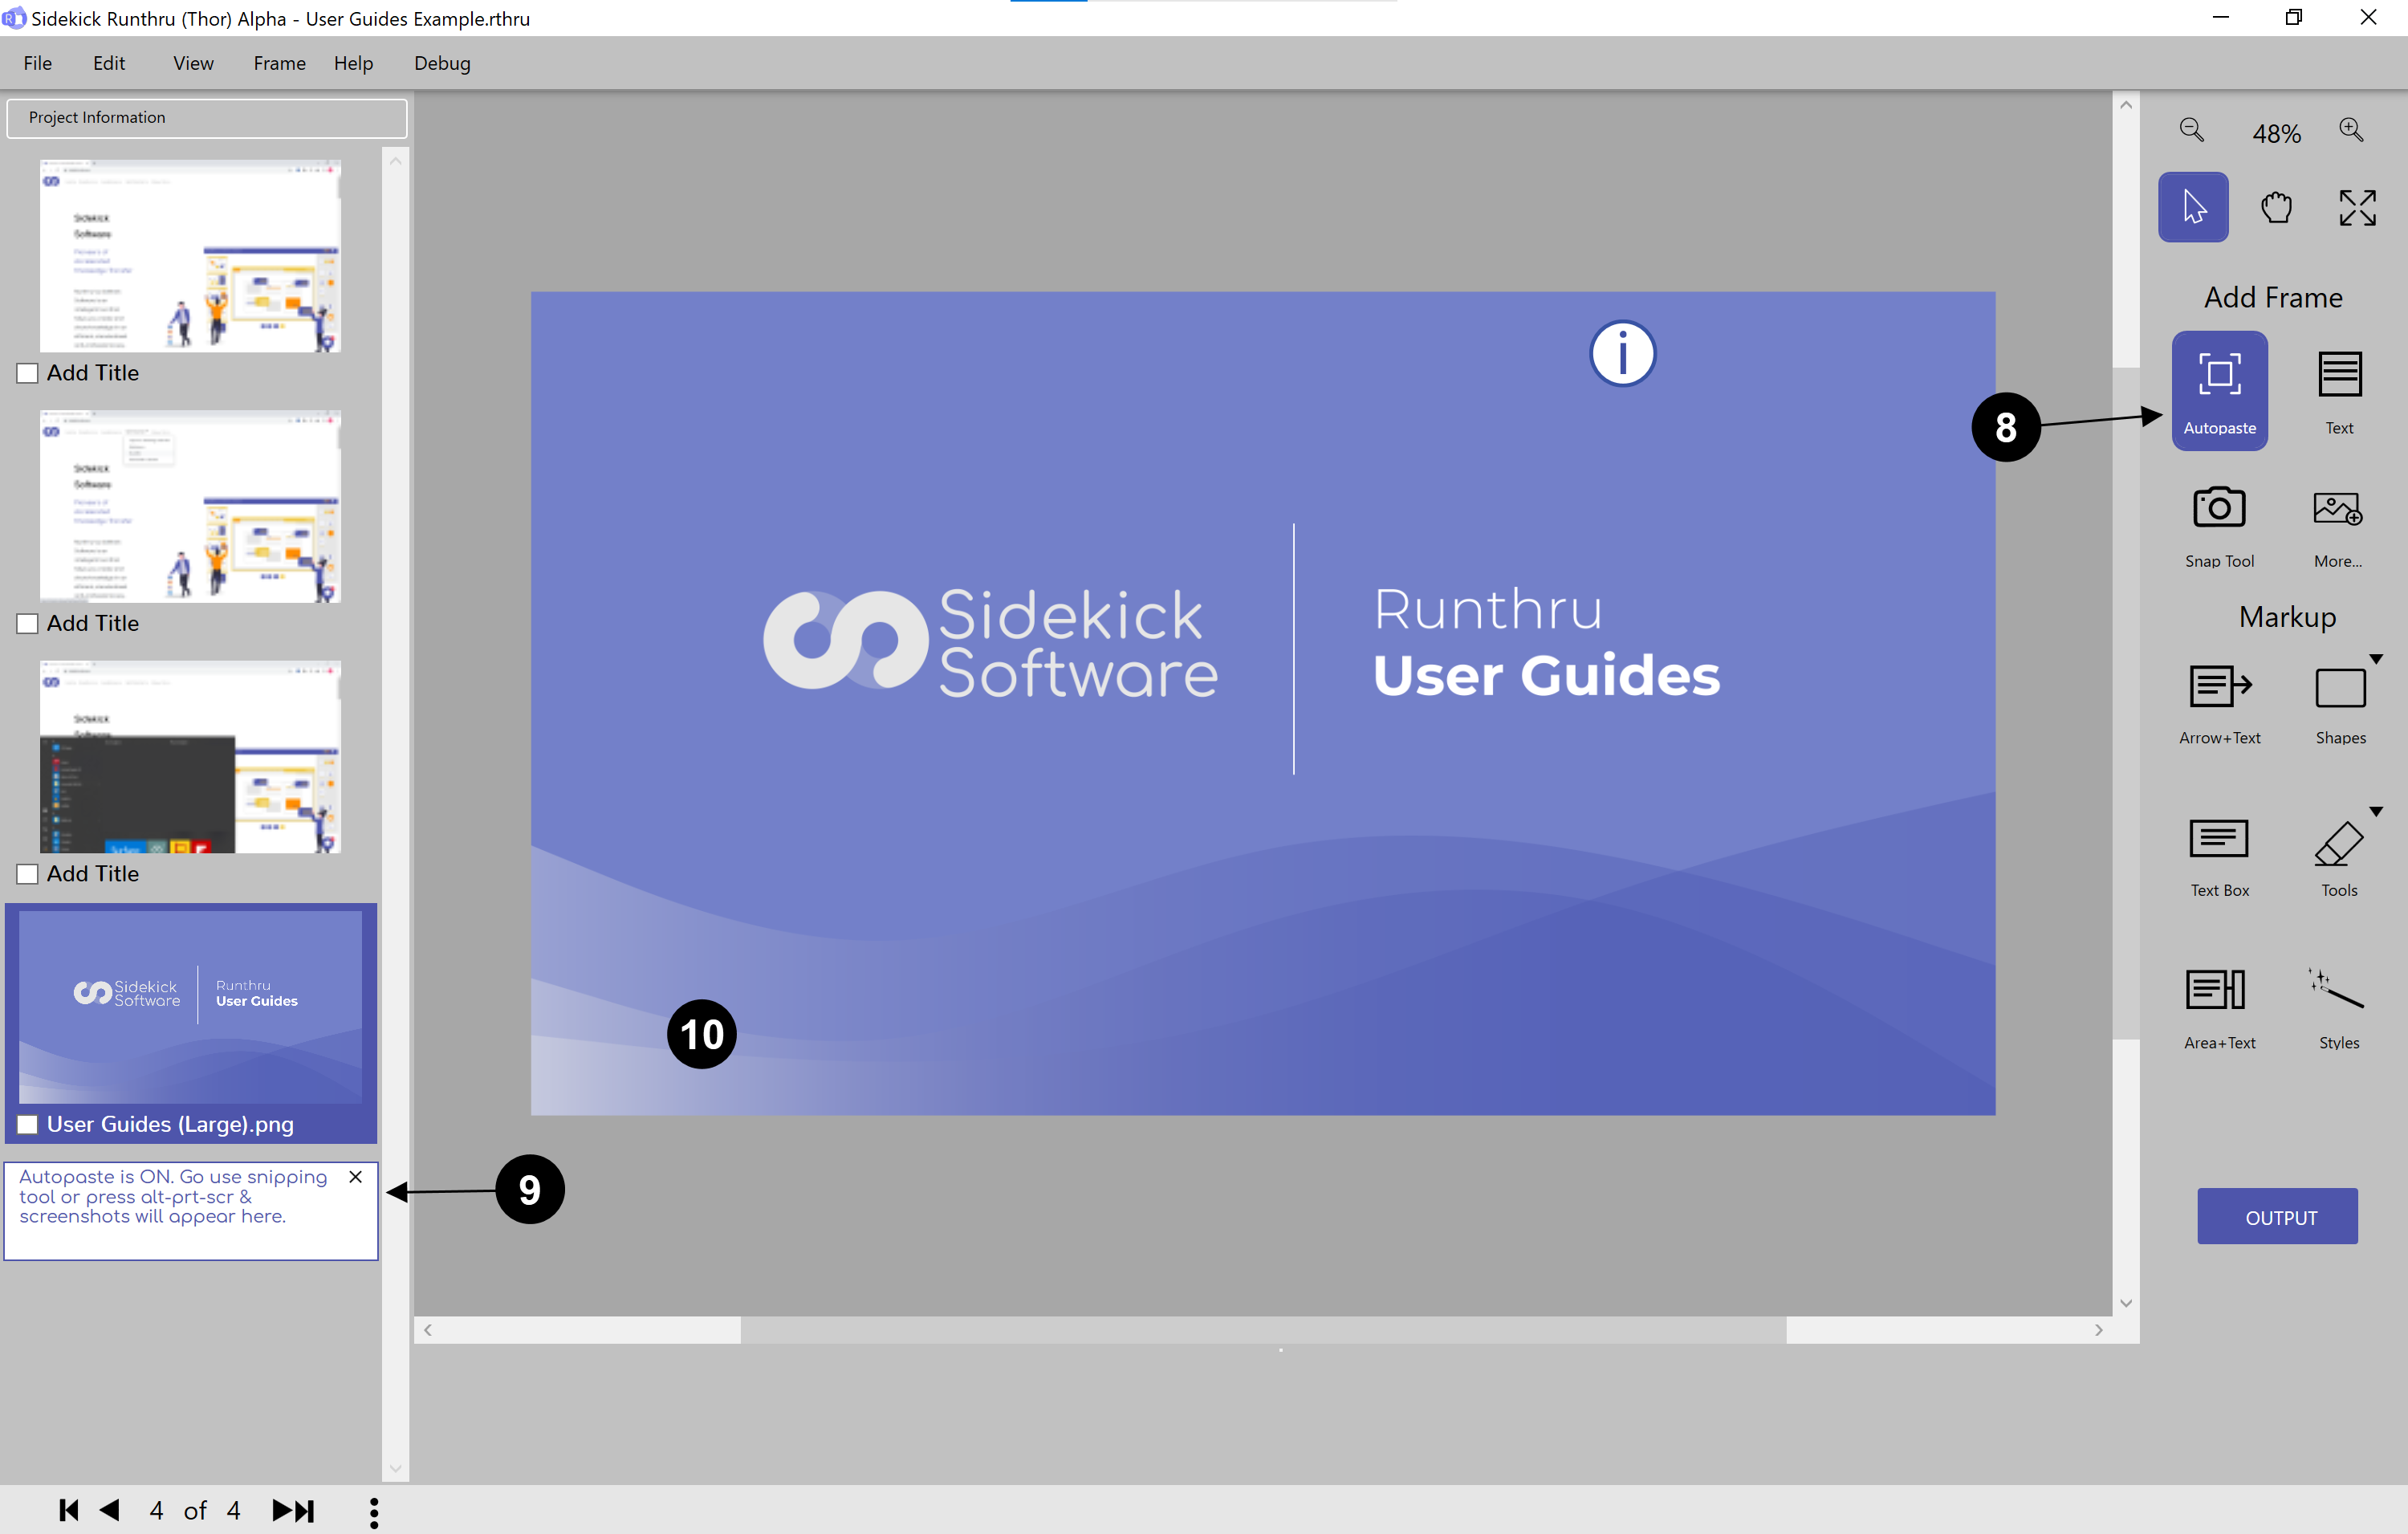

'Autopaste' places screenshots that have been taken into Runthru.

Click this button to turn 'Autopaste' ON.

When it is ON this notifictation will be visible.

Come back to your target application to make a screenshot.
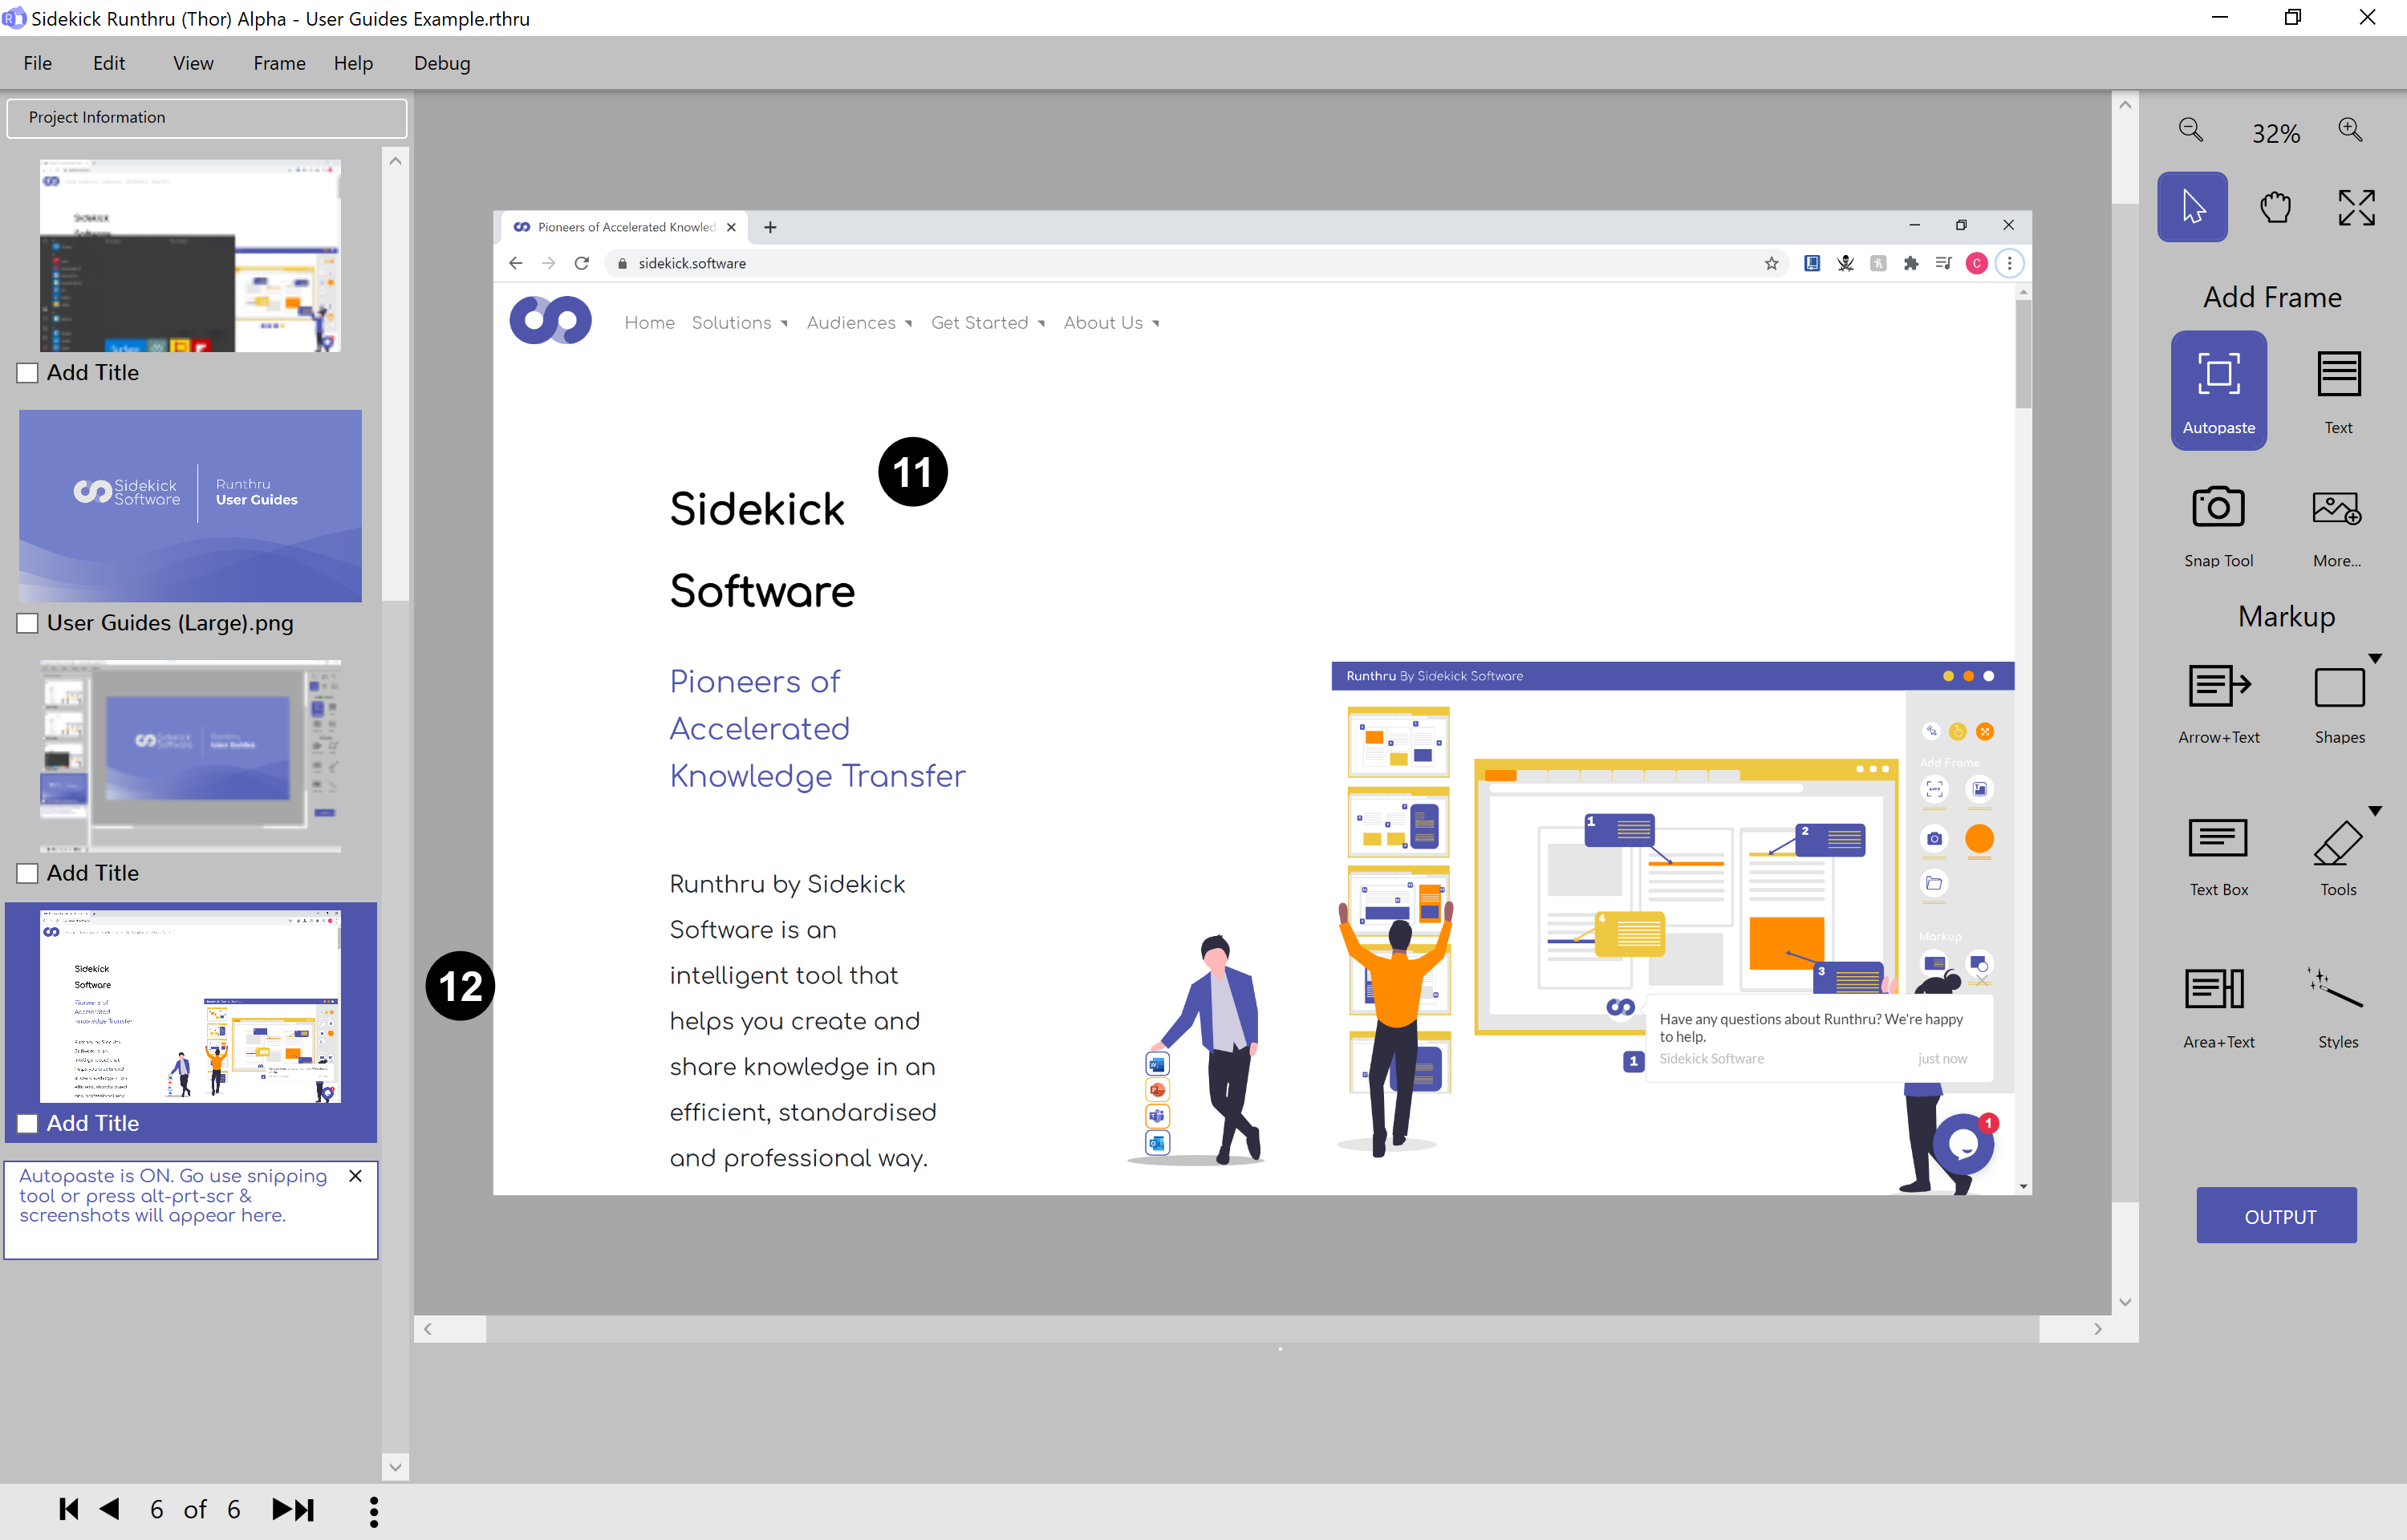

Press Alt+PrtScreen, PrtScreen or Windows Key+Shift+S to make a screenshot.

The image creates an Item in the left hand column (below the previous screenshot) and it is also displayed on the canvas.